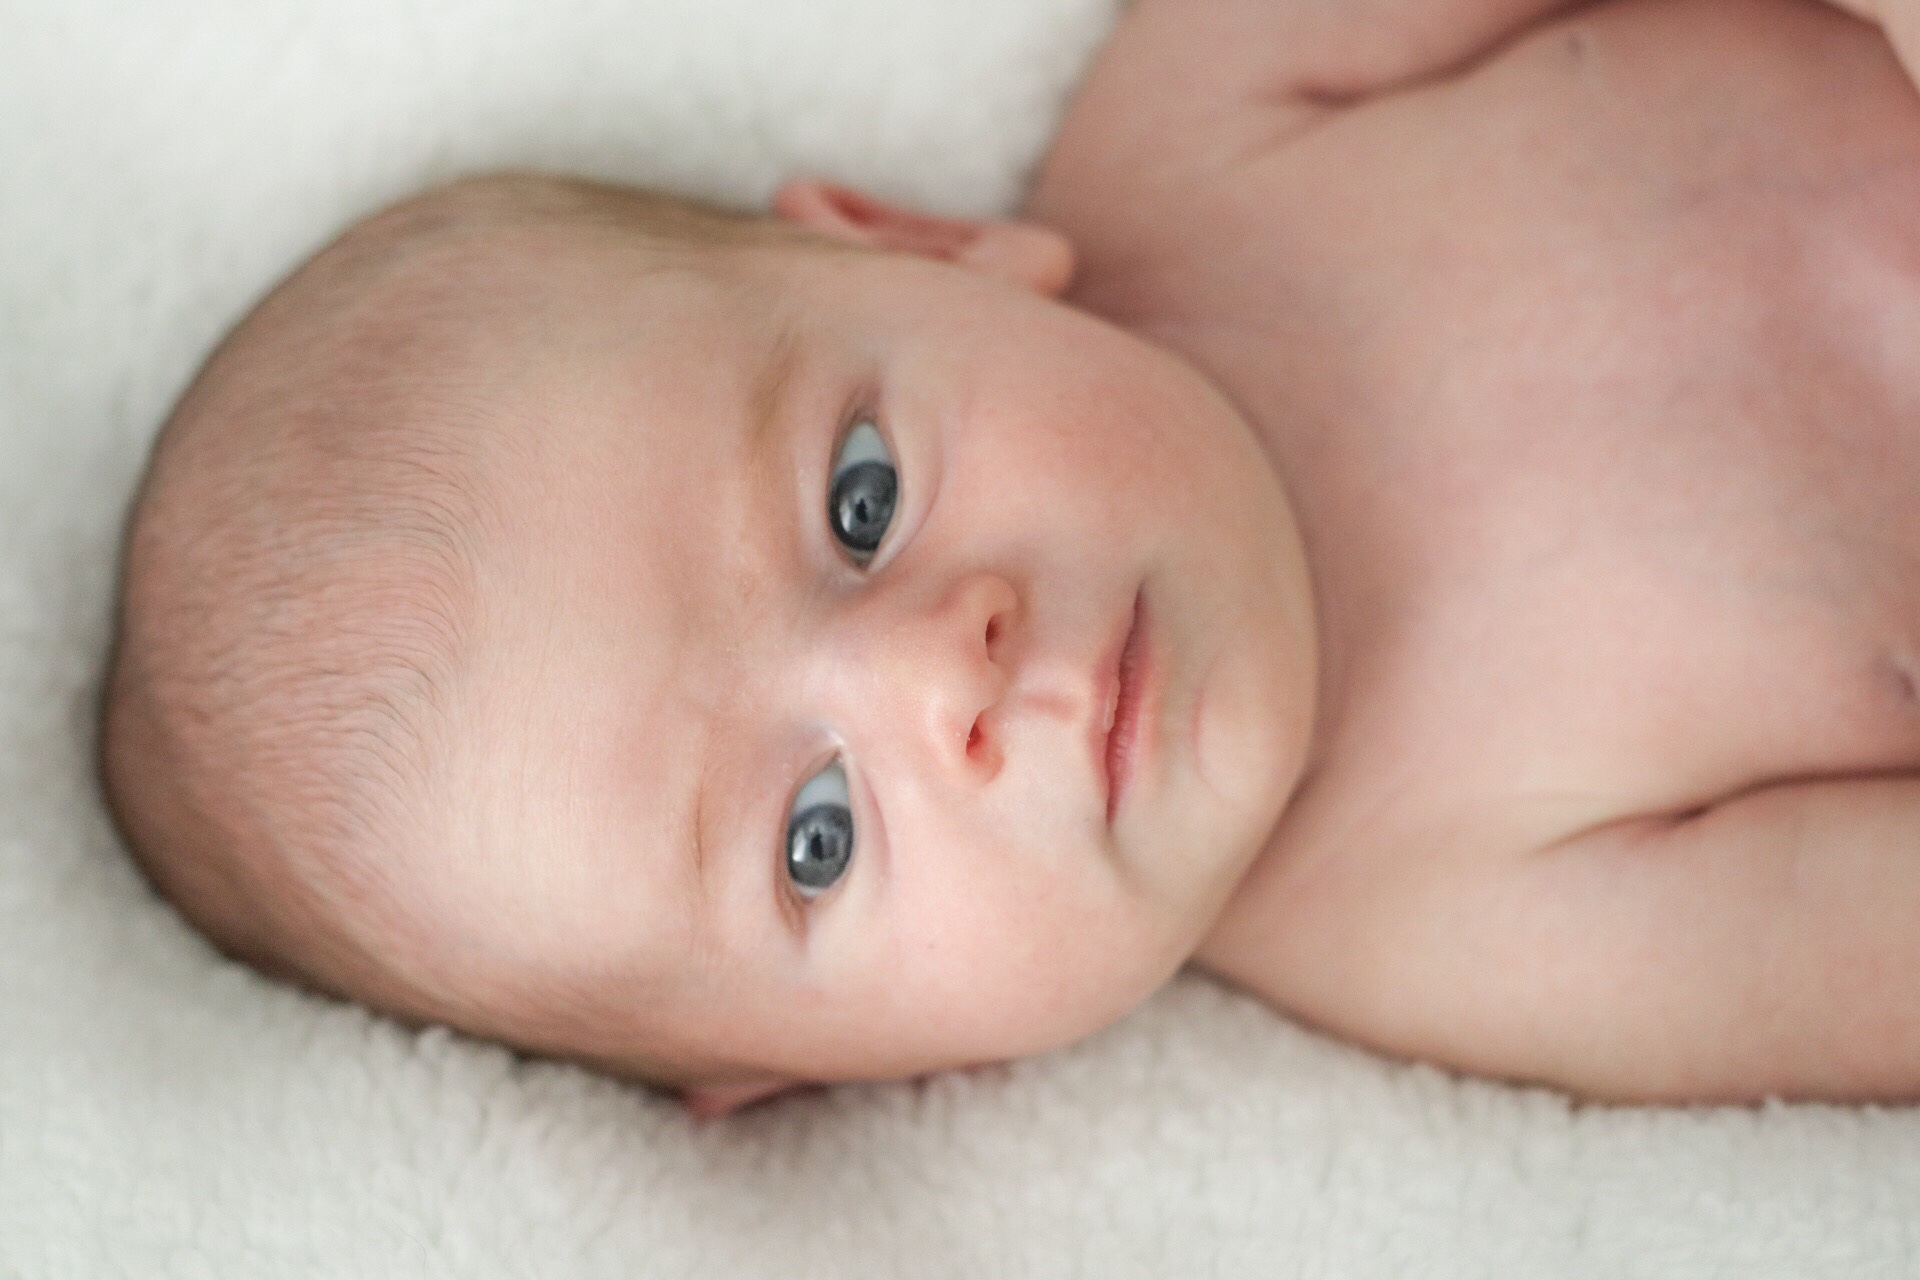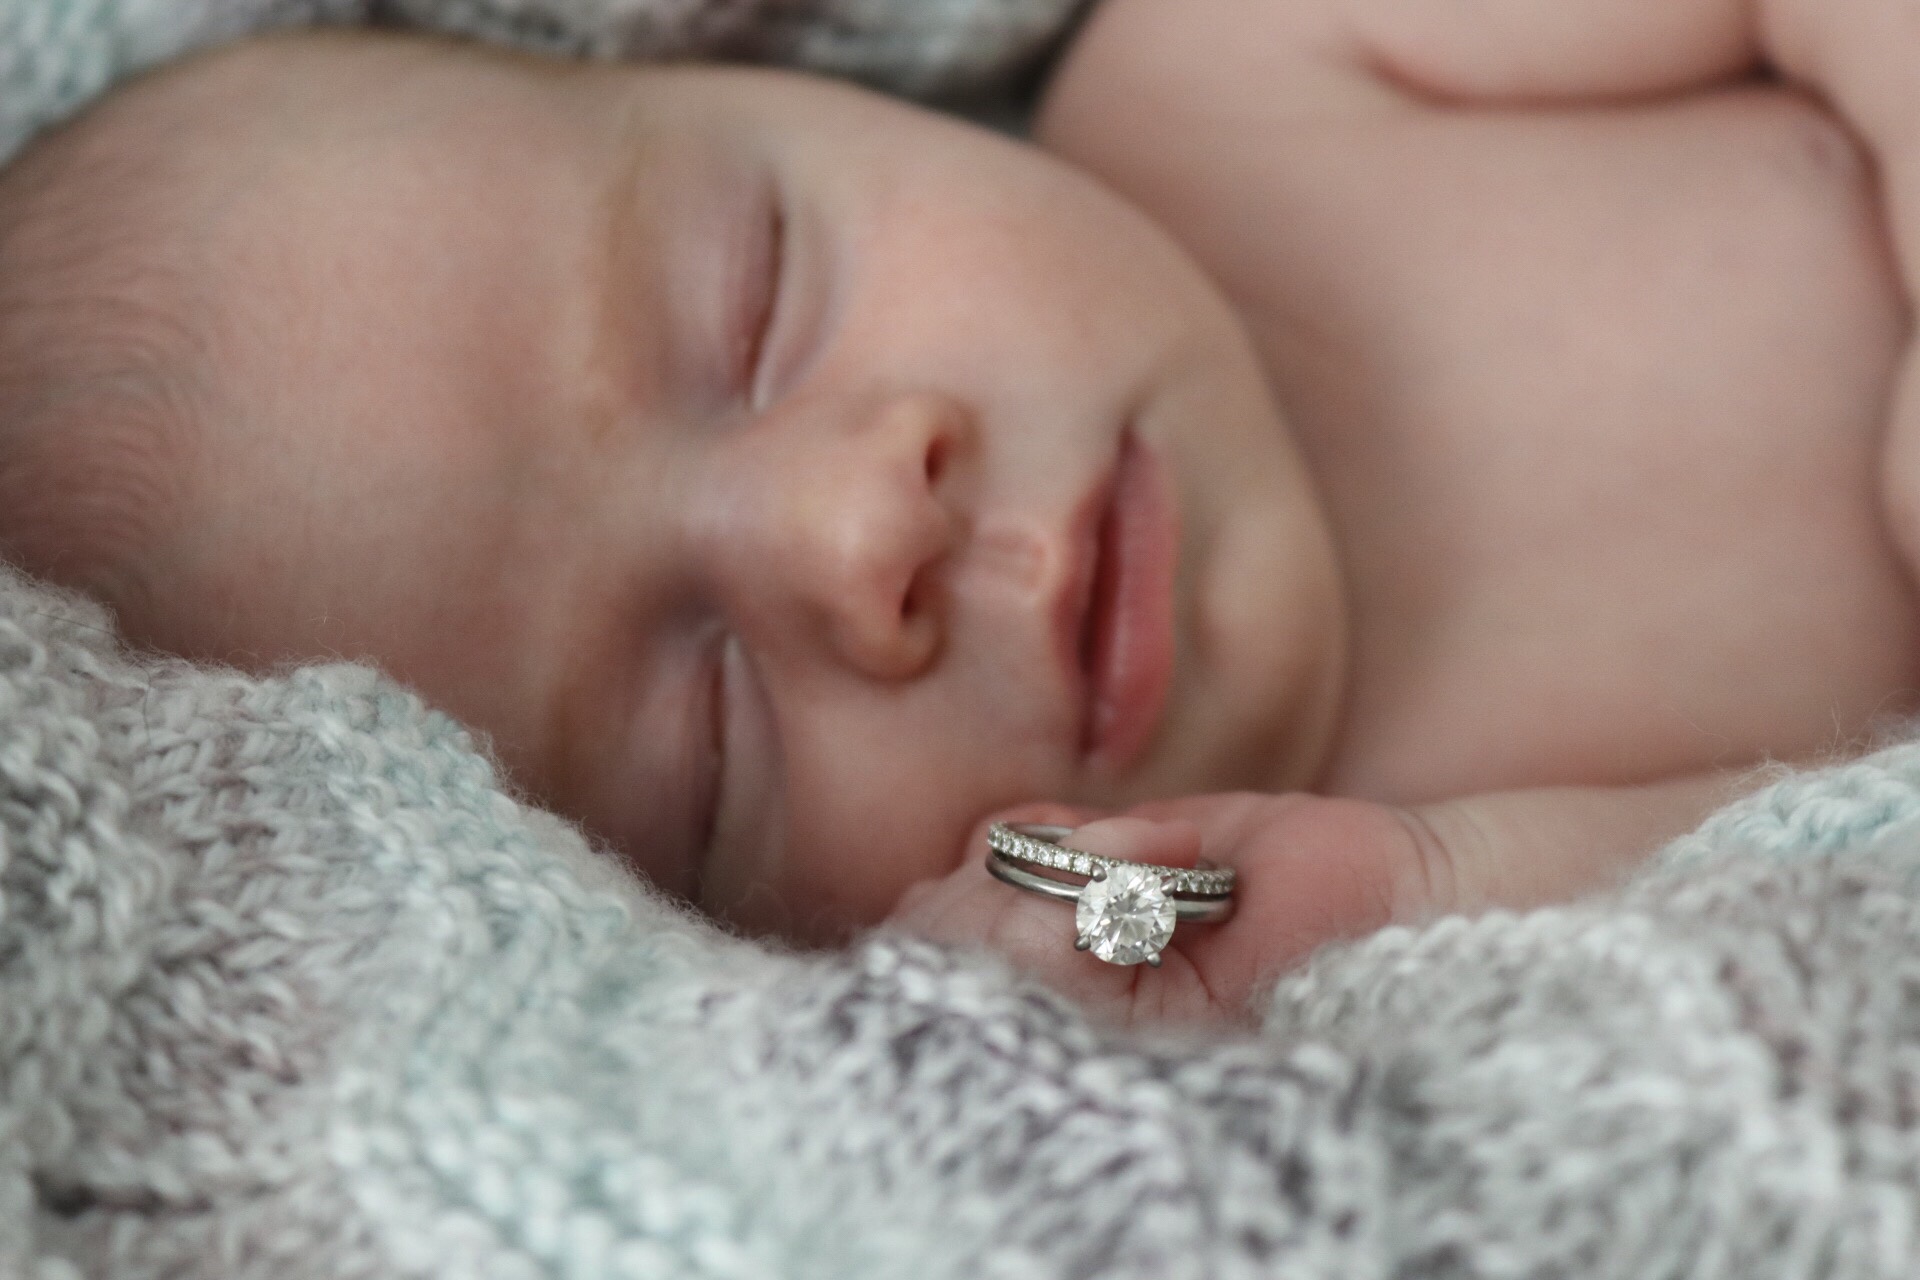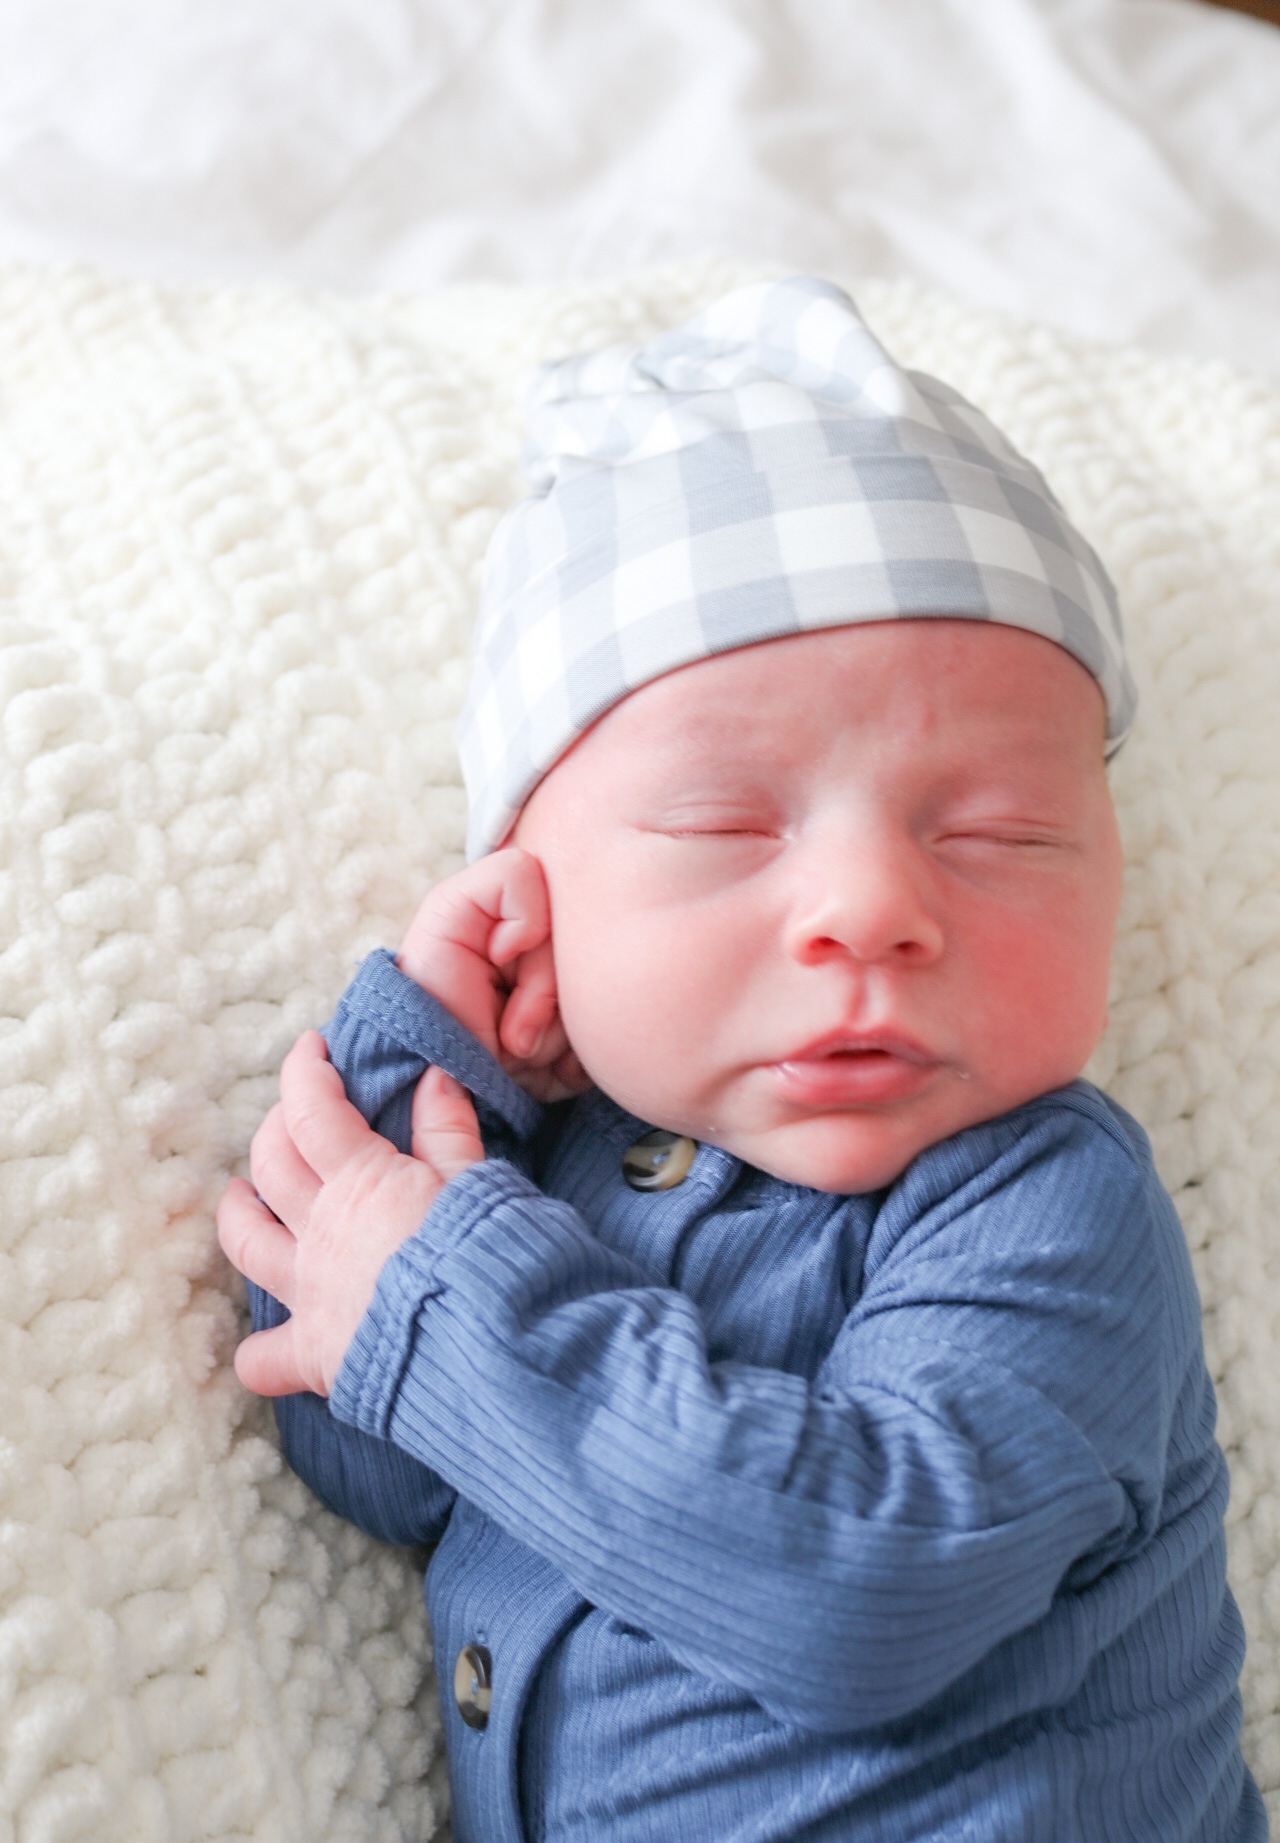

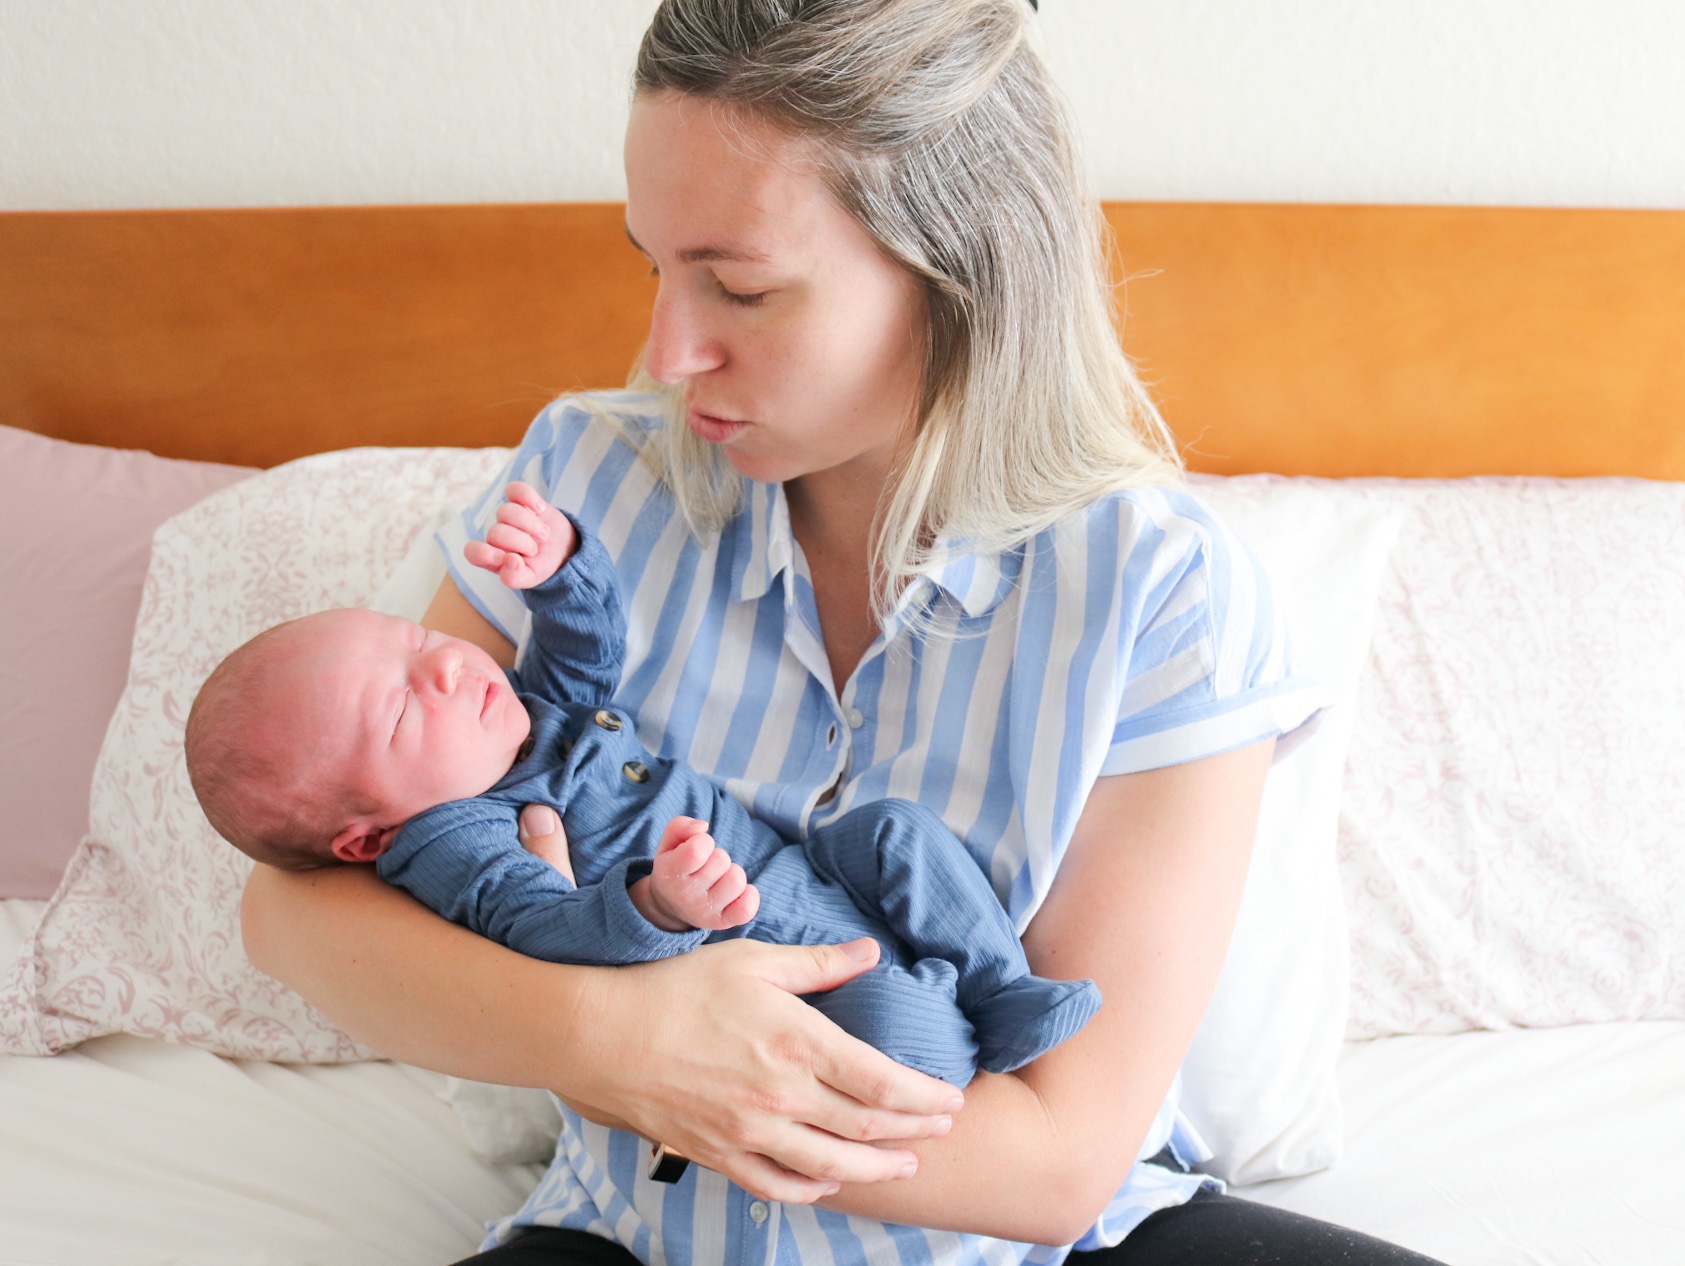

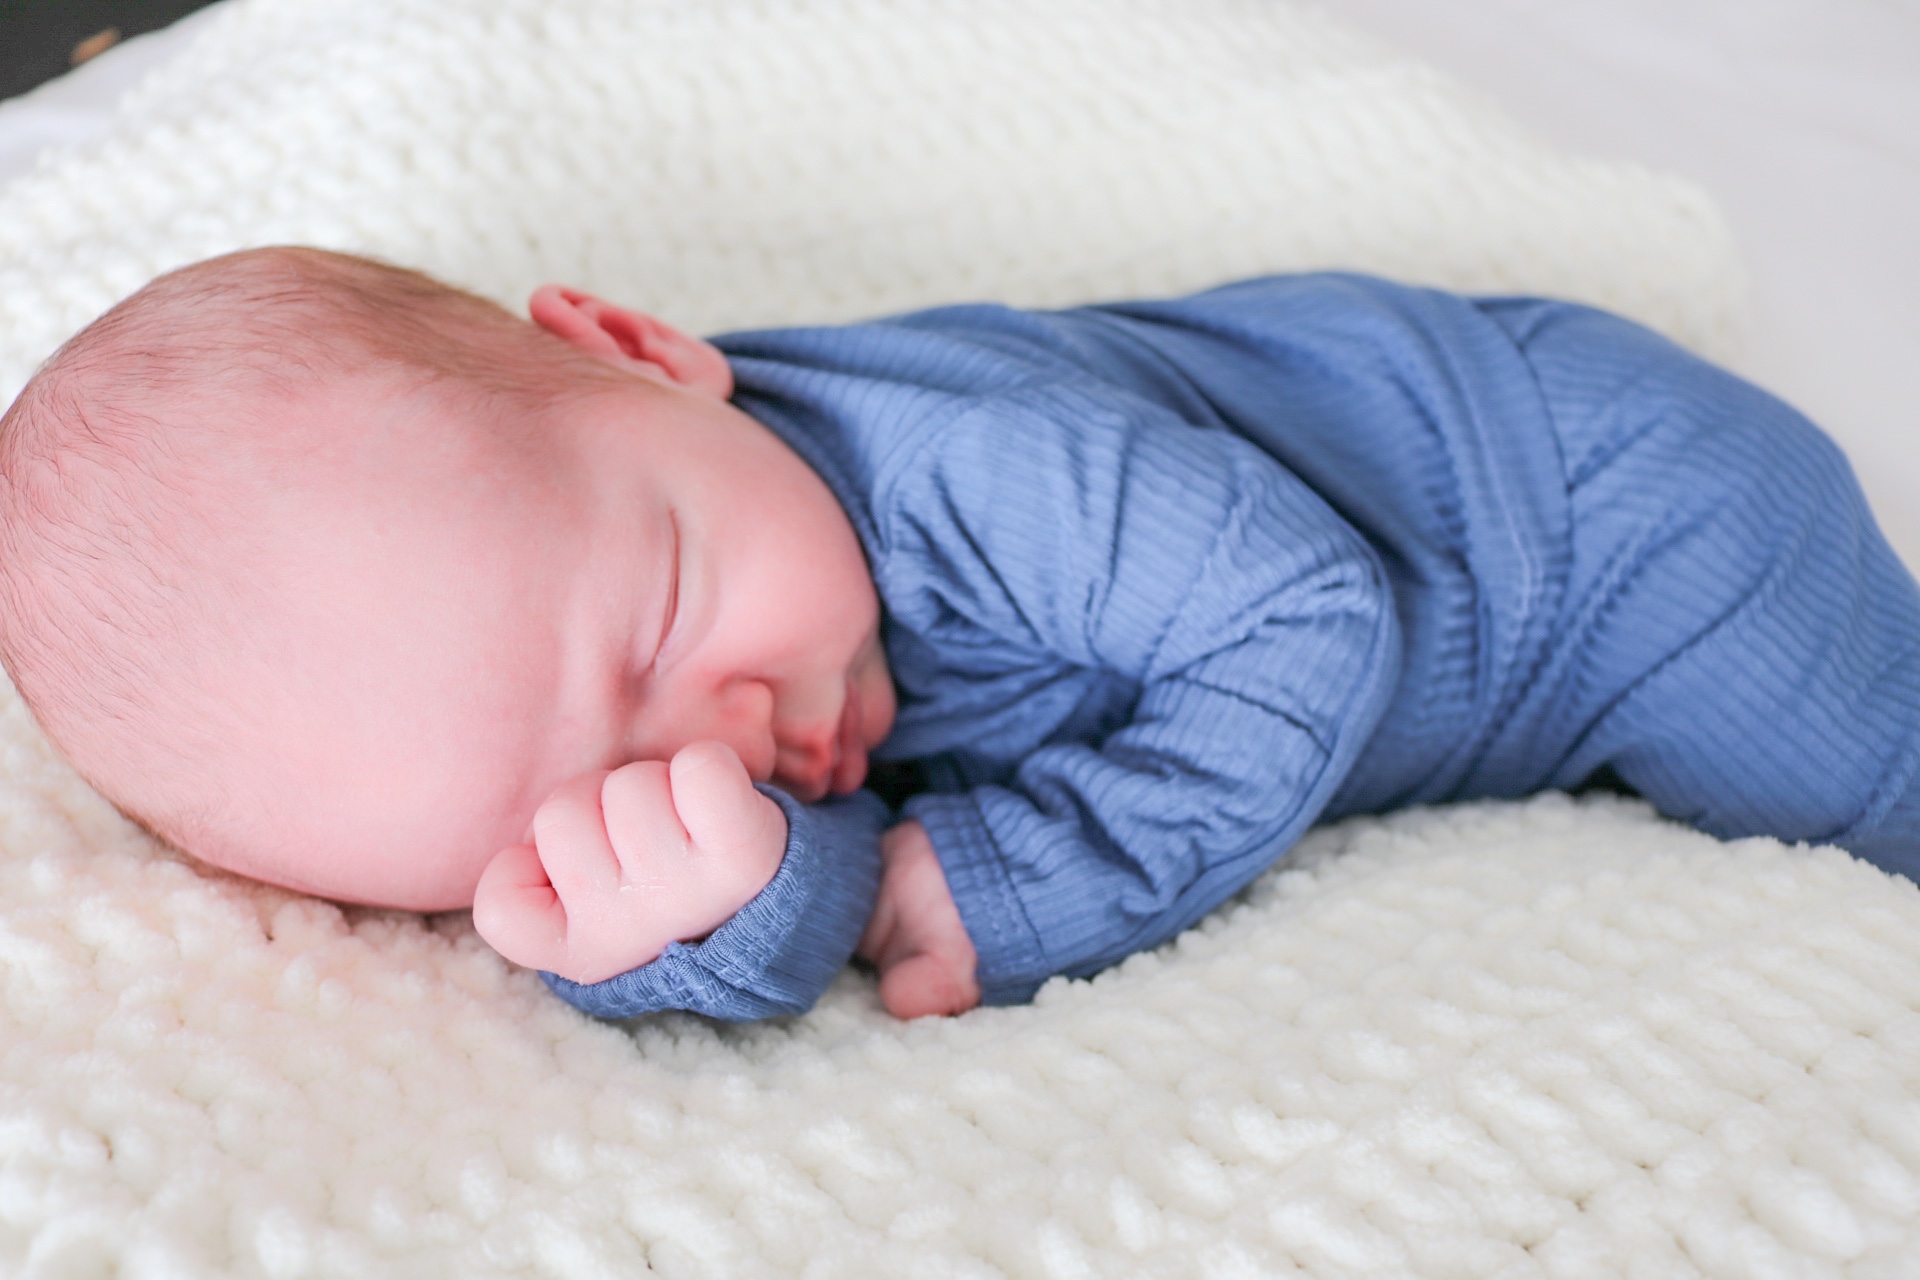
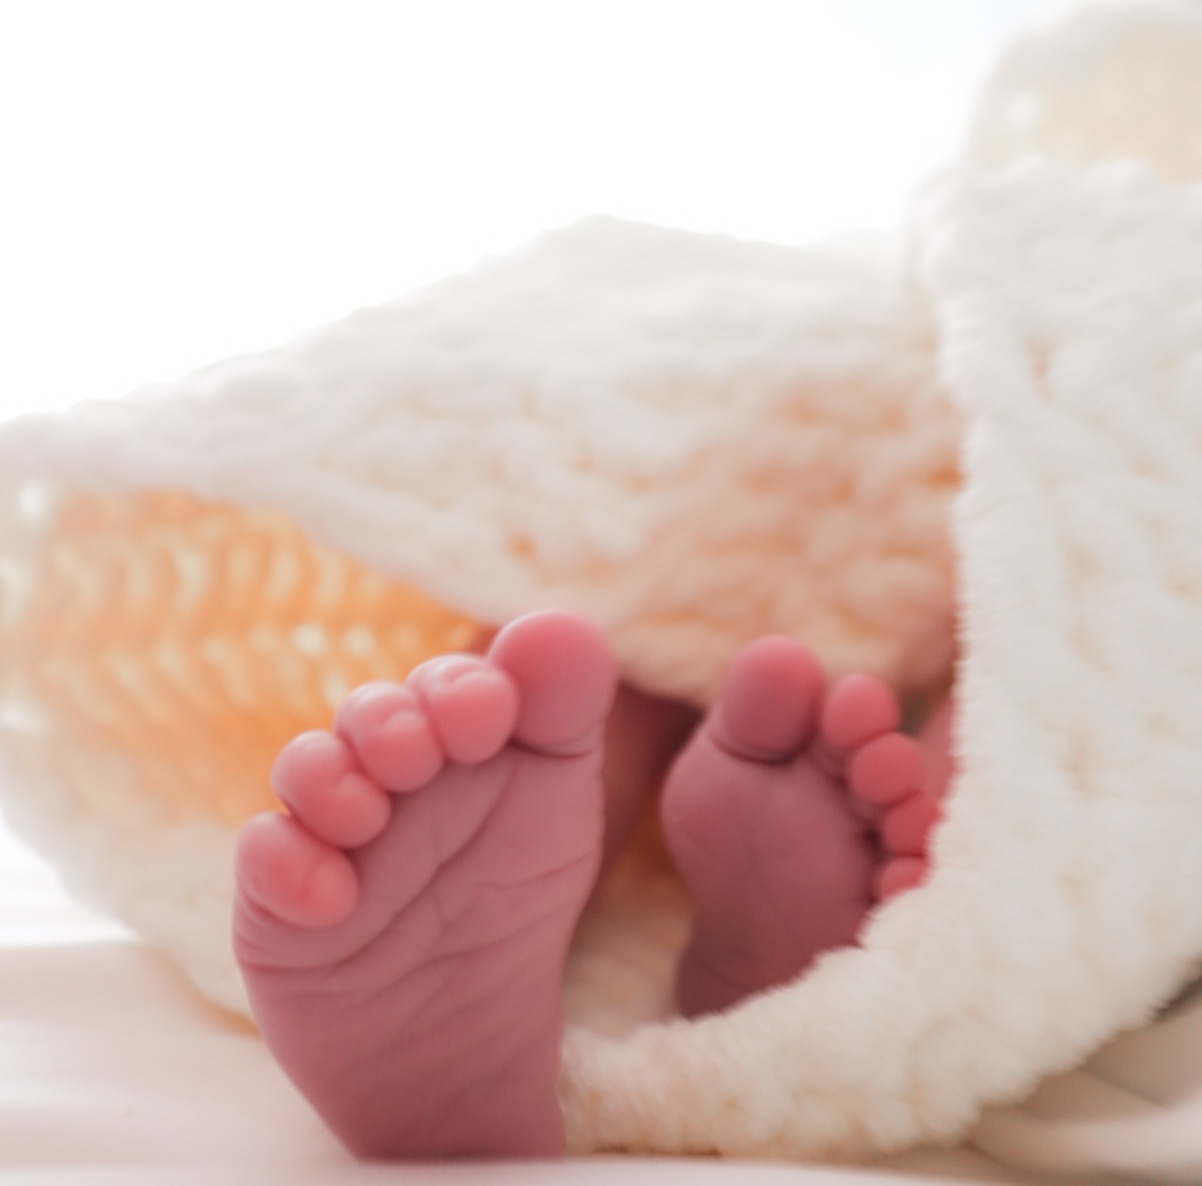

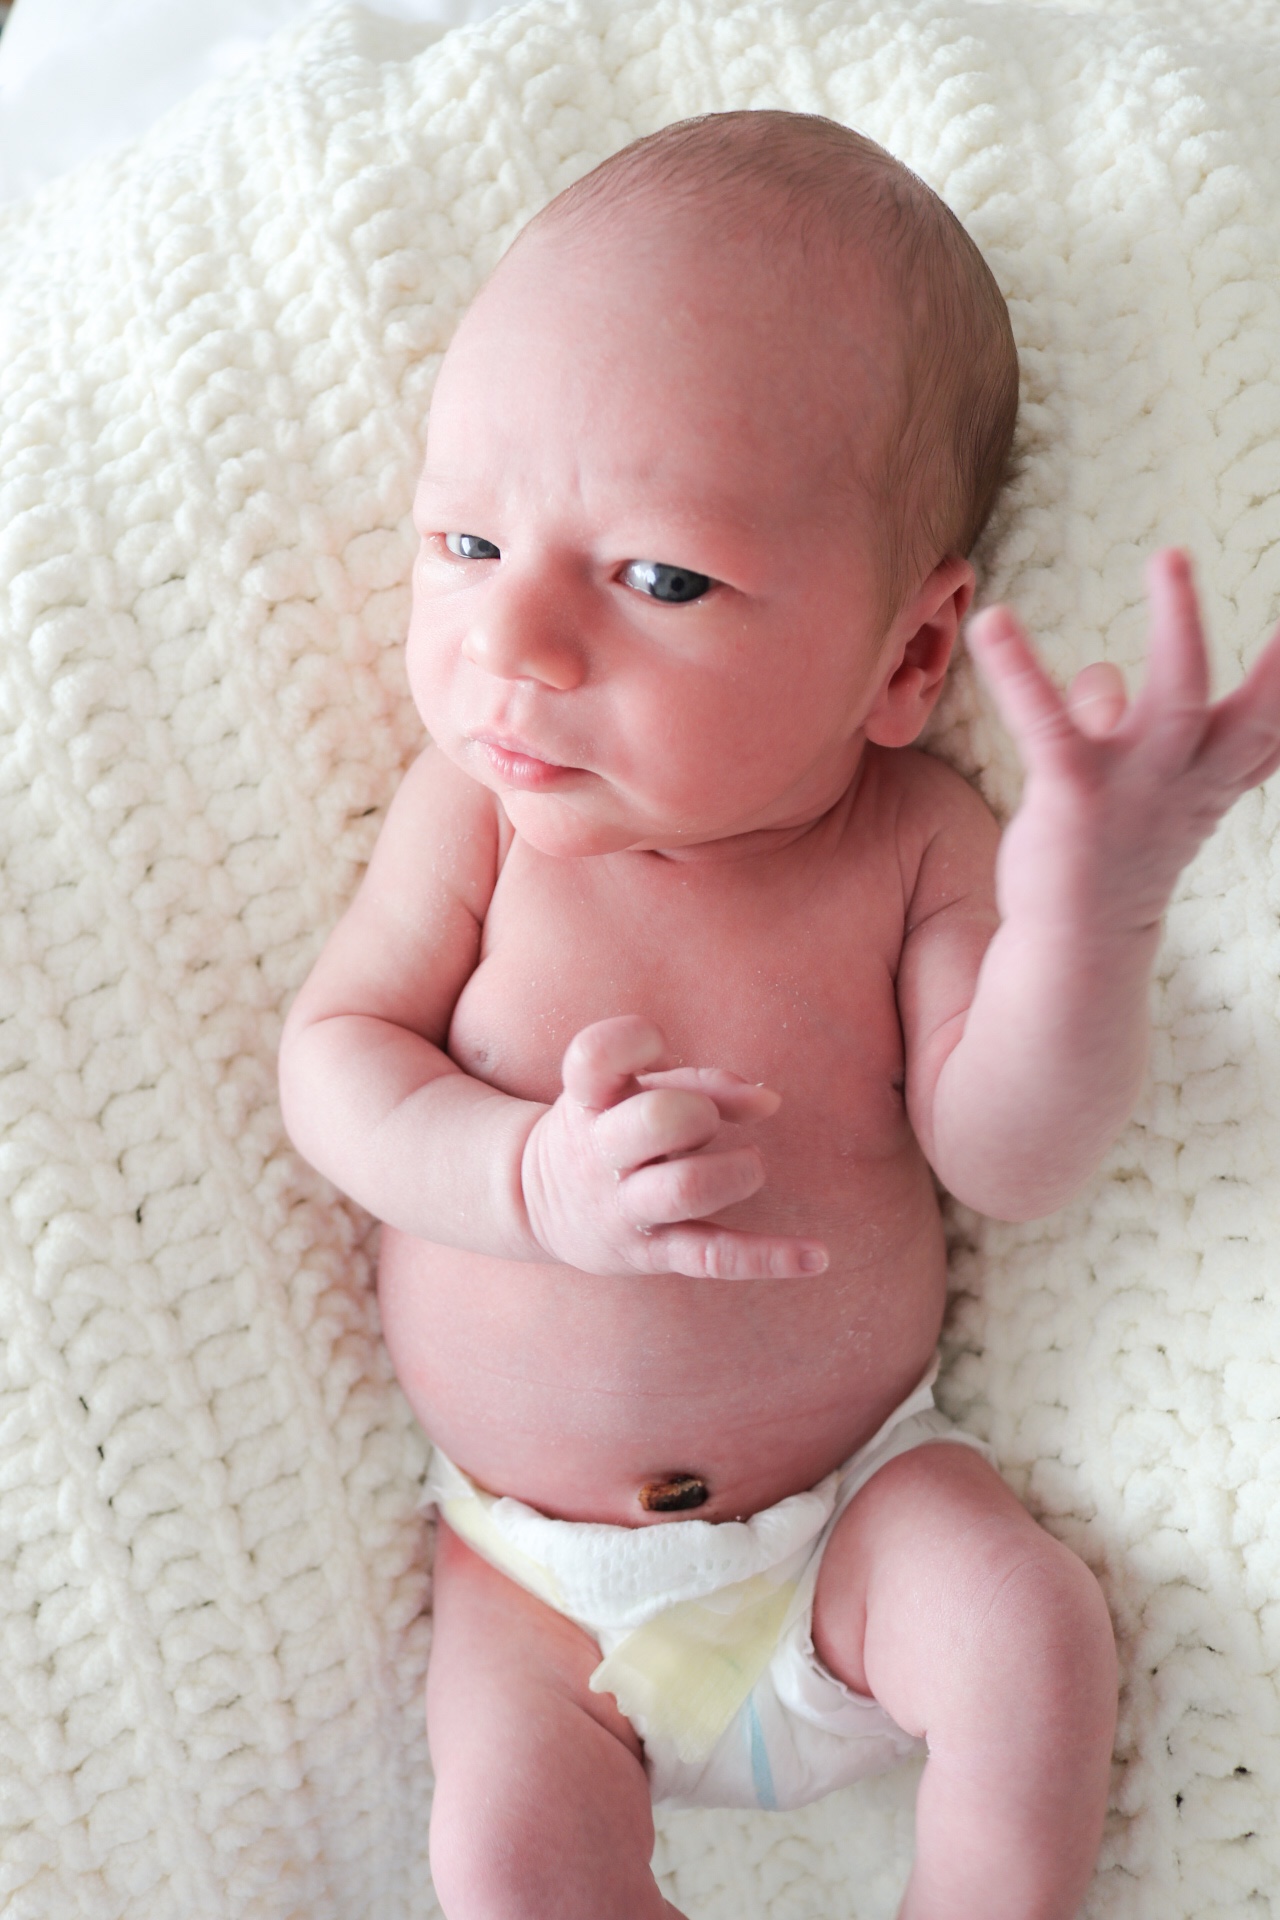
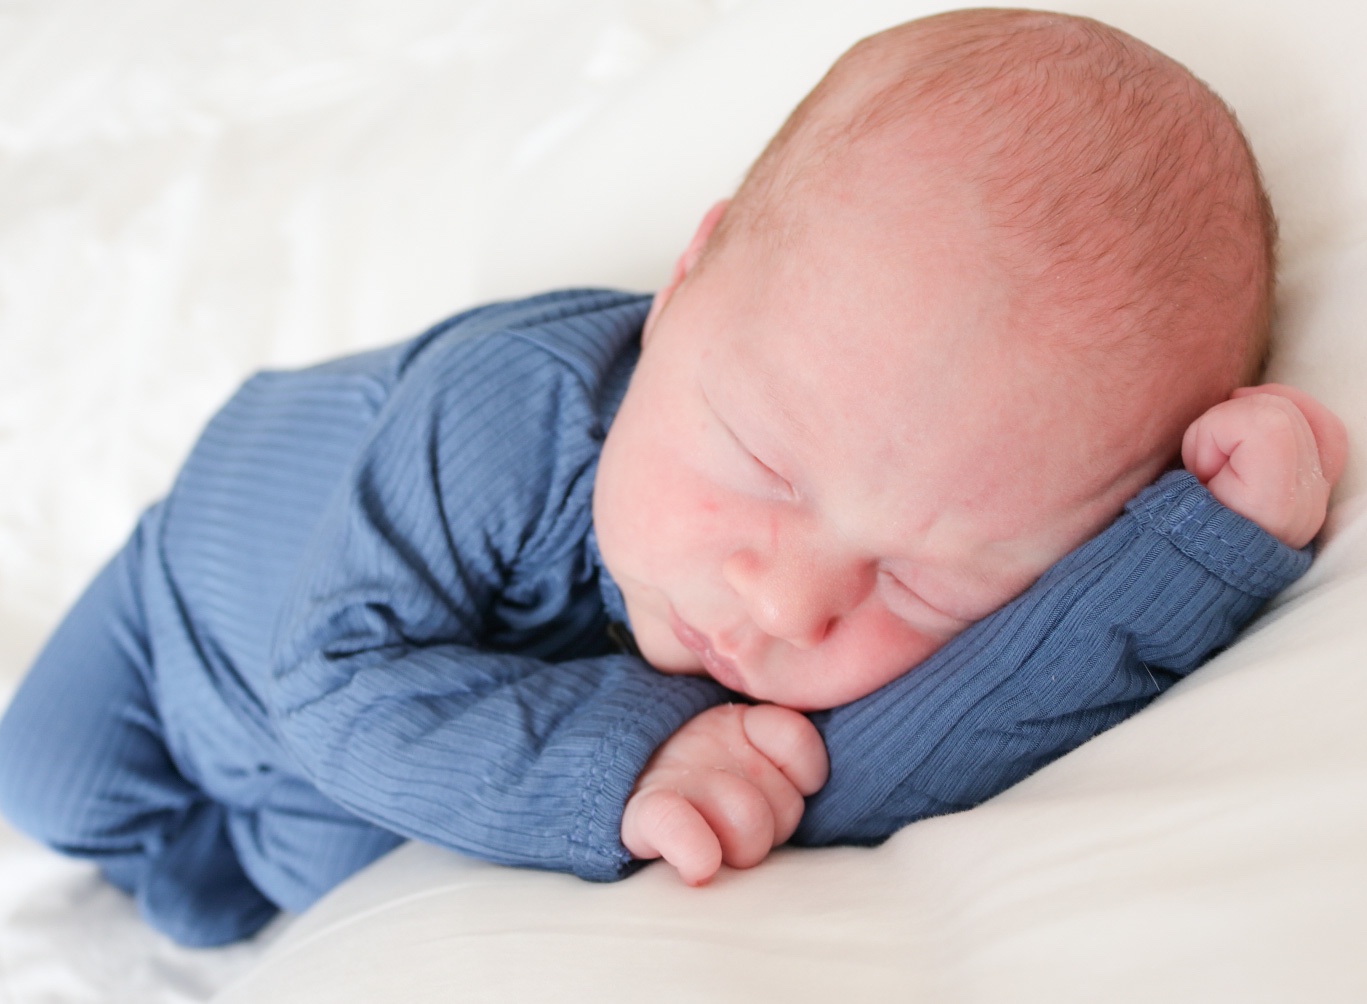
Yesterday my bestfriend came over & we shot Johnathan’s newborn photos. We did this when William was a newborn too. Newborn photography can be costly & intimidating but they don’t have to be! These photos took about an hour all in all to shoot. Ideally you want to take photos in the first week or two when babies are the squishiest & easiest to pose & they tend to stay asleep through different positions. Below I’ll share tips for taking your own photos & the set up we used.
The Set Up
- Boppy Pillow
- Heating Pad – Be VERY careful with a heating pad. I placed it under a thick plush blanket & set it on the lowest setting, checking frequently to make sure it wasn’t too hot, I ended up turning it off completely.
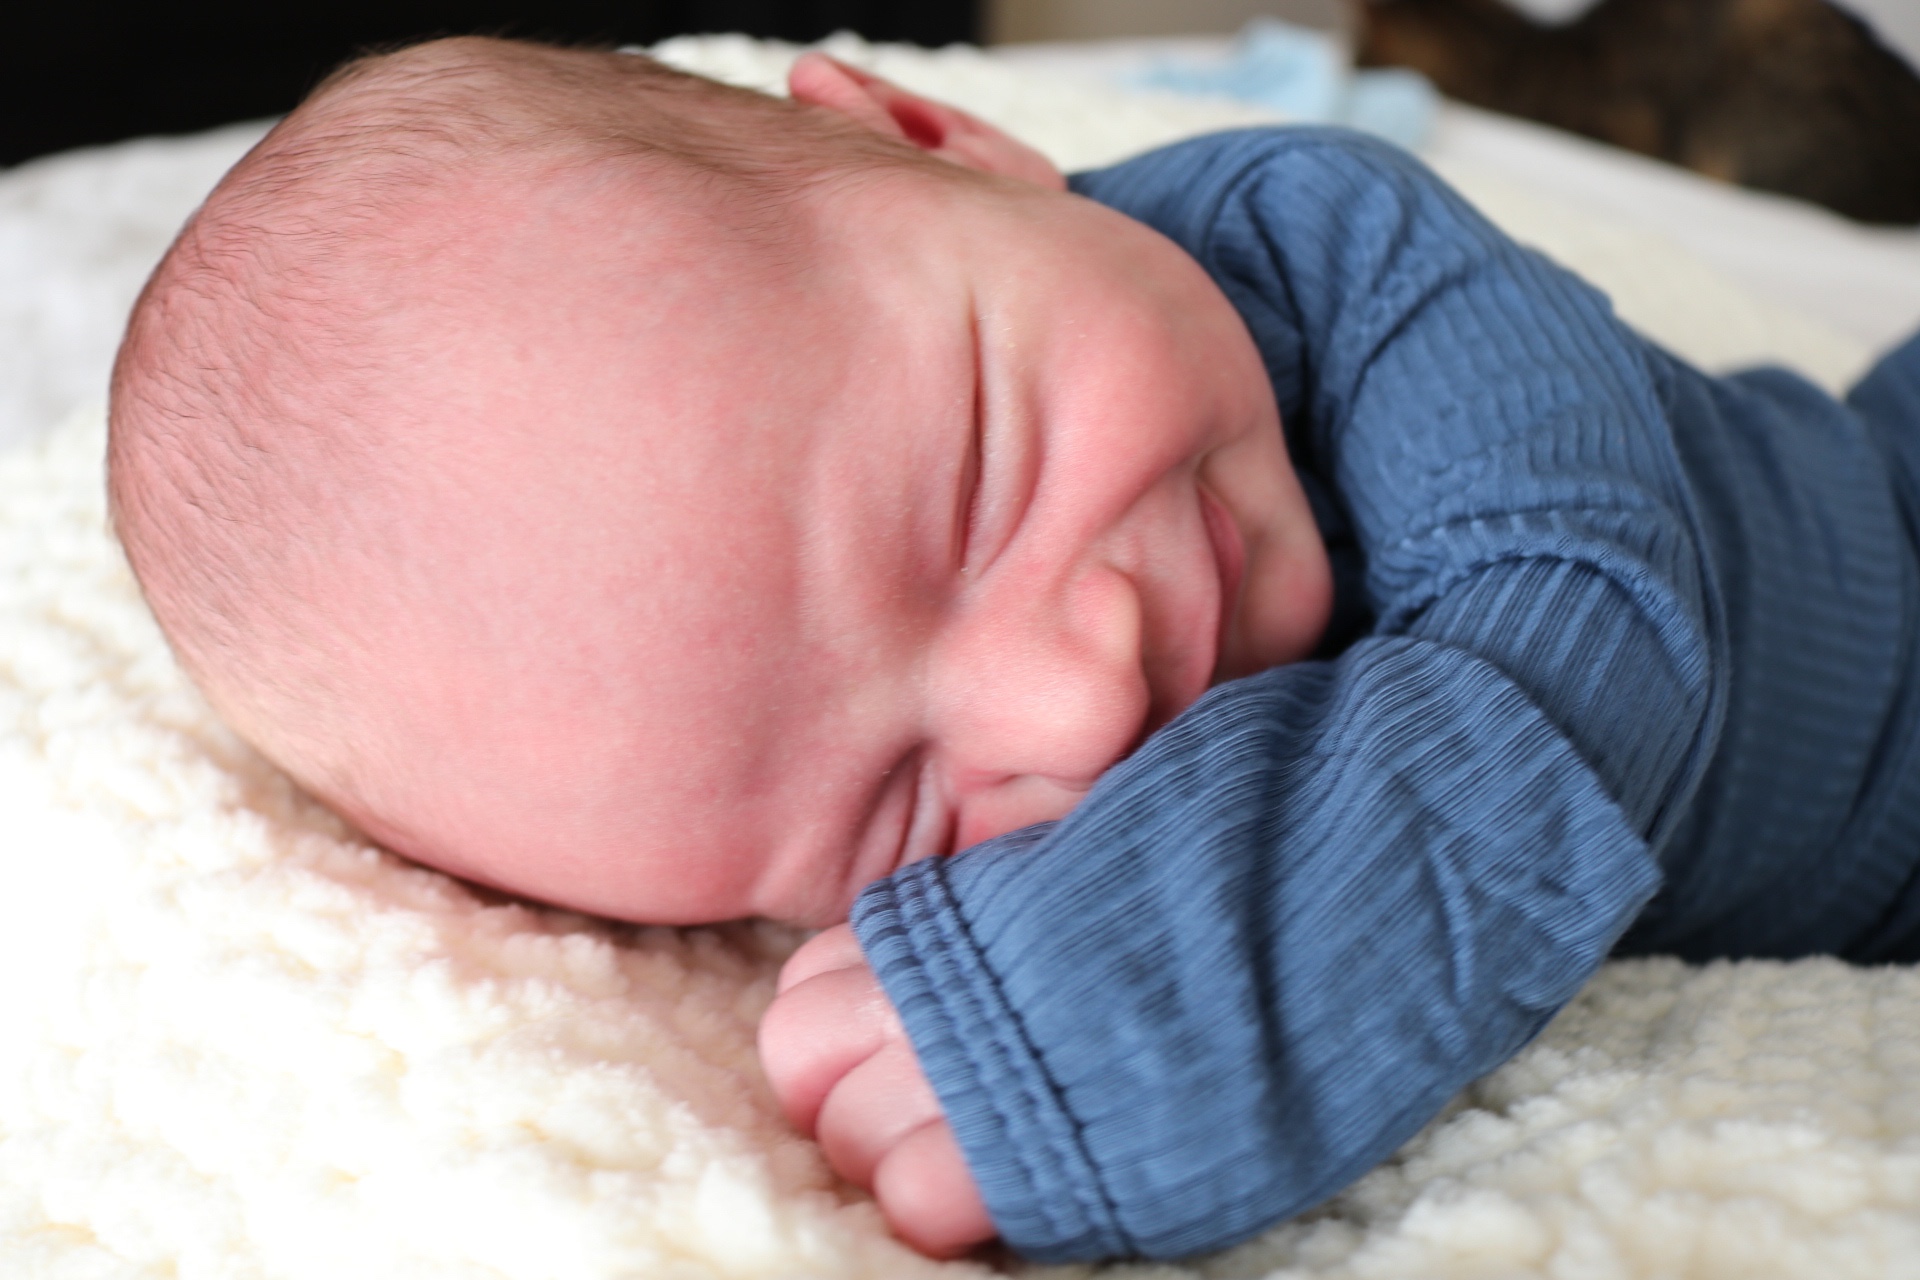
- Plush Blanket – something with texture is nice
- Somewhere near a window with lots of light!
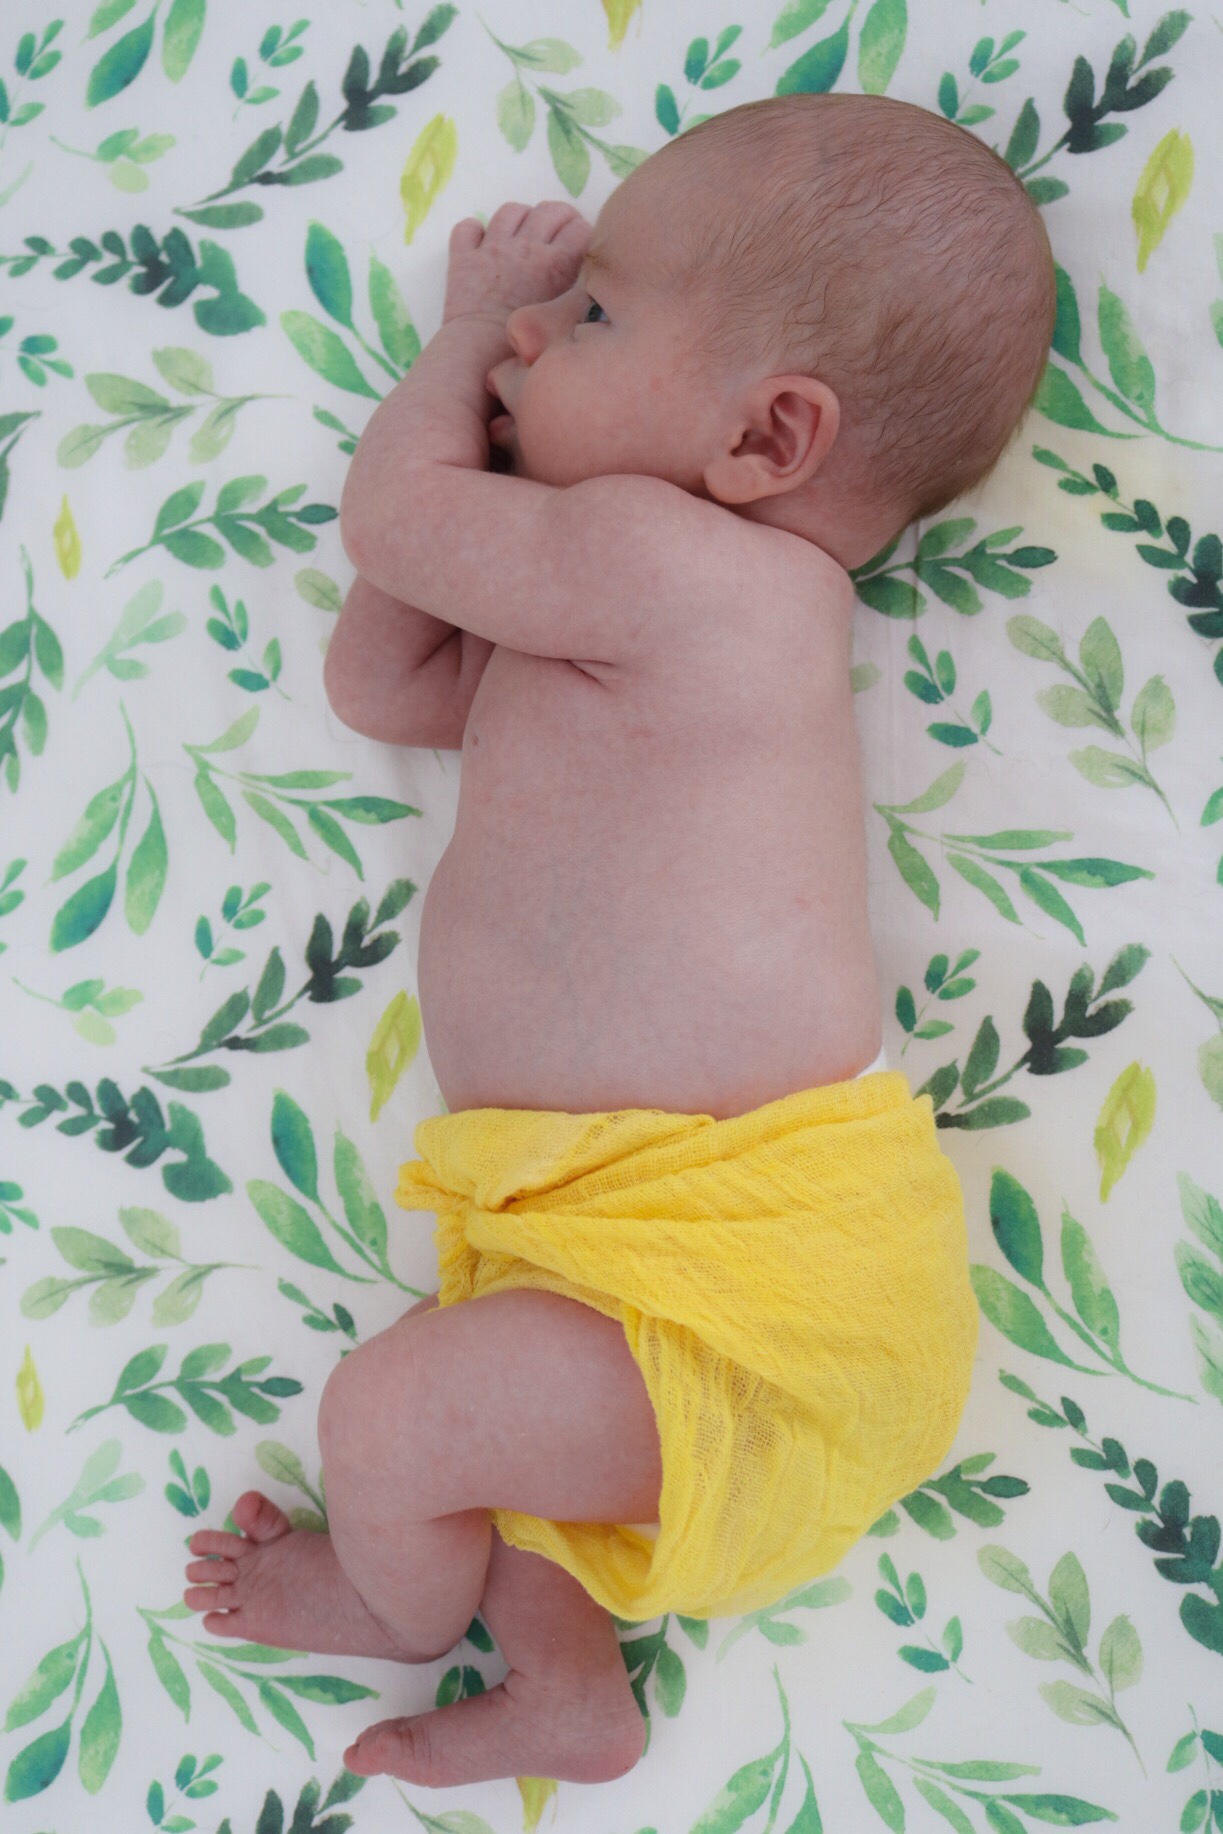
I put the heating pad over the boppy pillow, followed by the plush blanket I wanted to use. This blanket is extra special because my late aunt sent it to us shortly before she lost her battle to cancer one day after our son was born.
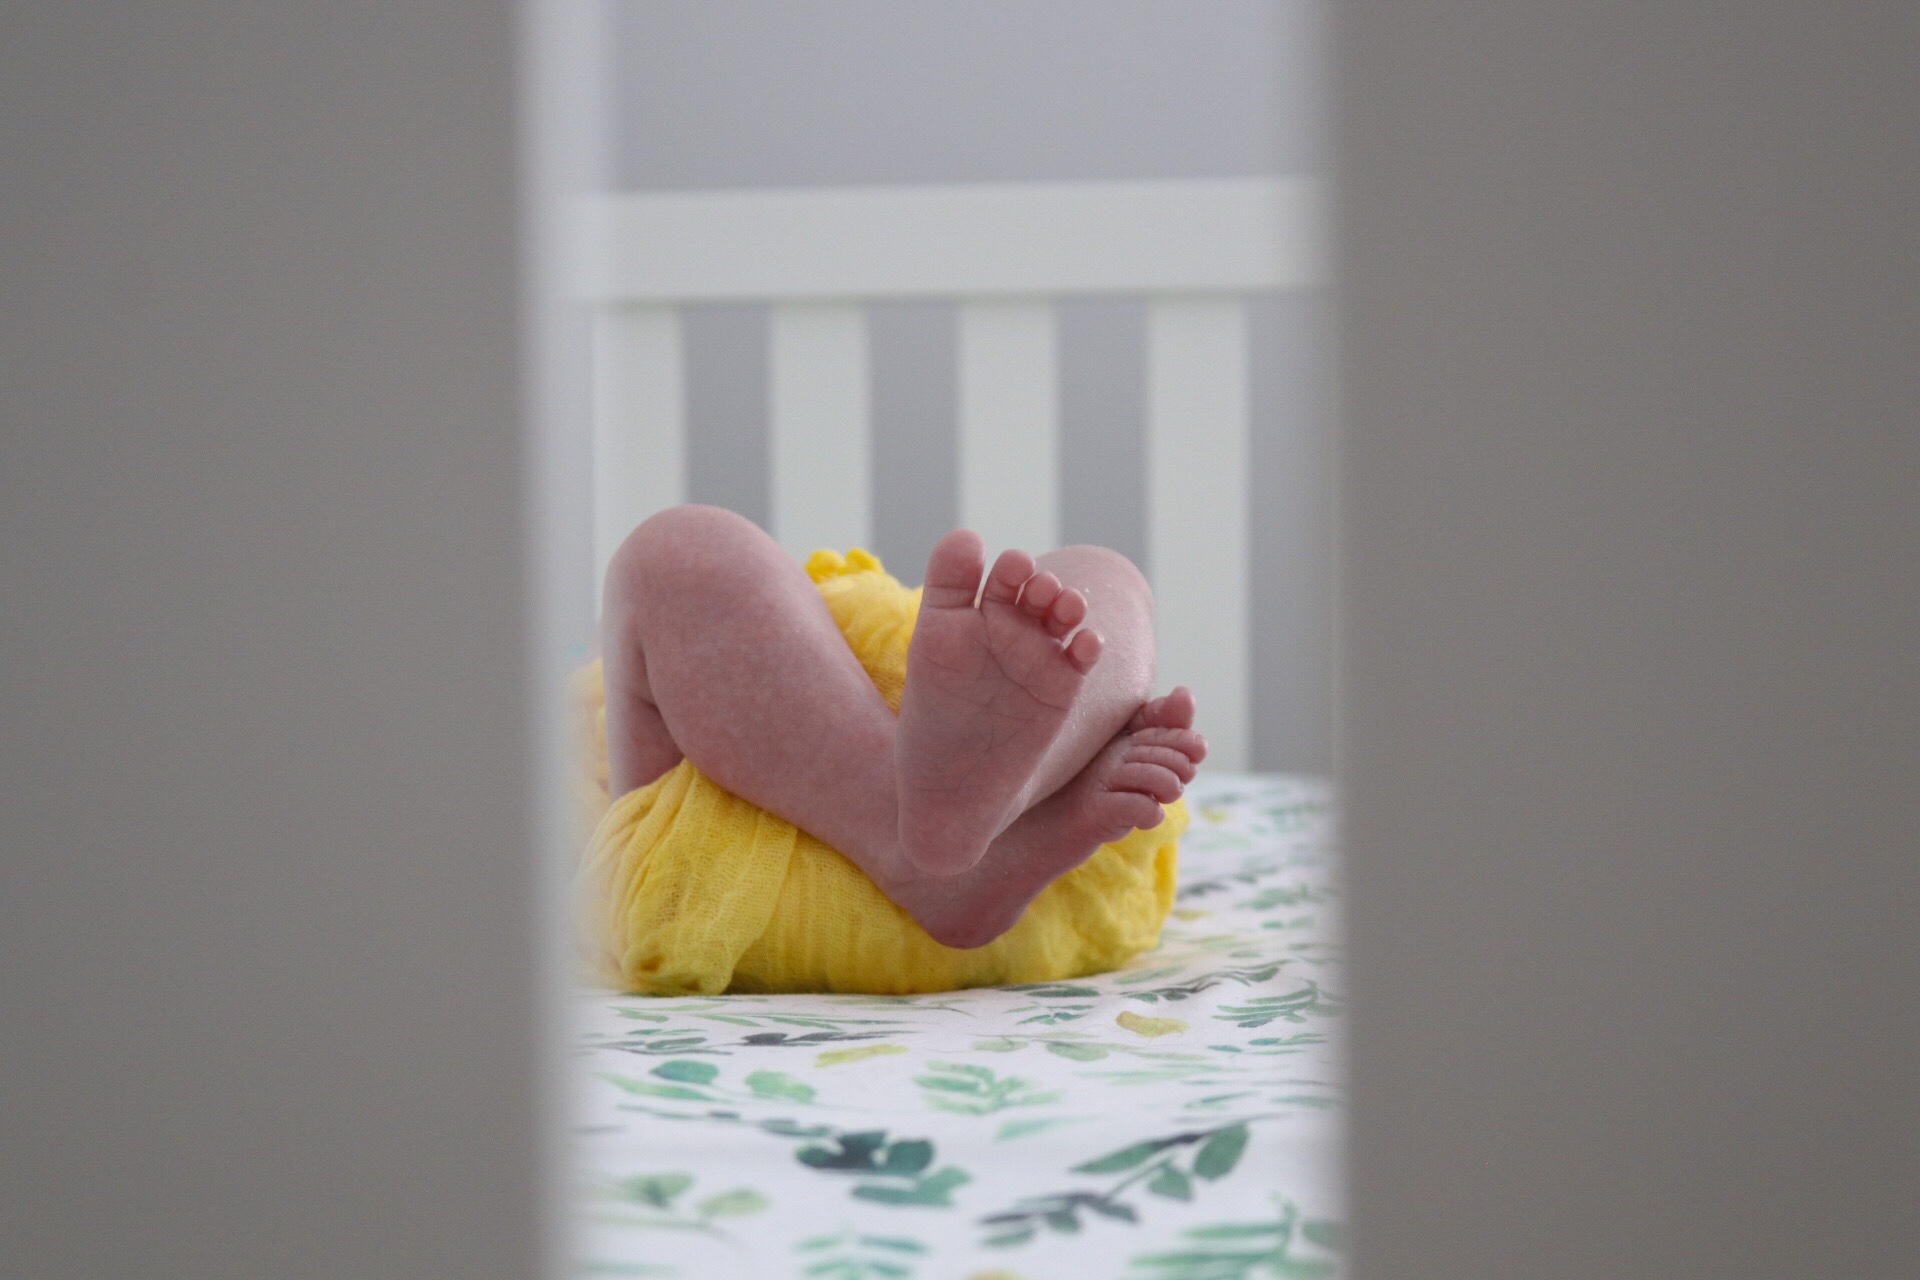
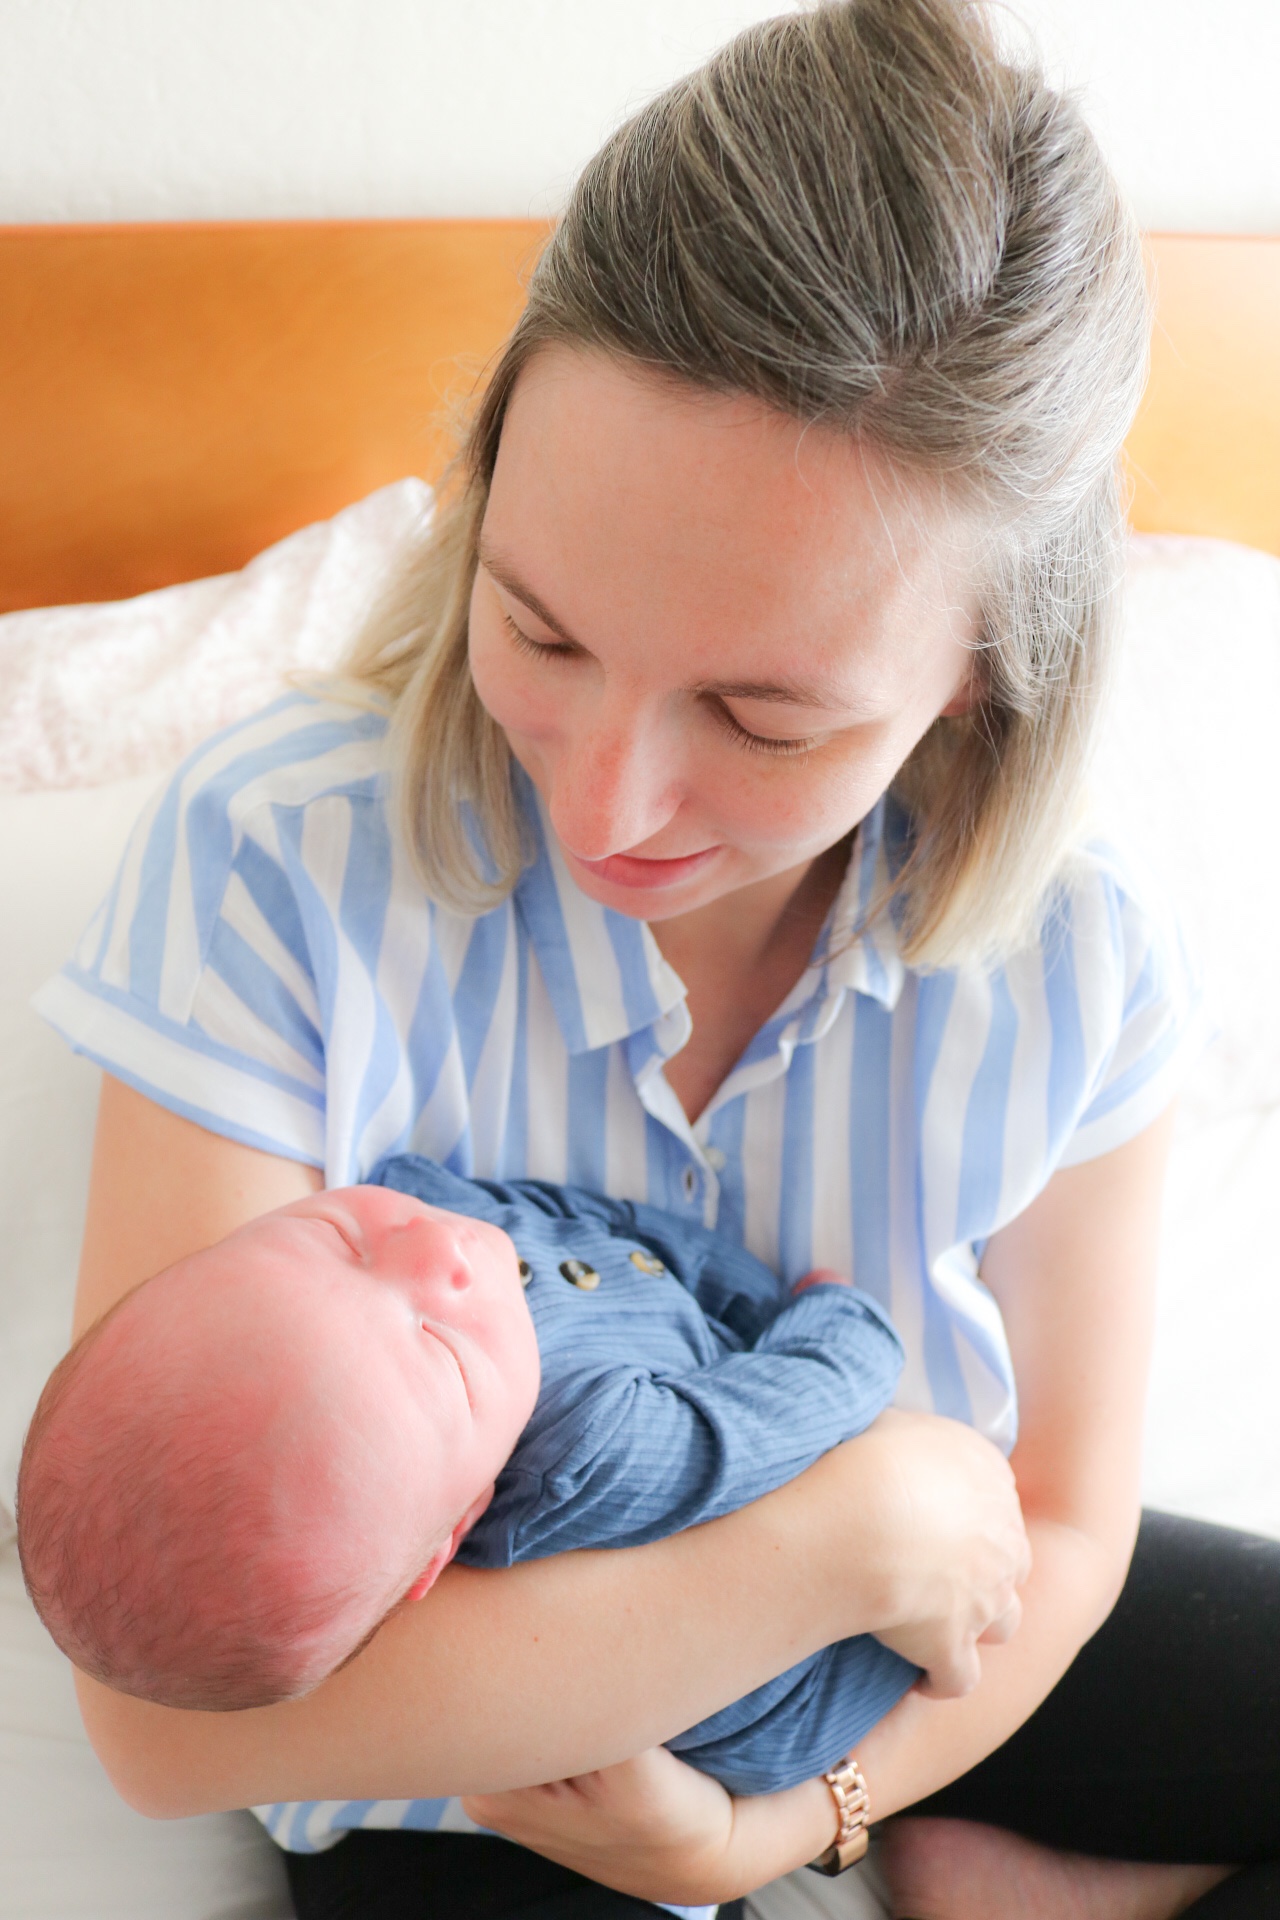
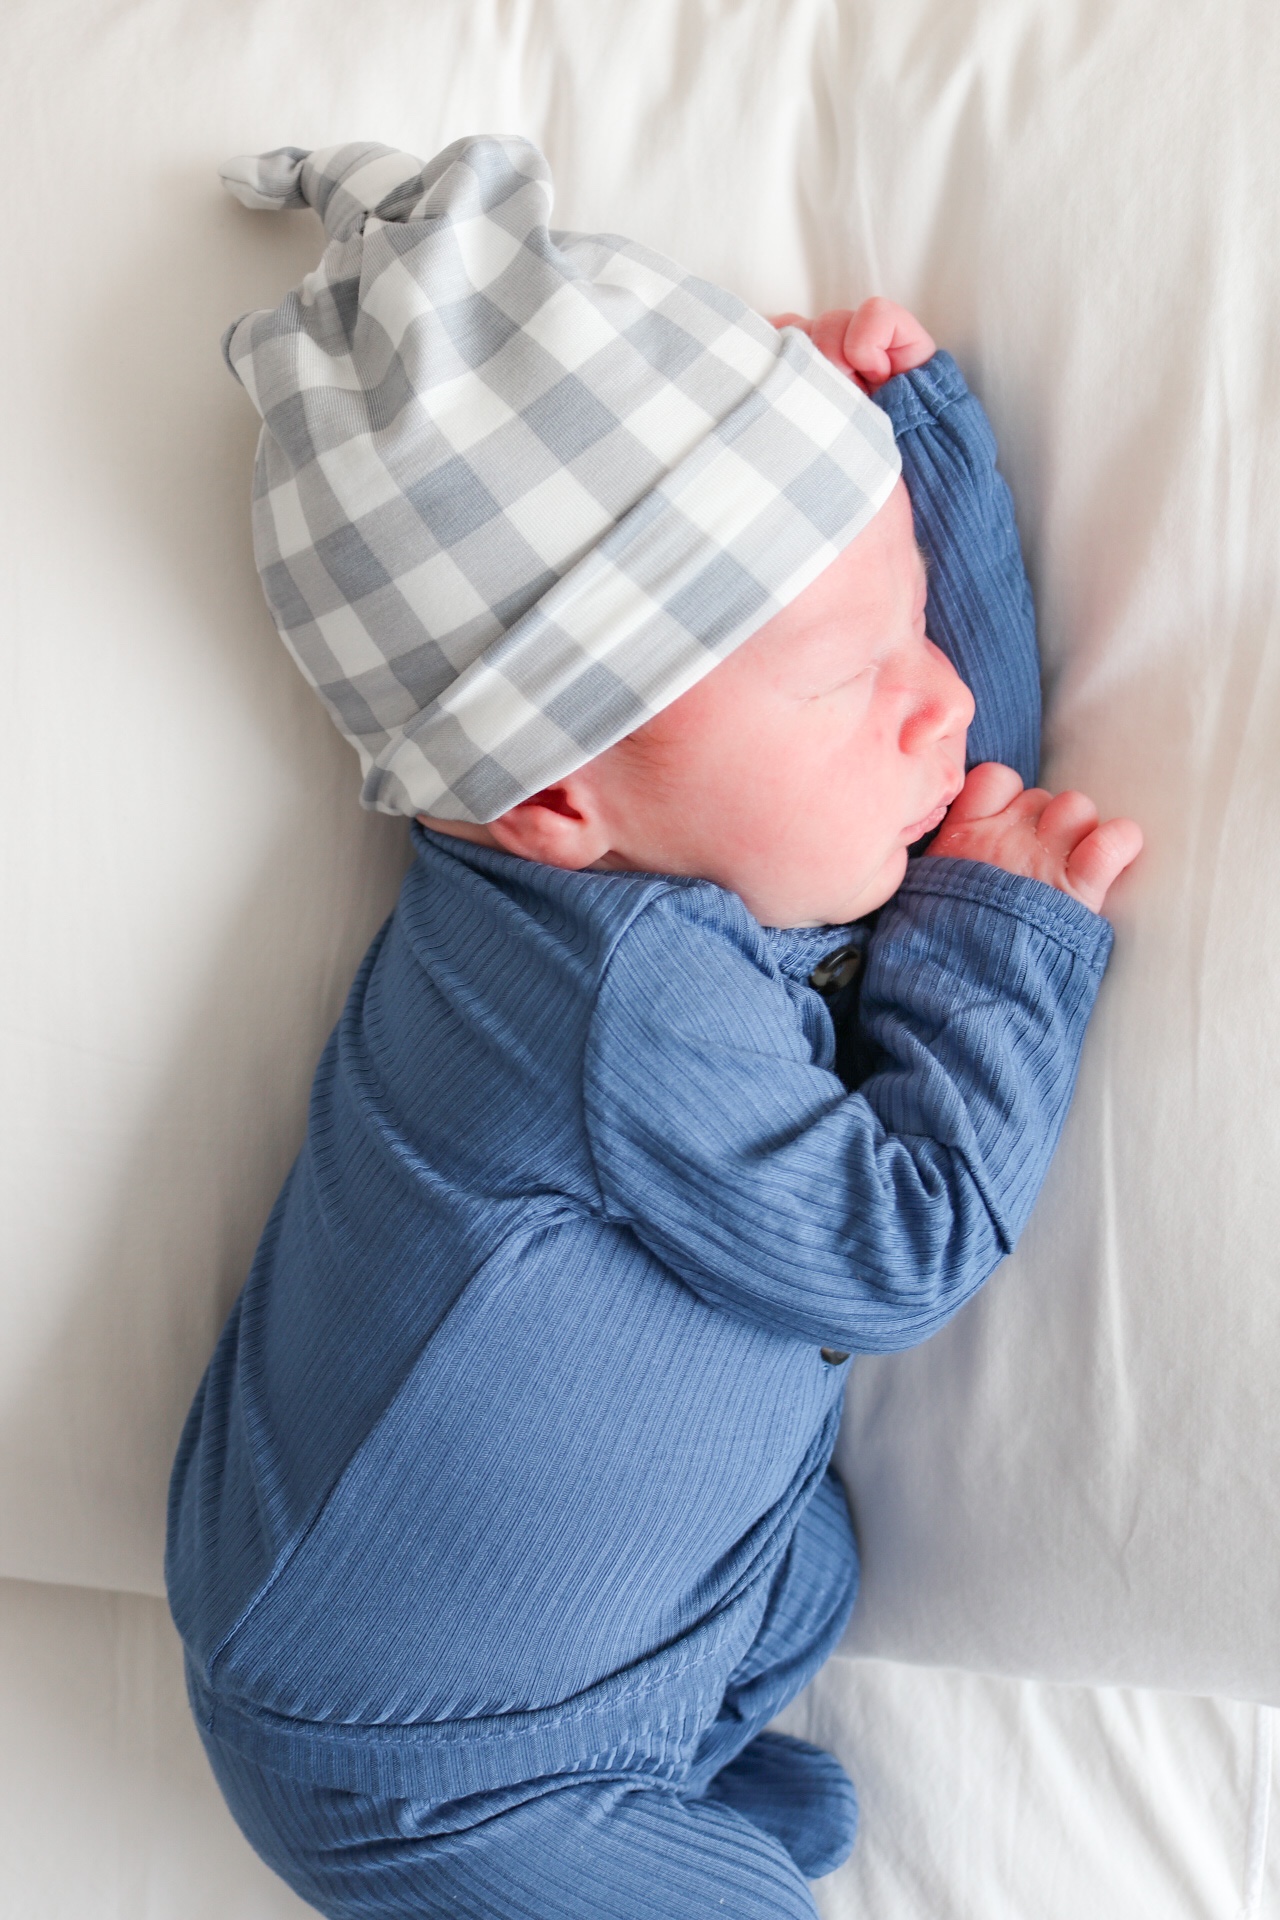
I positioned the boppy / blanket set up on our bed near a window that got plenty of afternoon light. But when I took William’s newborn photos the set up was on his rocking chair, near a window. The key is finding an area of your home that gets good natural light.
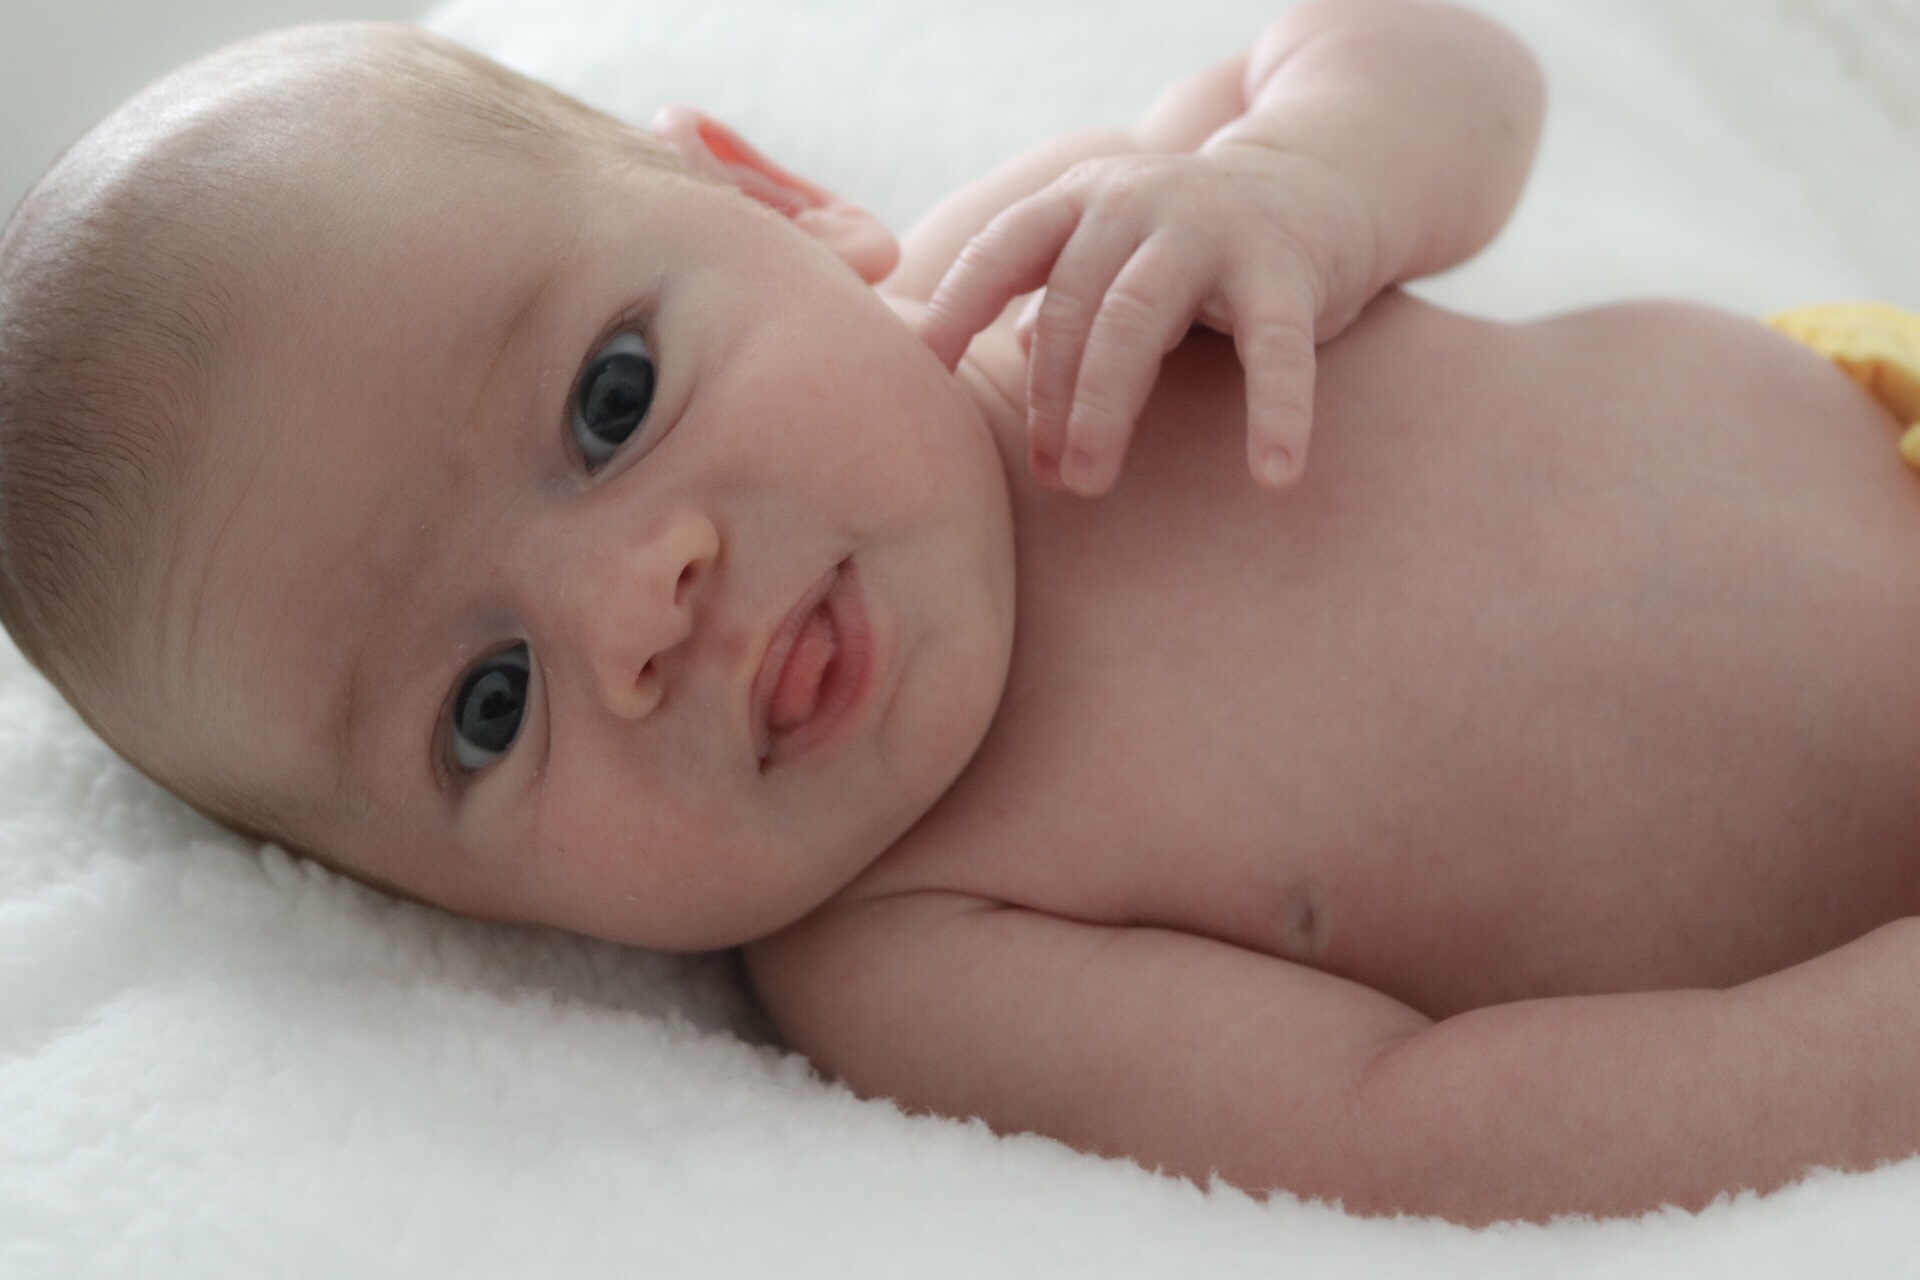
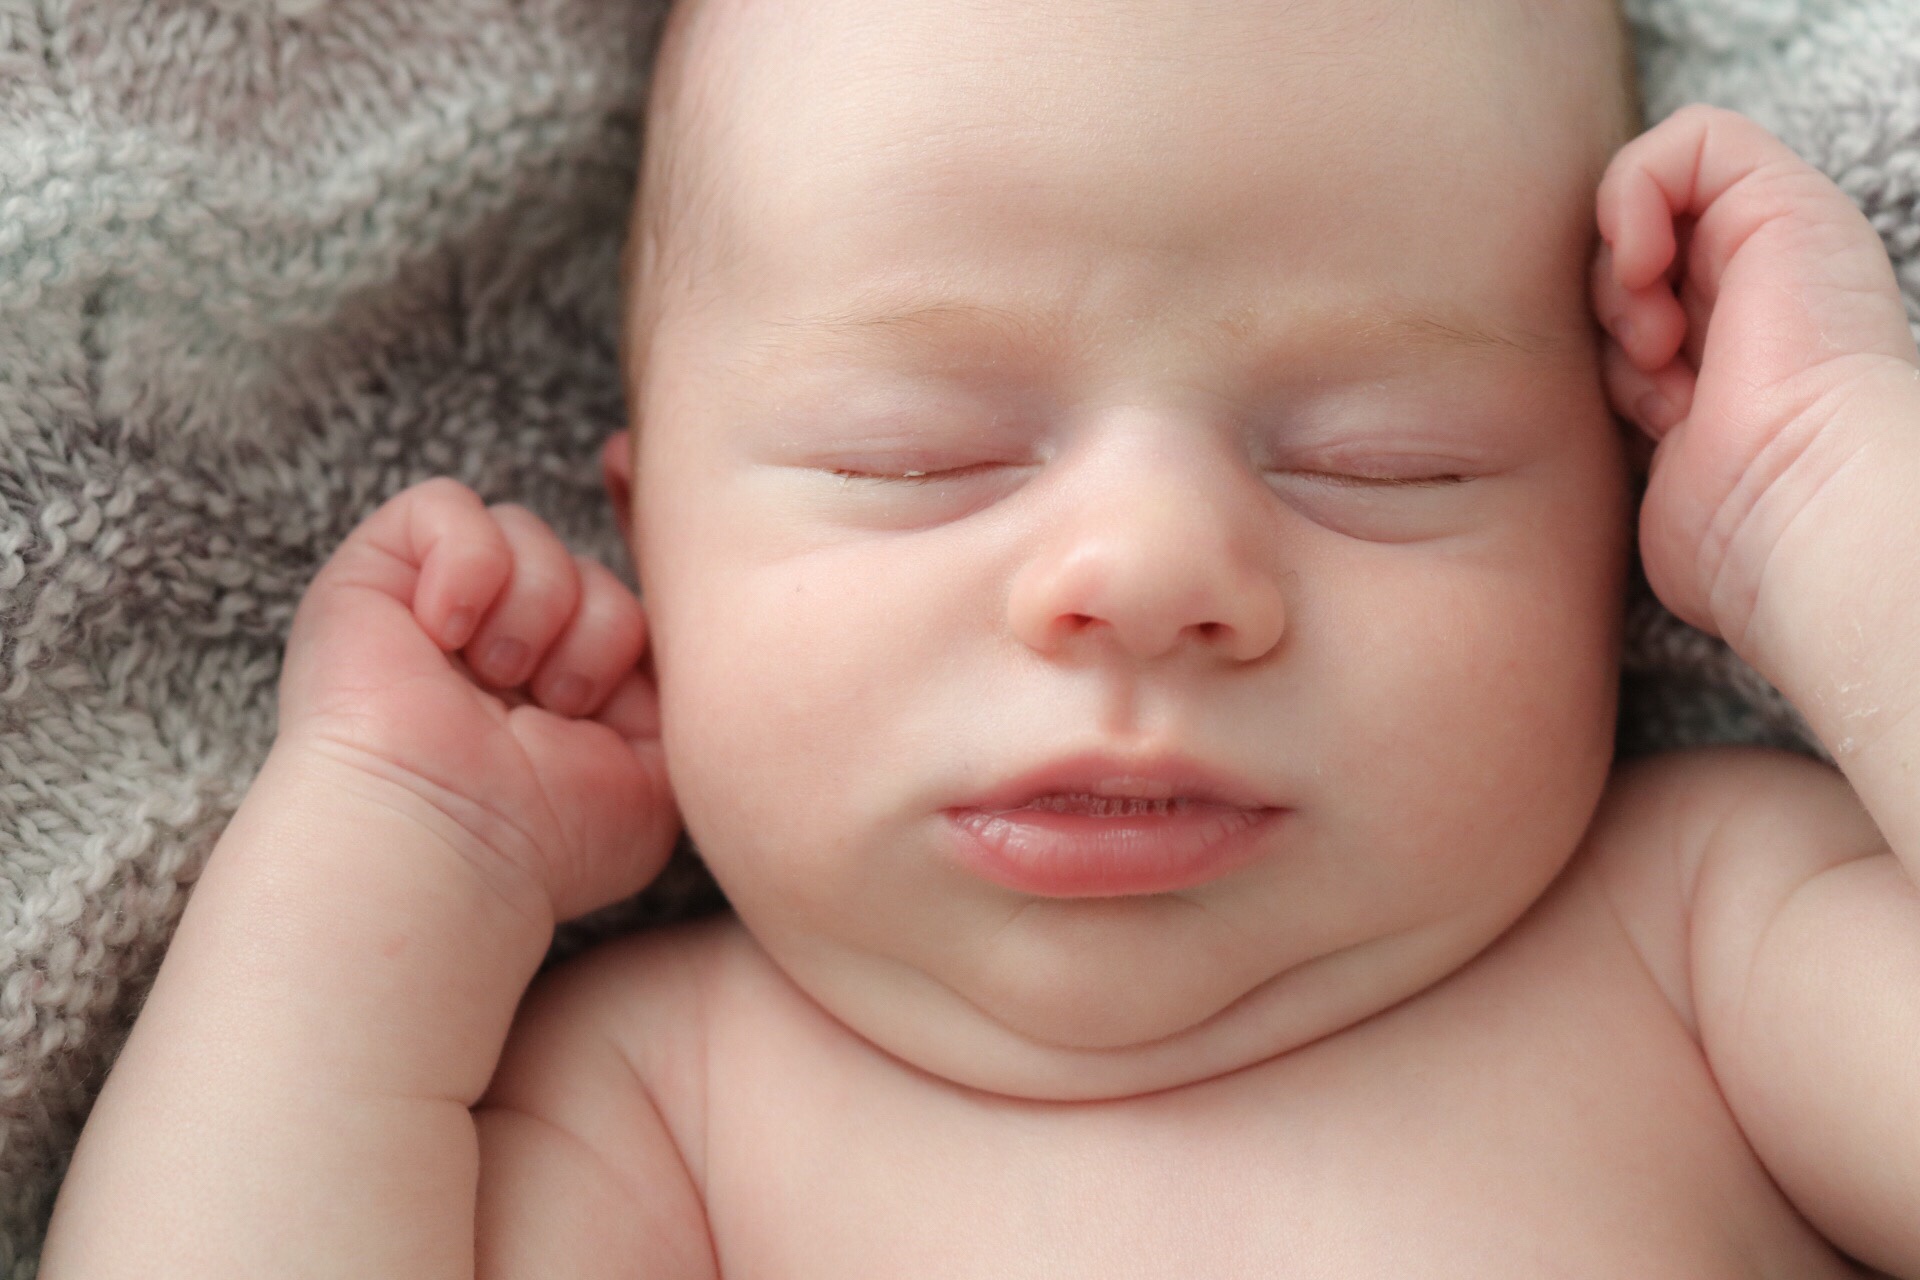
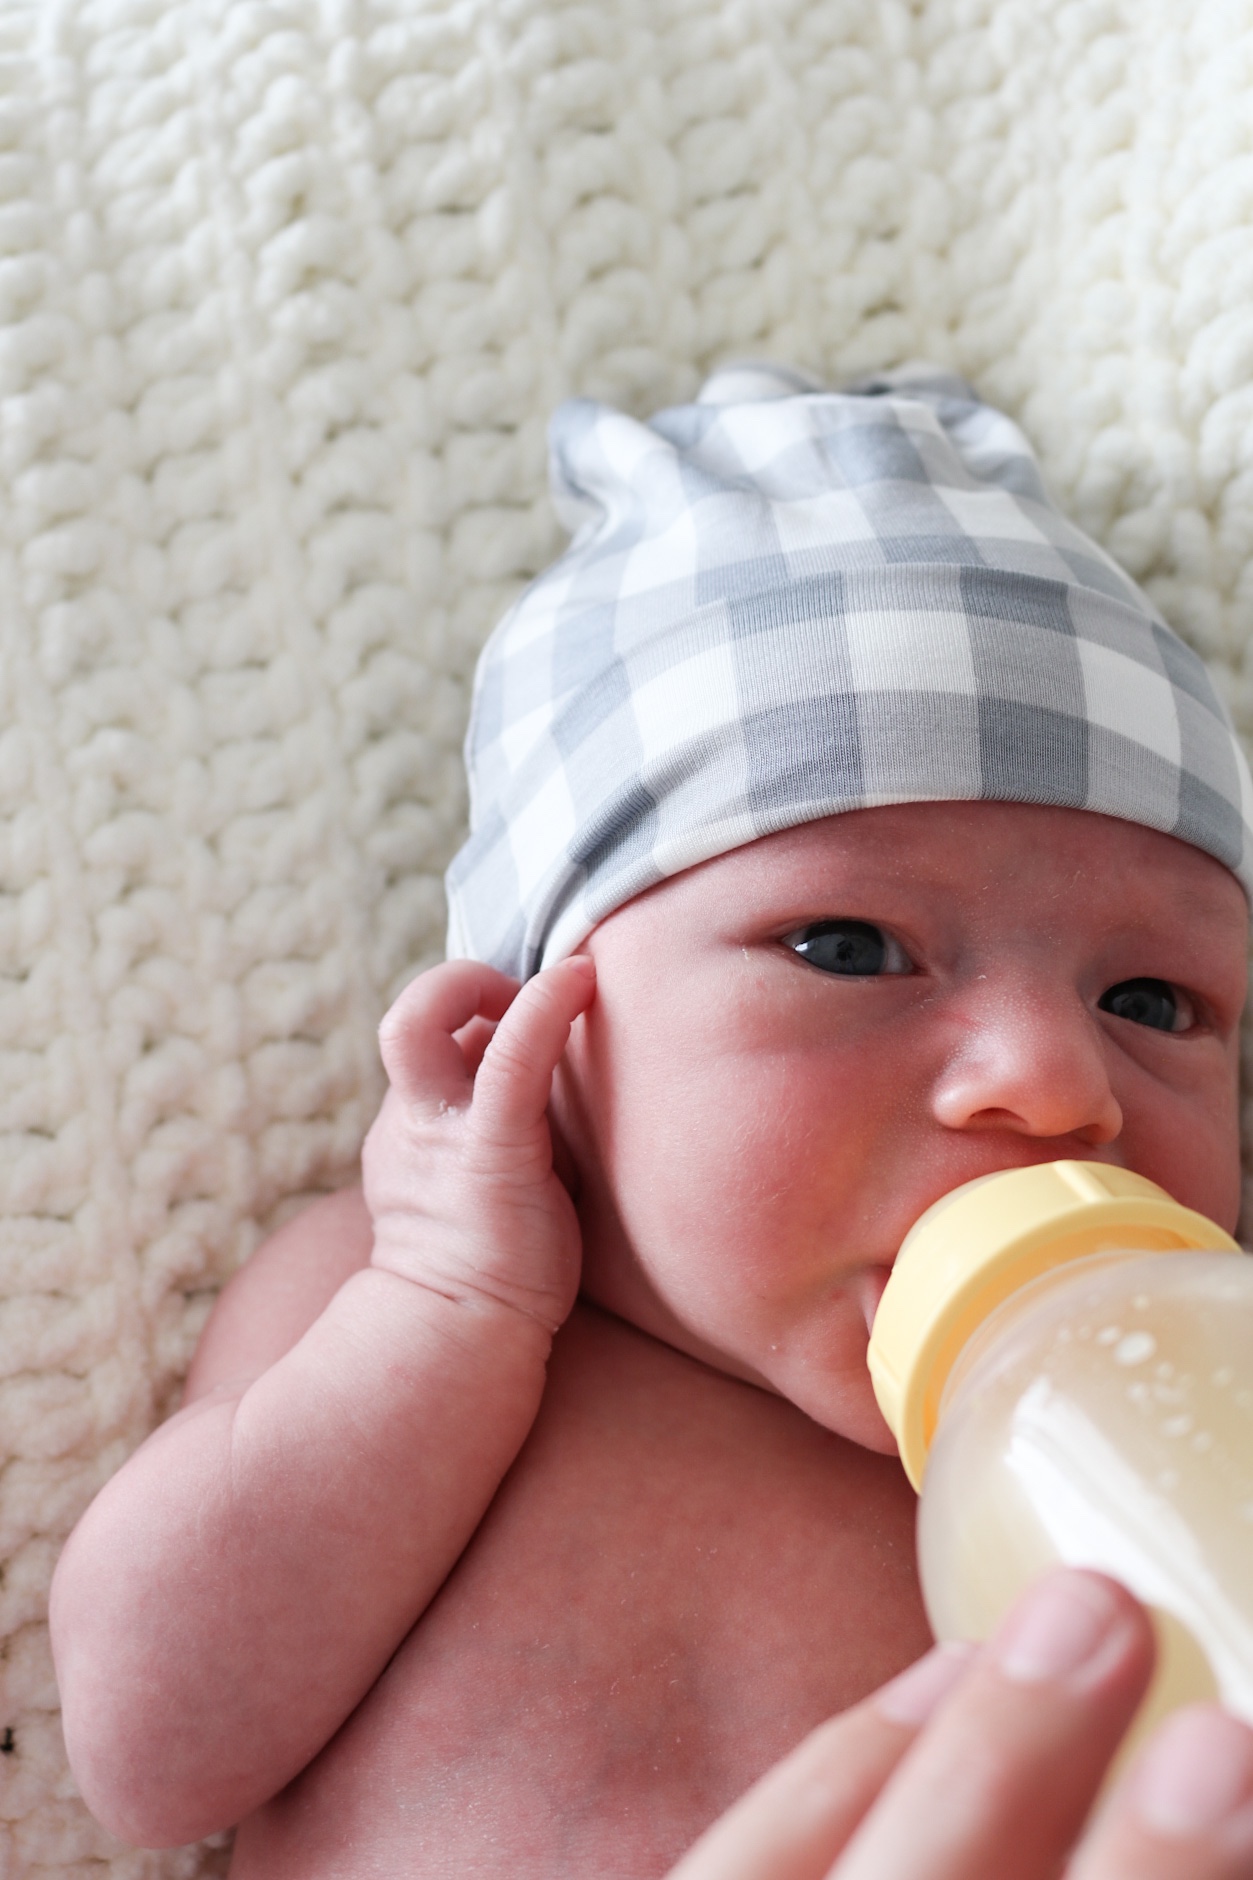
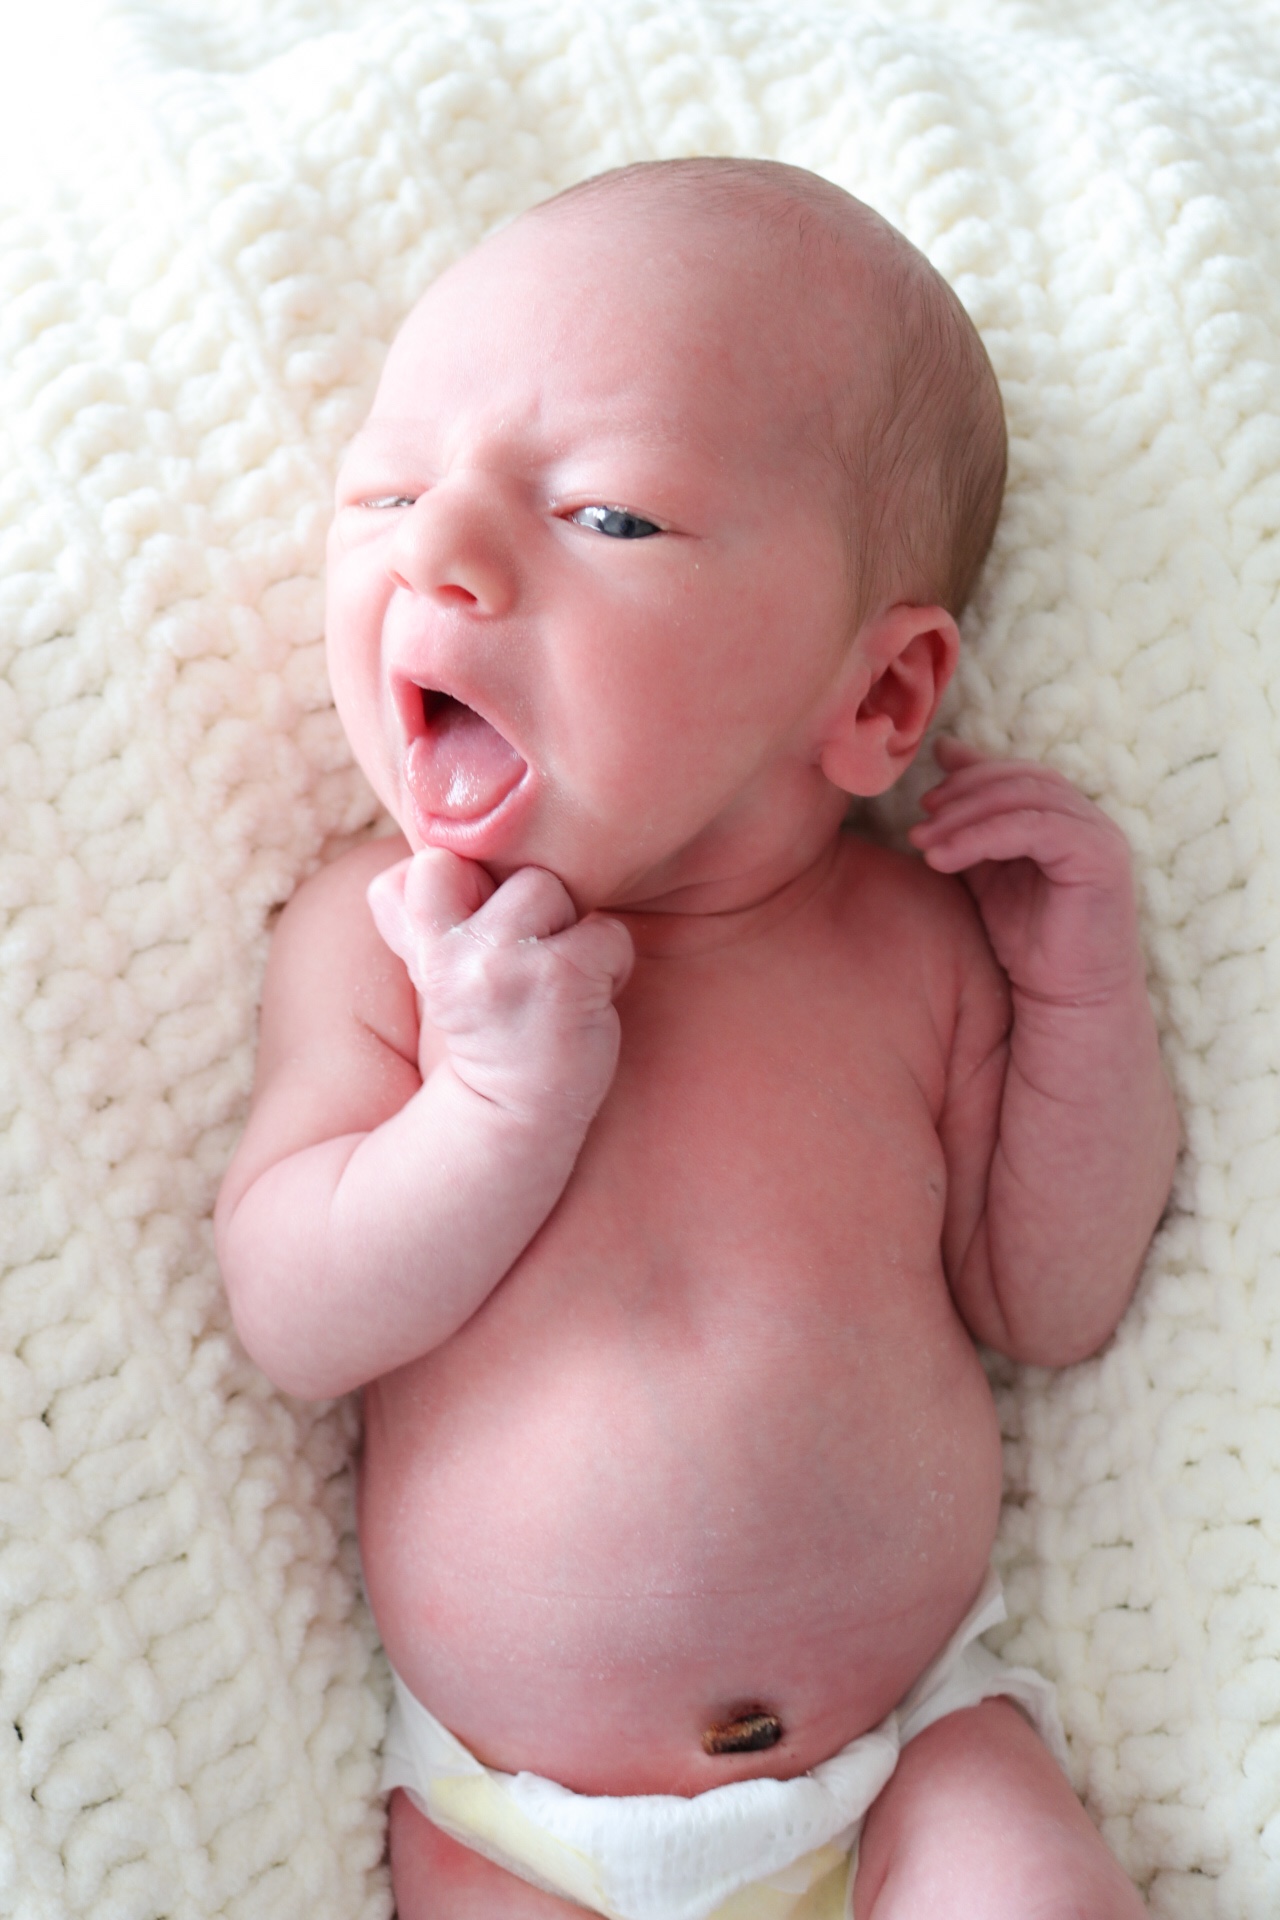
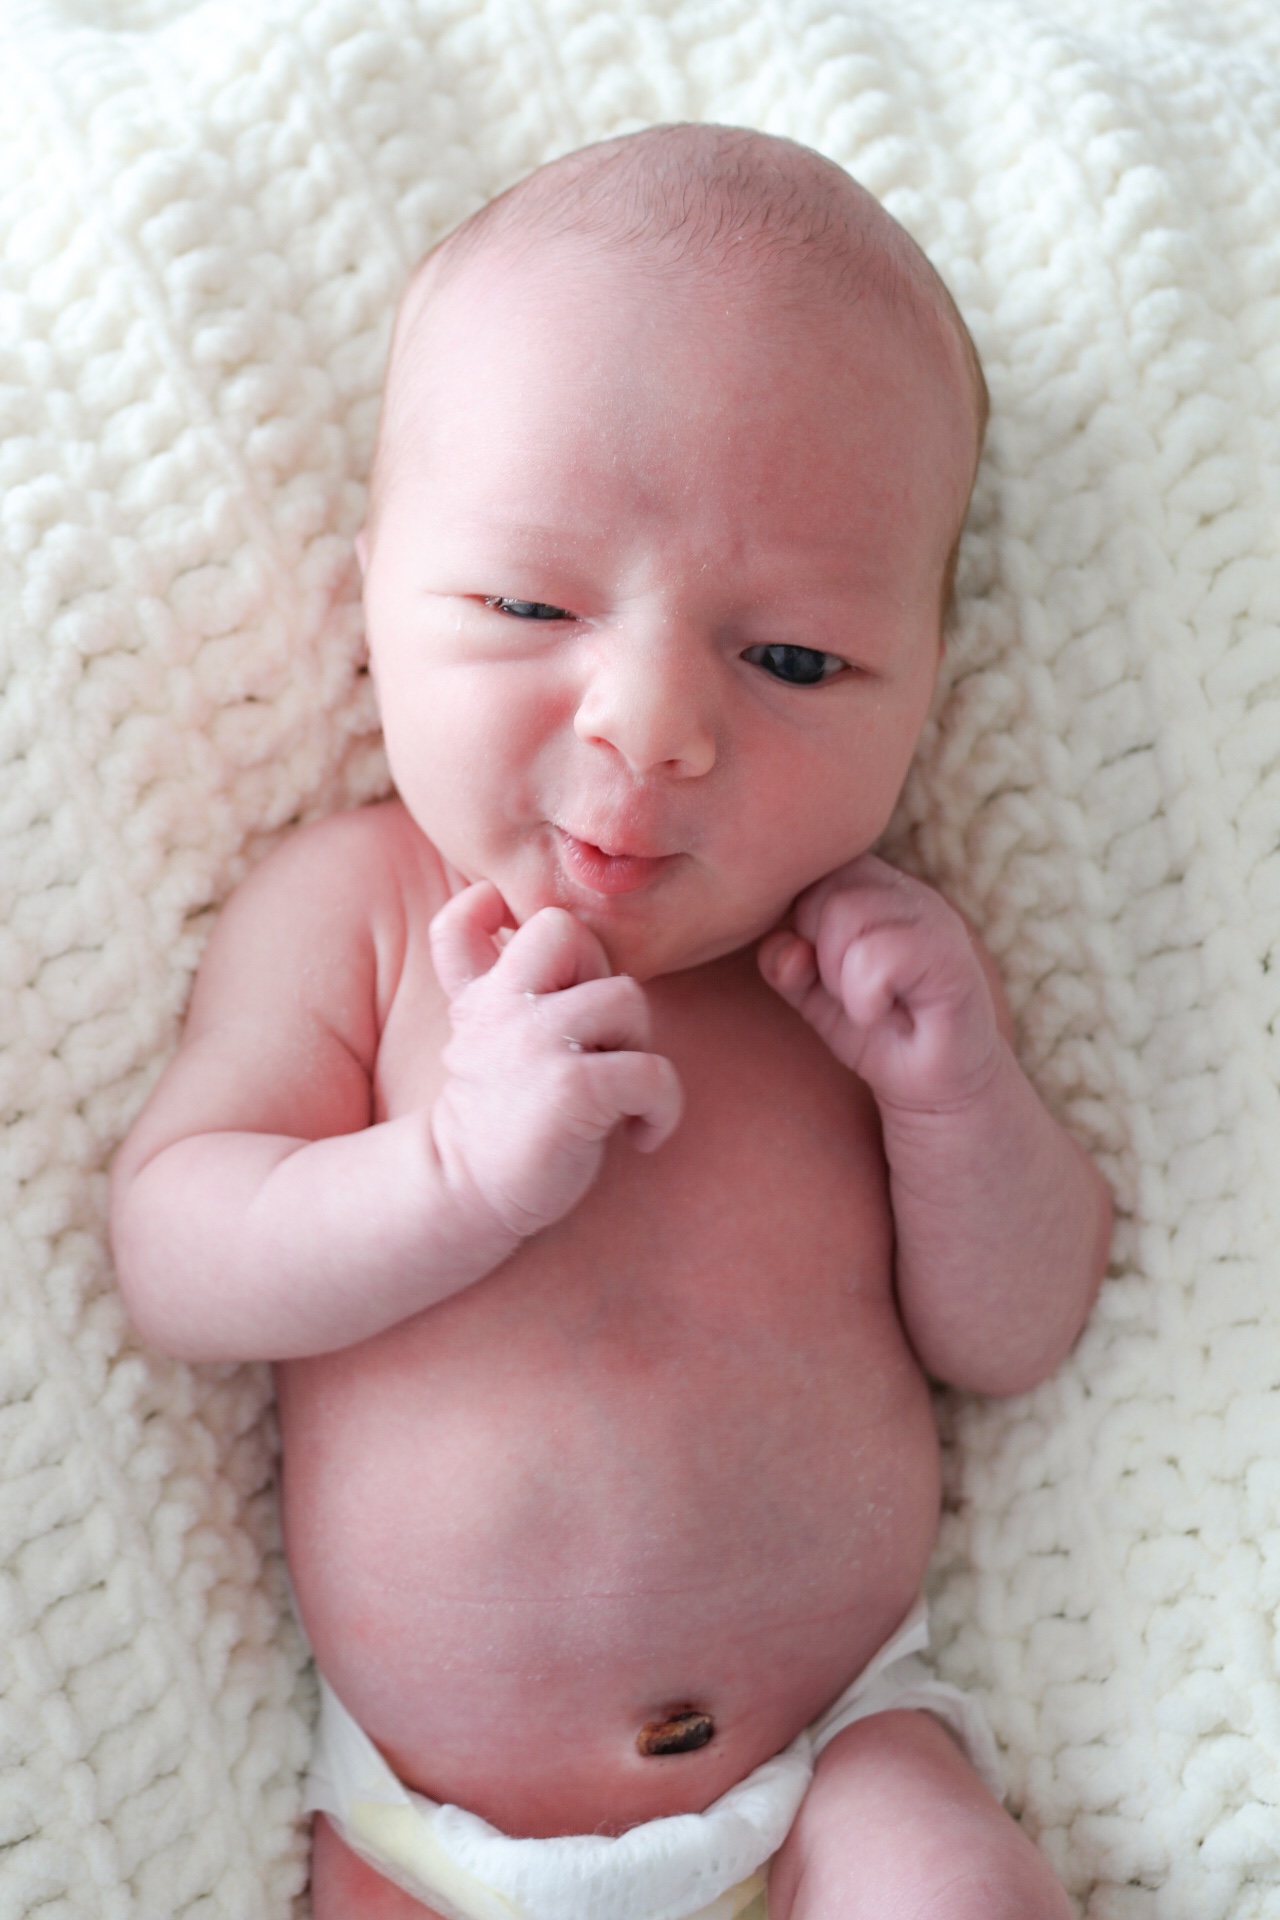
The heating pad helps keep baby nice & cozy & asleep. I use it when I’m taking photos when baby isn’t wearing anything but a diaper. As I mentioned previously, exercise extreme caution when use the heating pad, don’t use it above the first setting and check frequently the temperature!
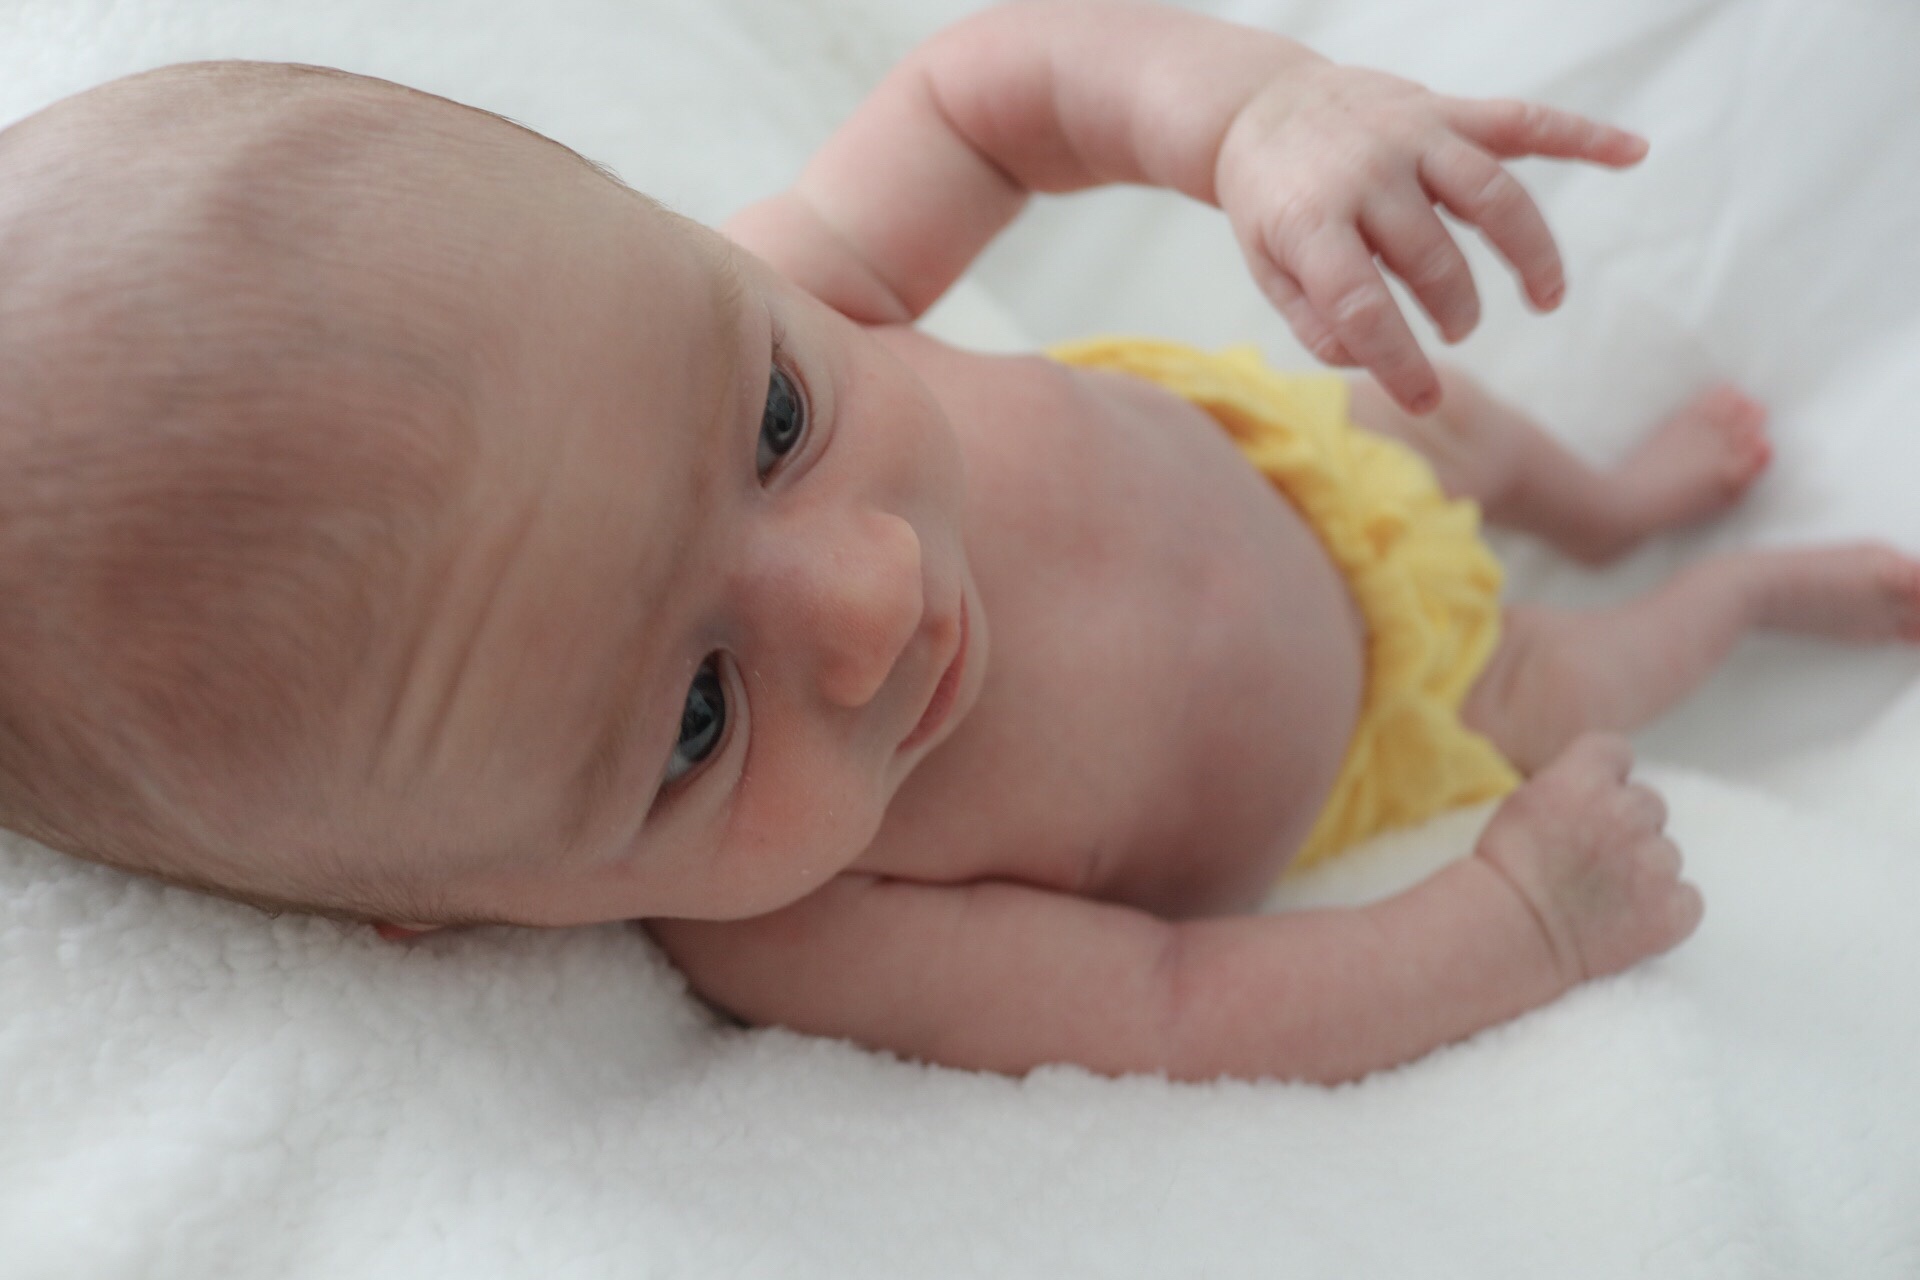
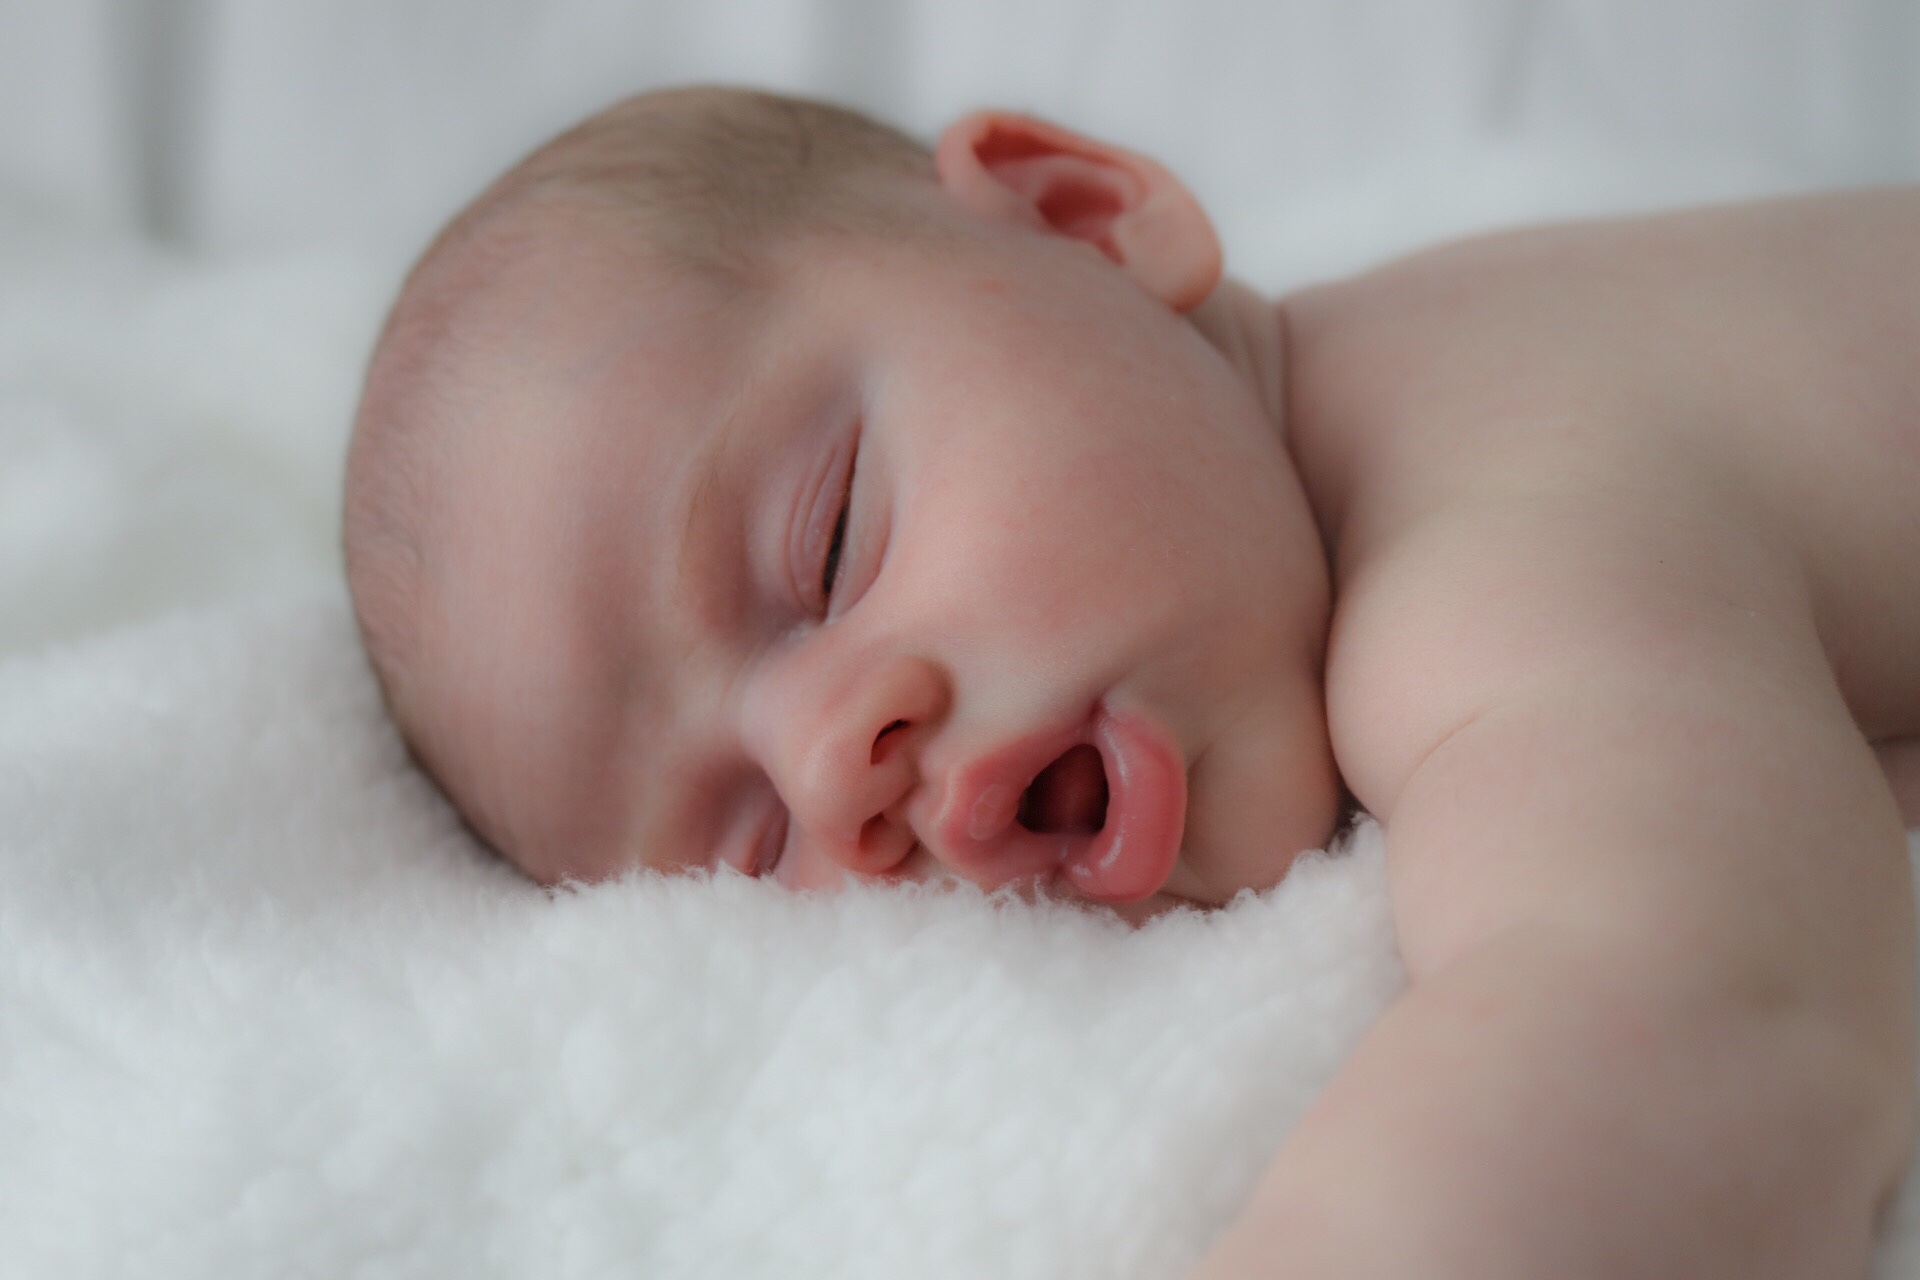
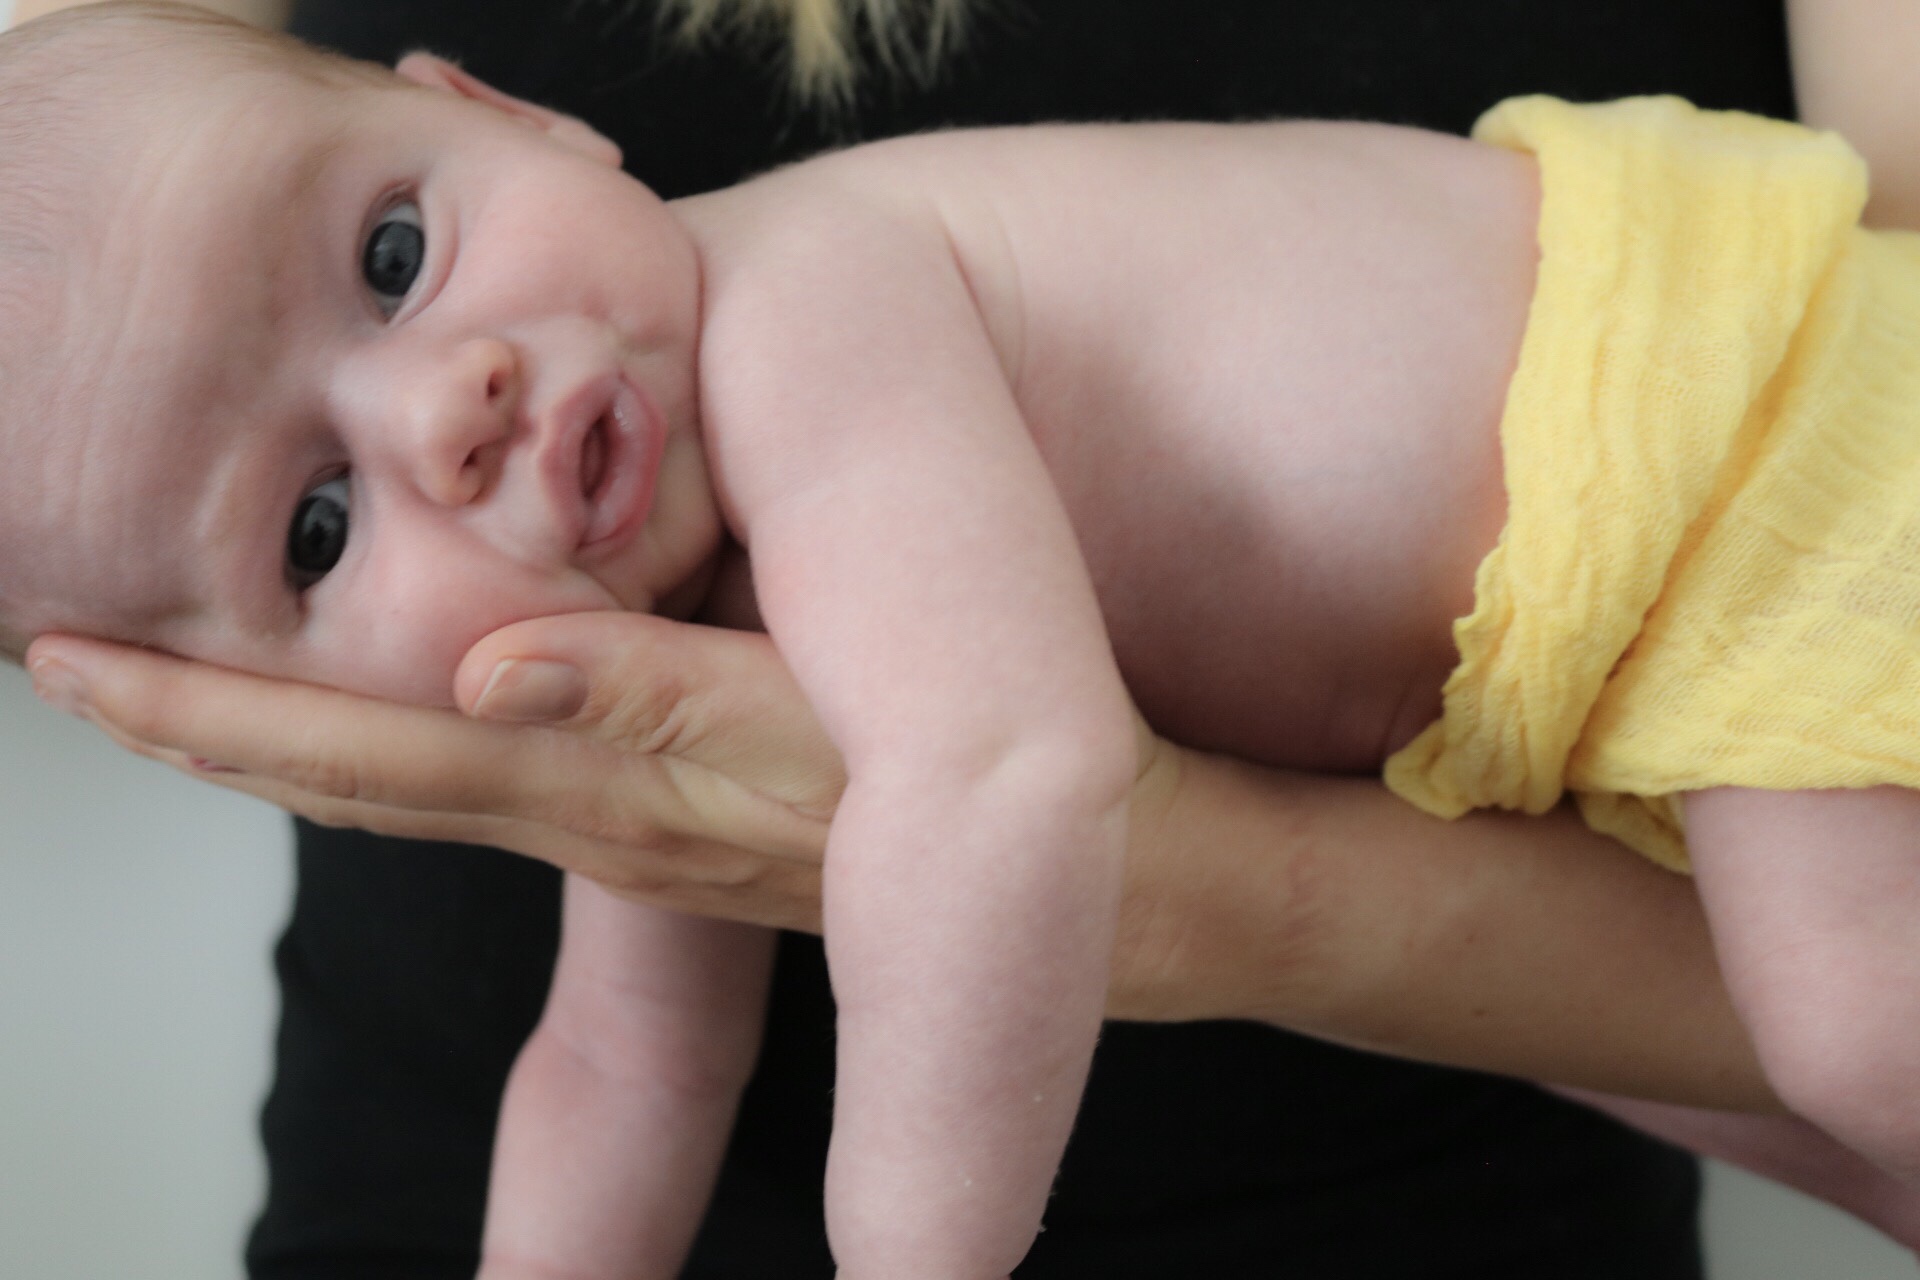
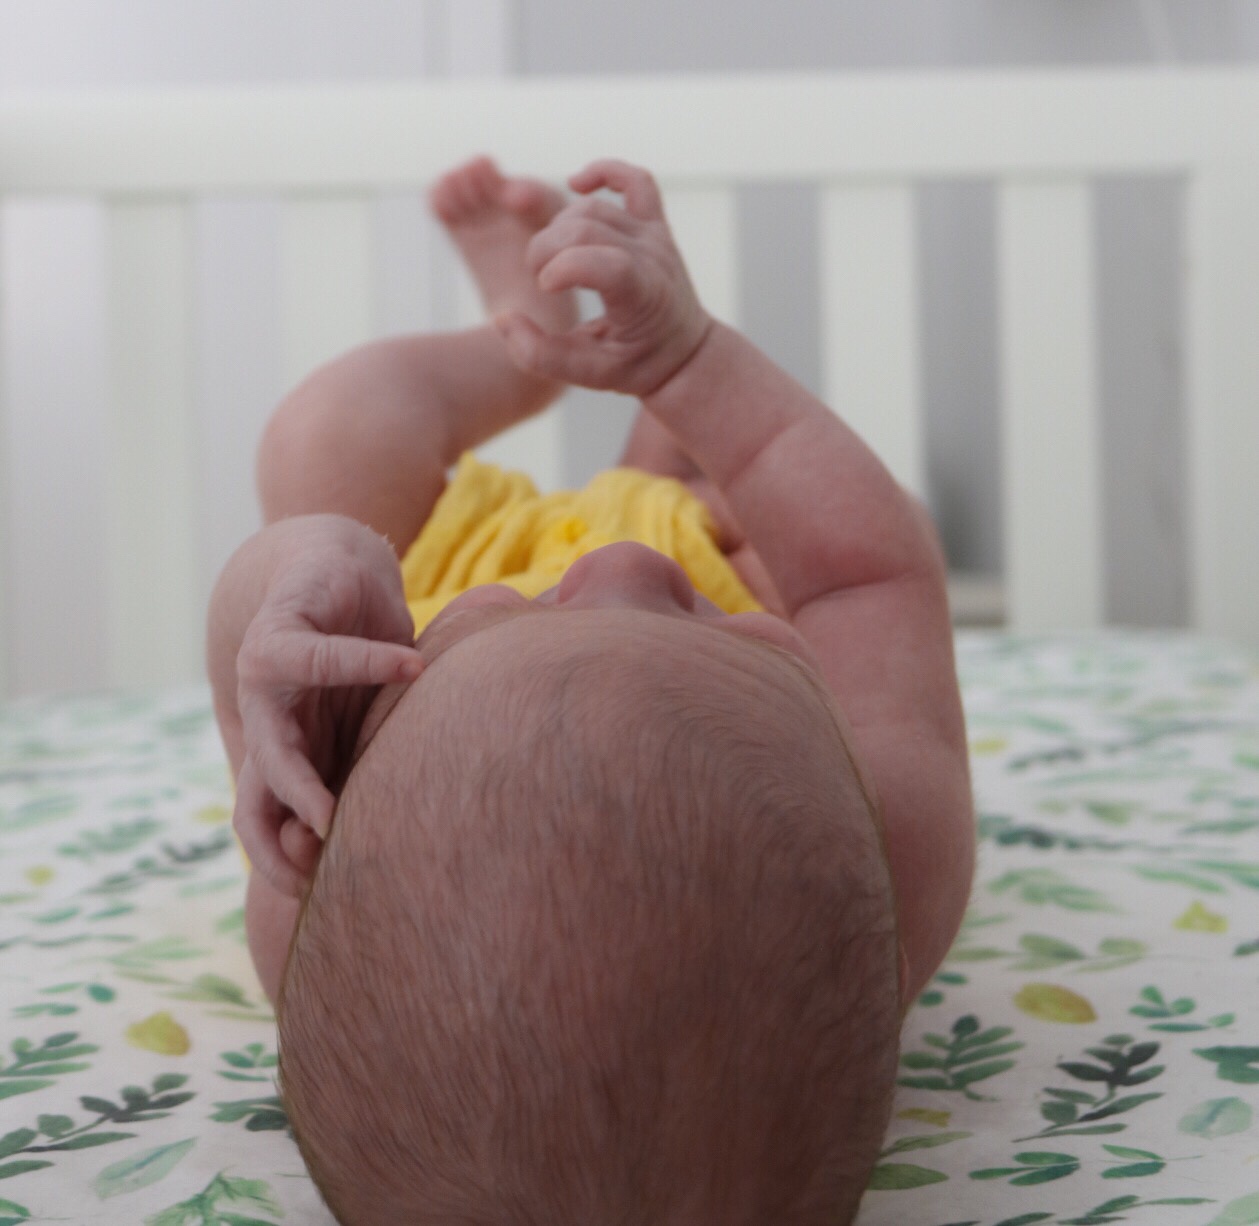
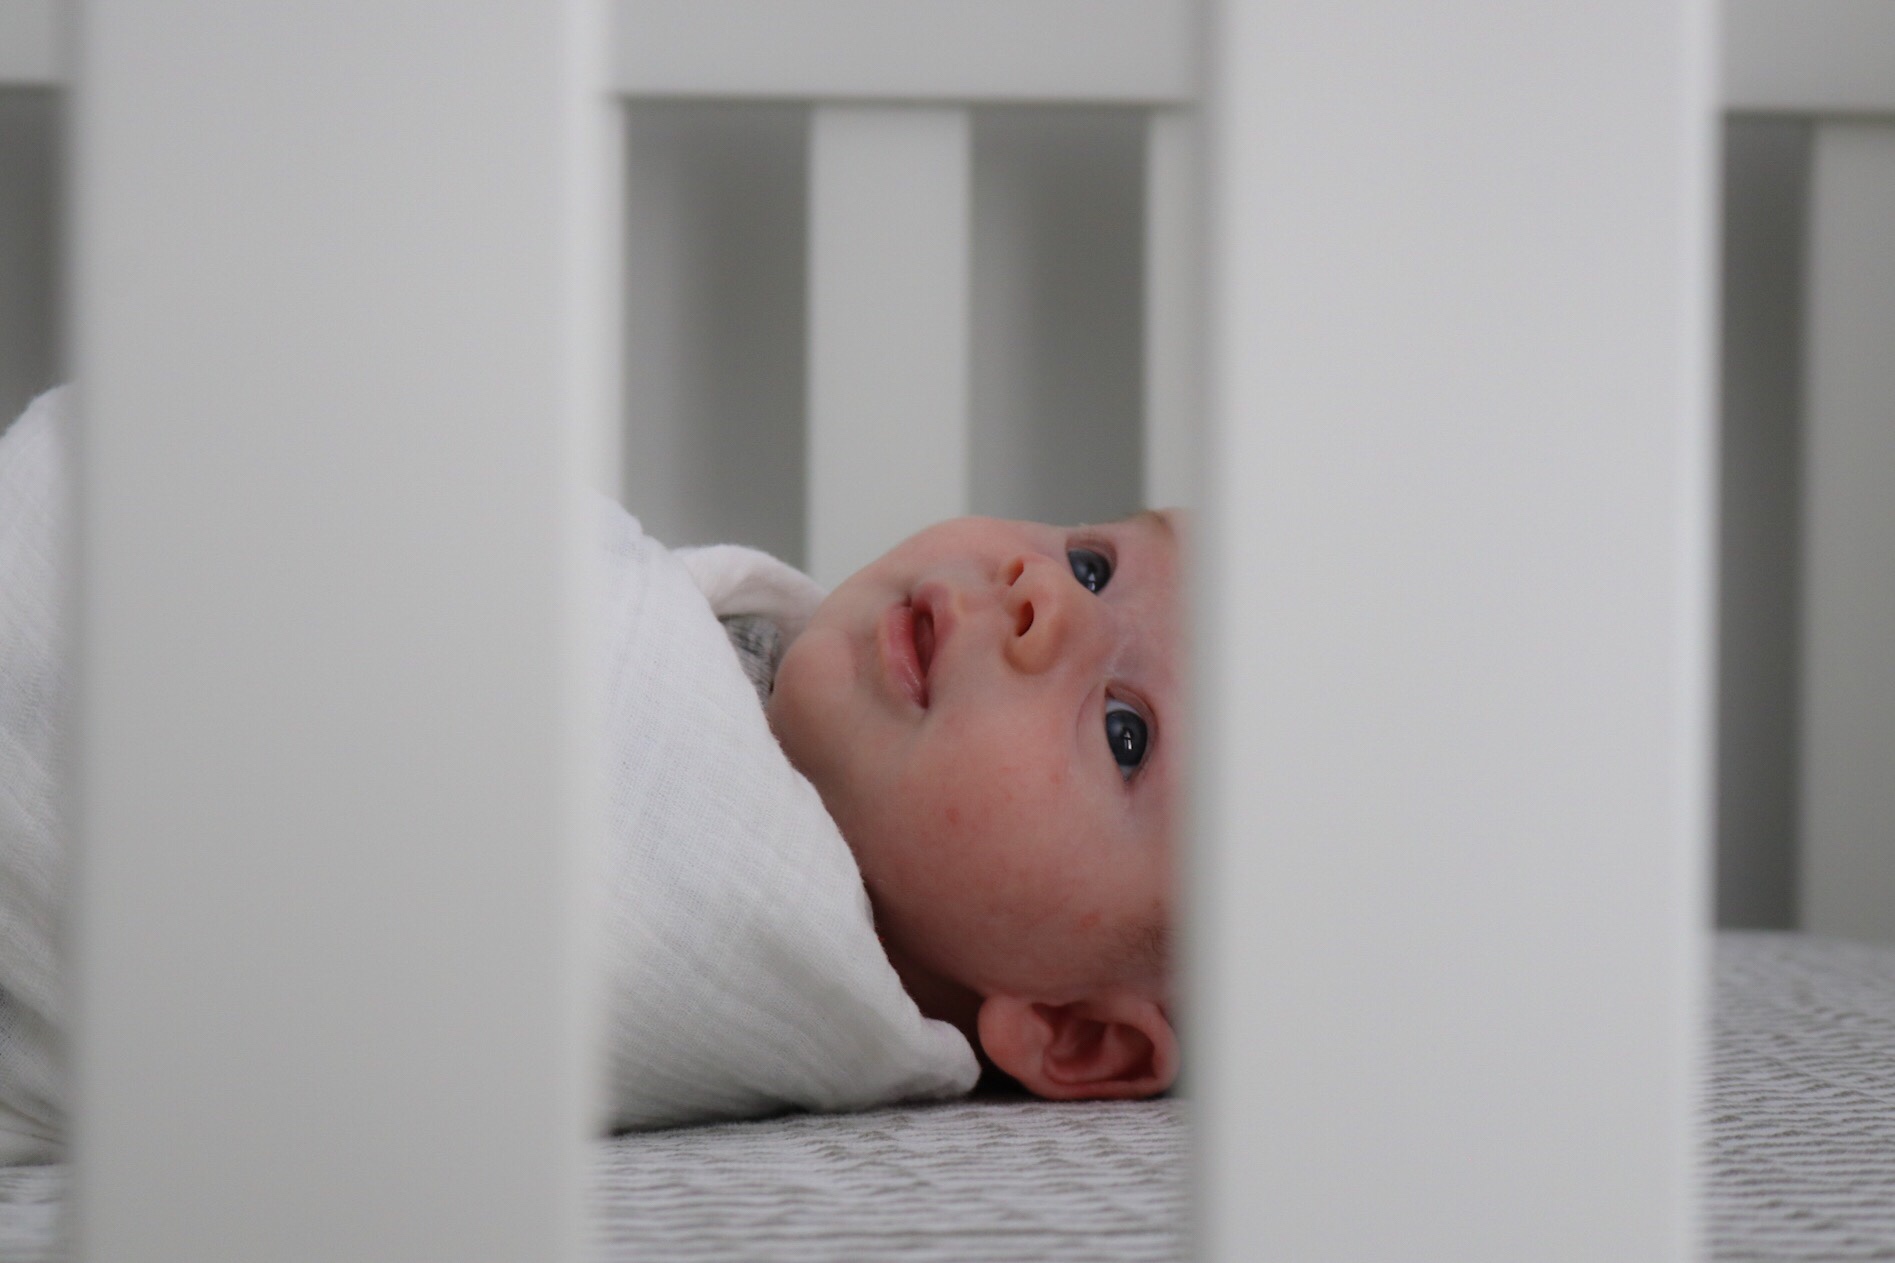
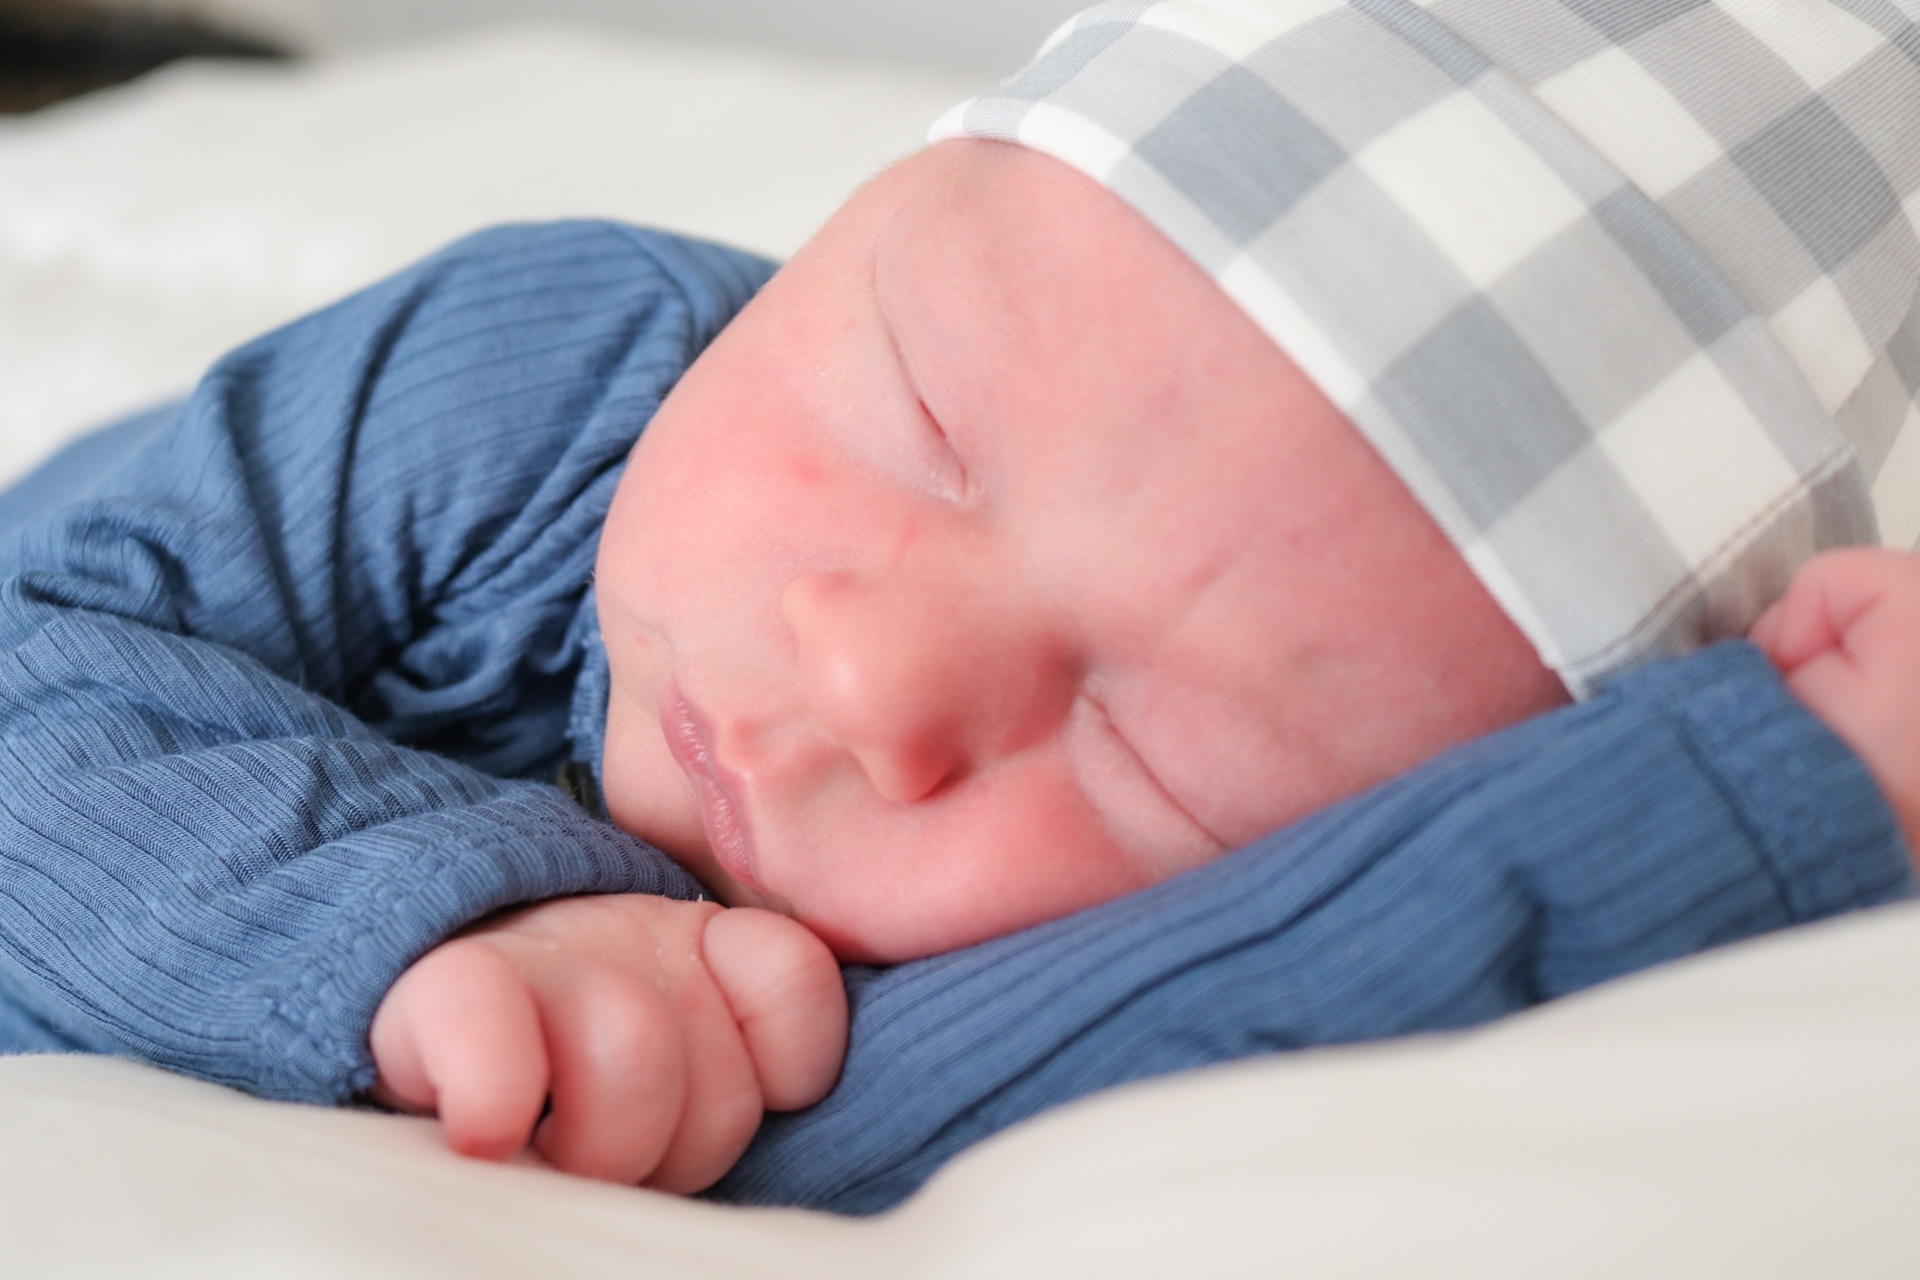
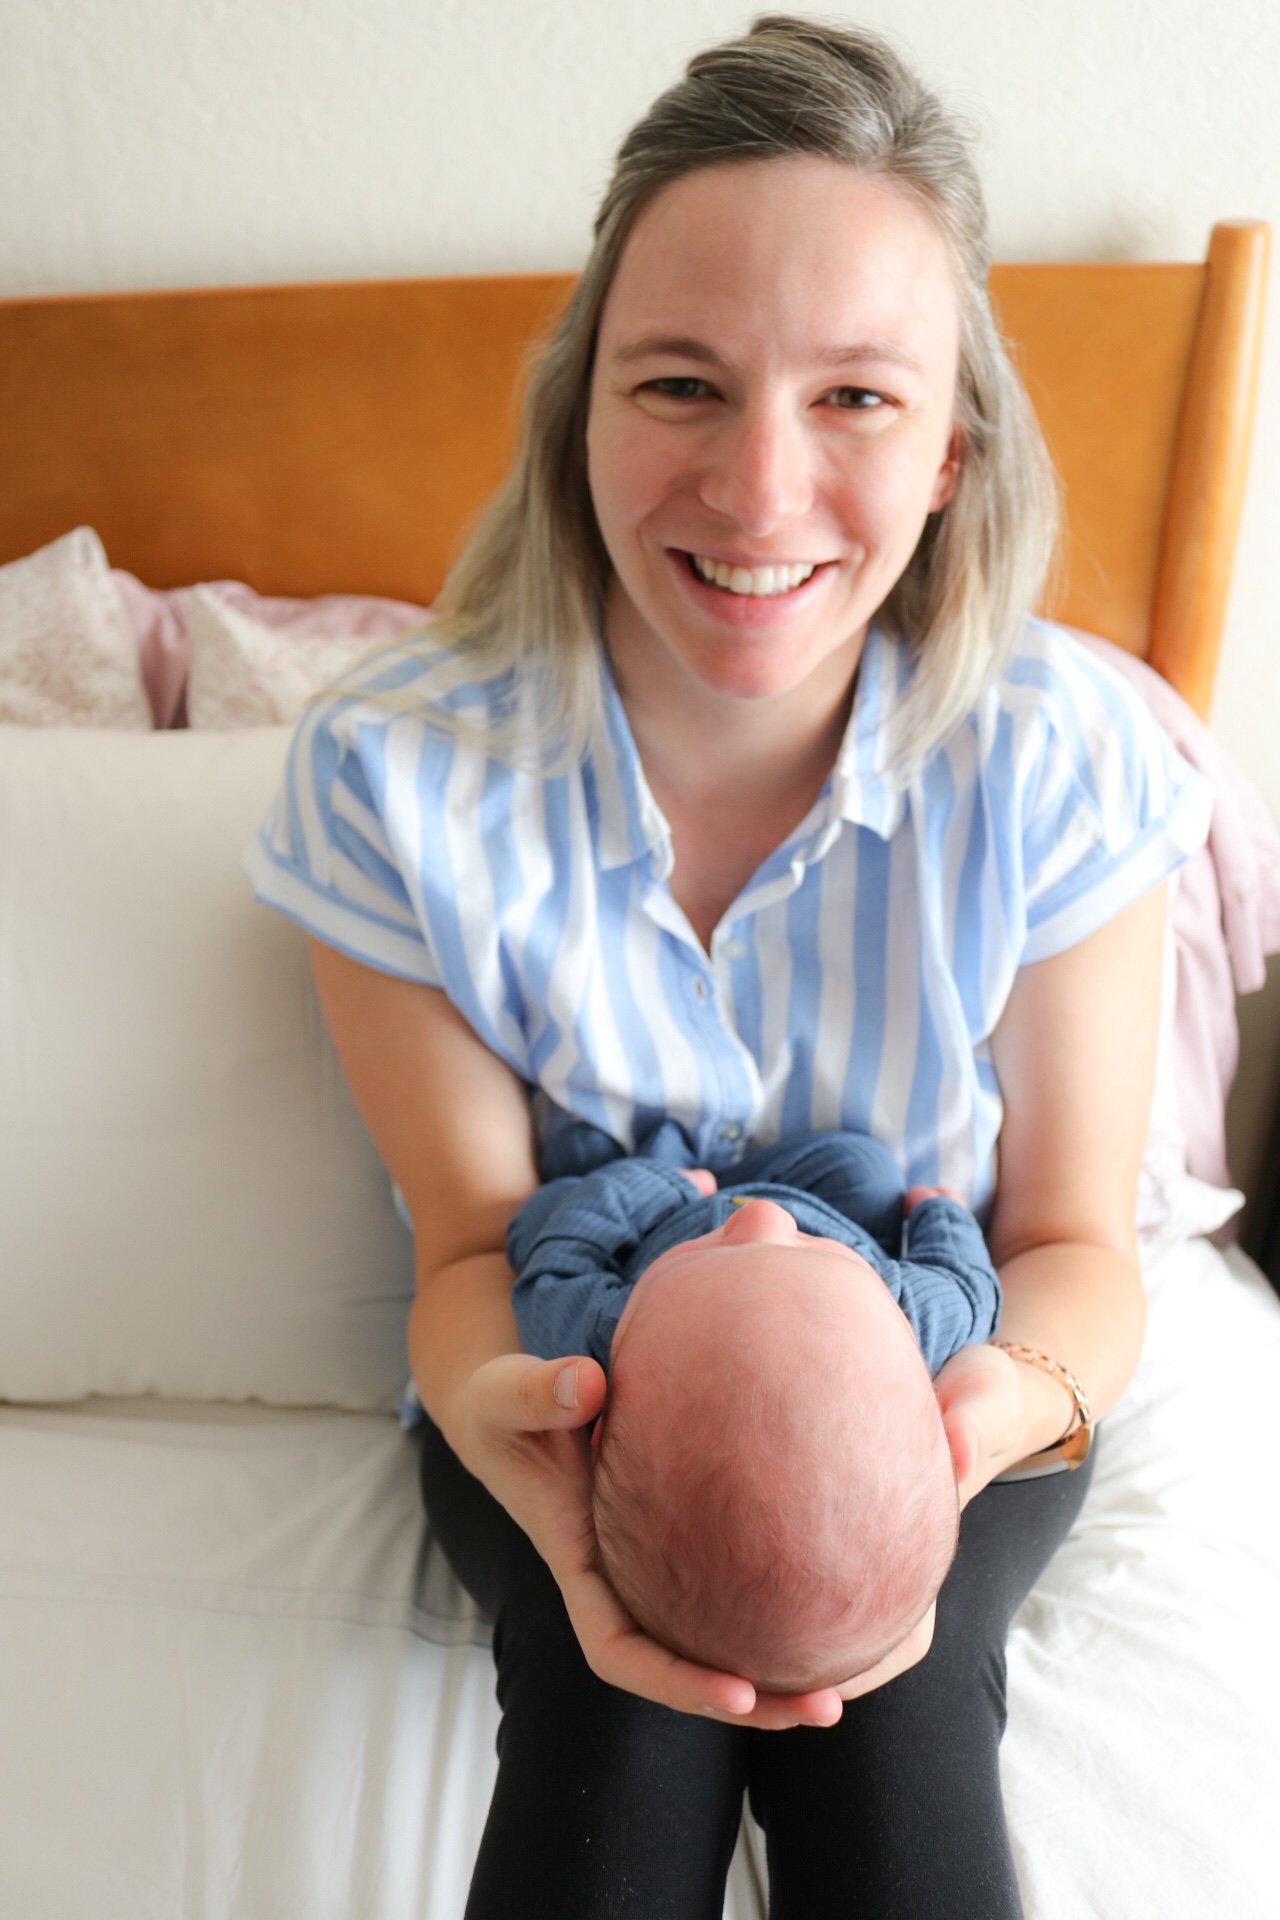
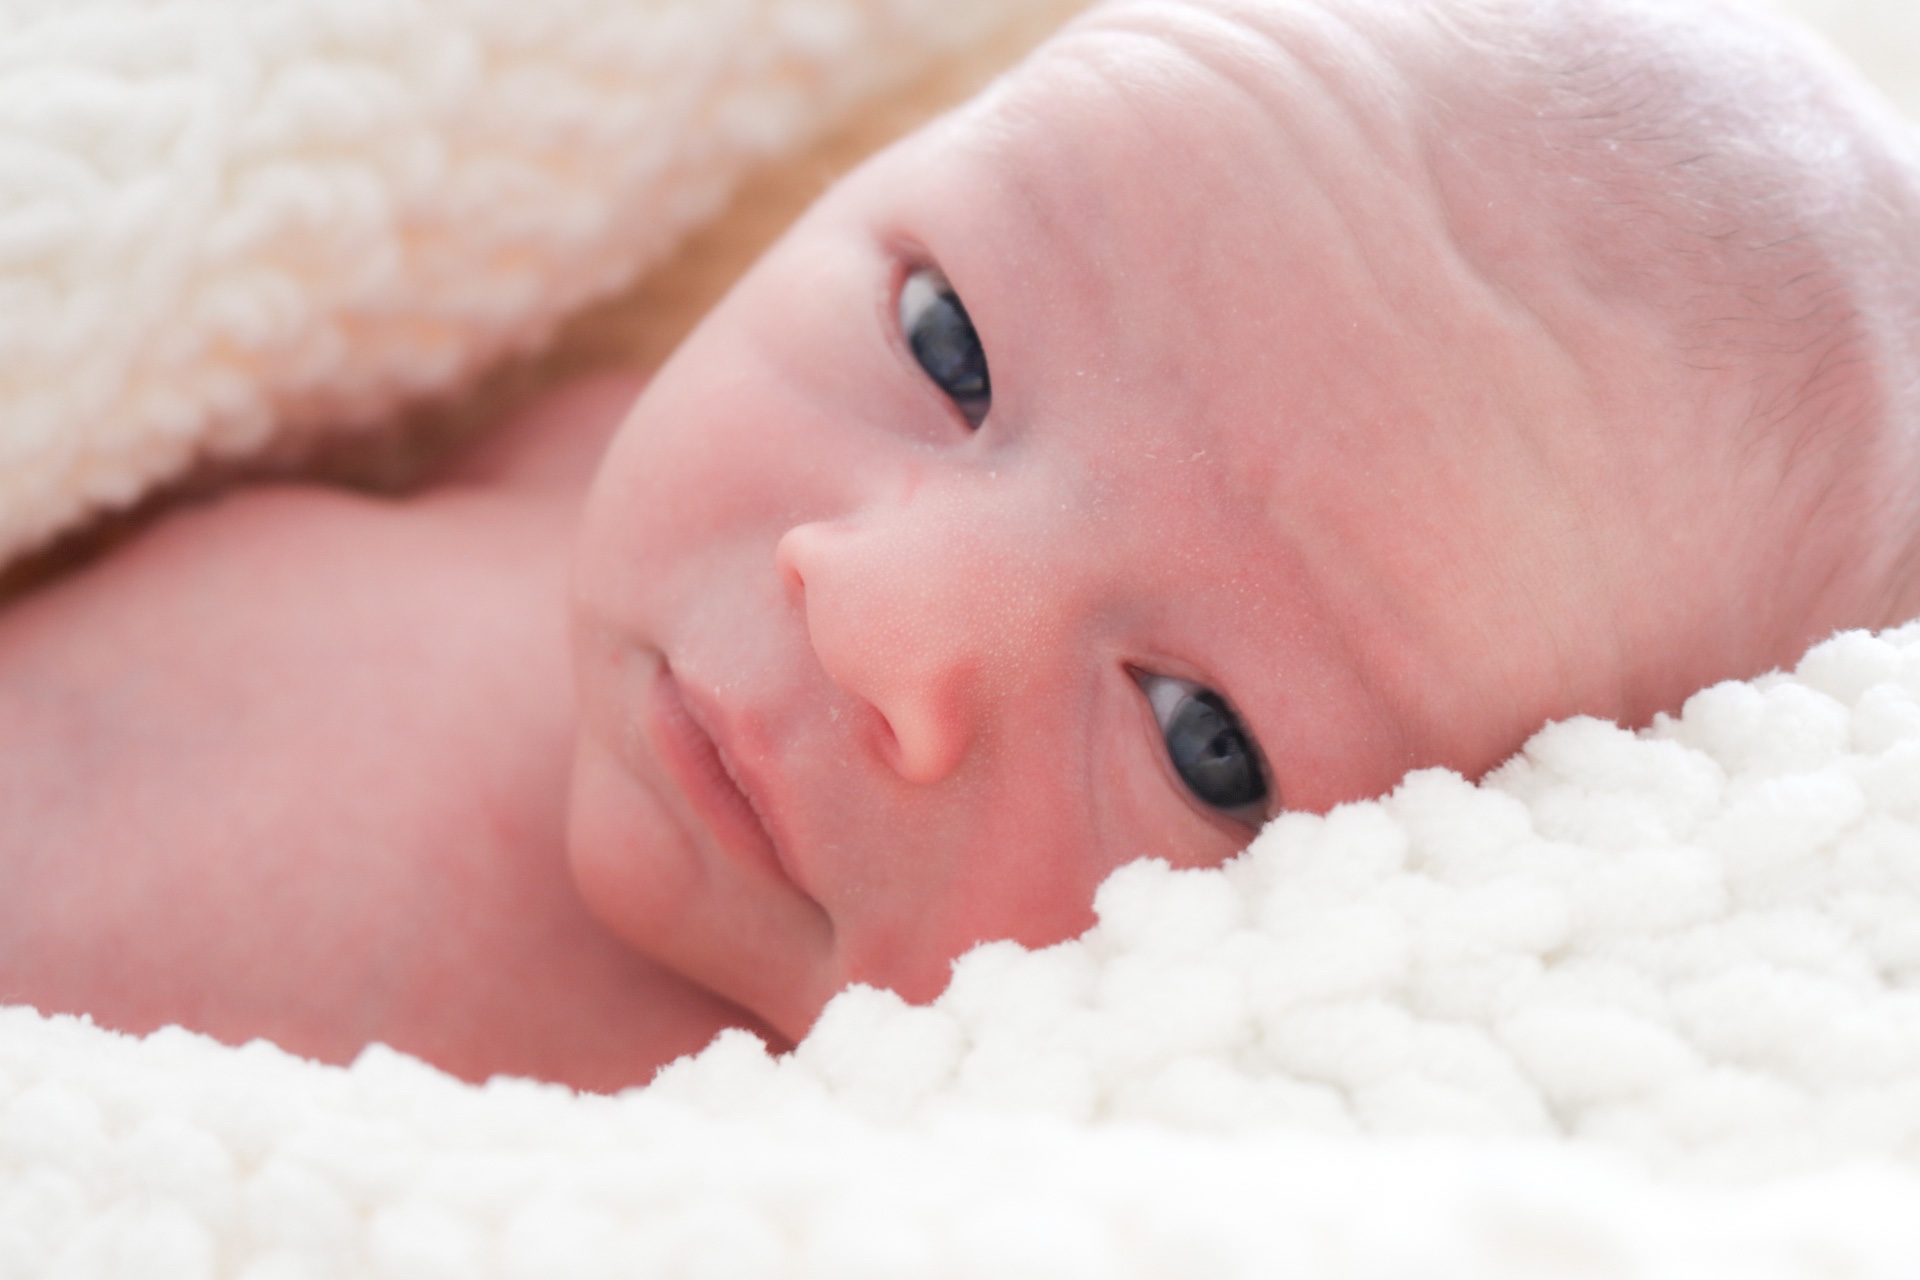
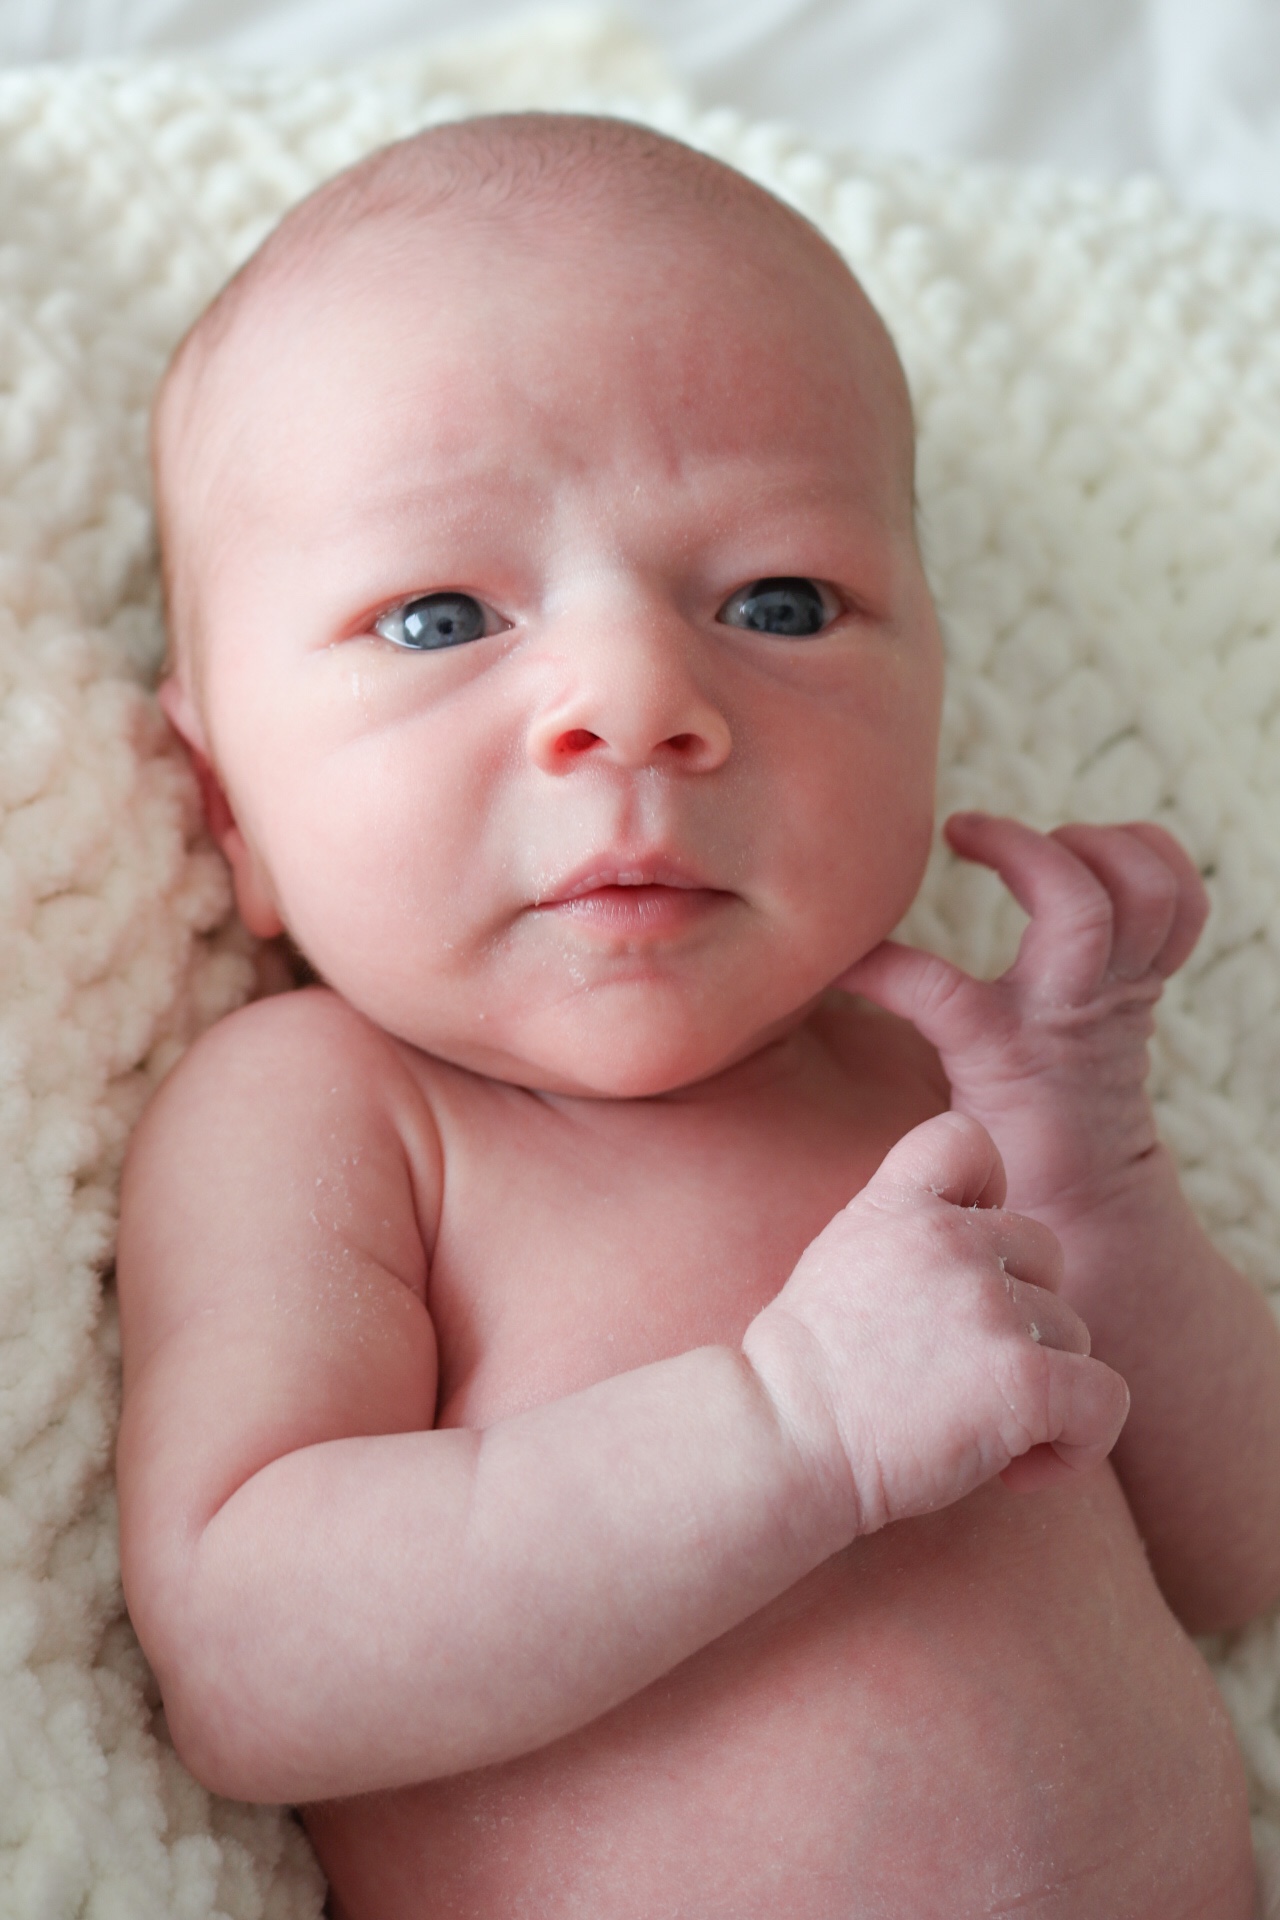
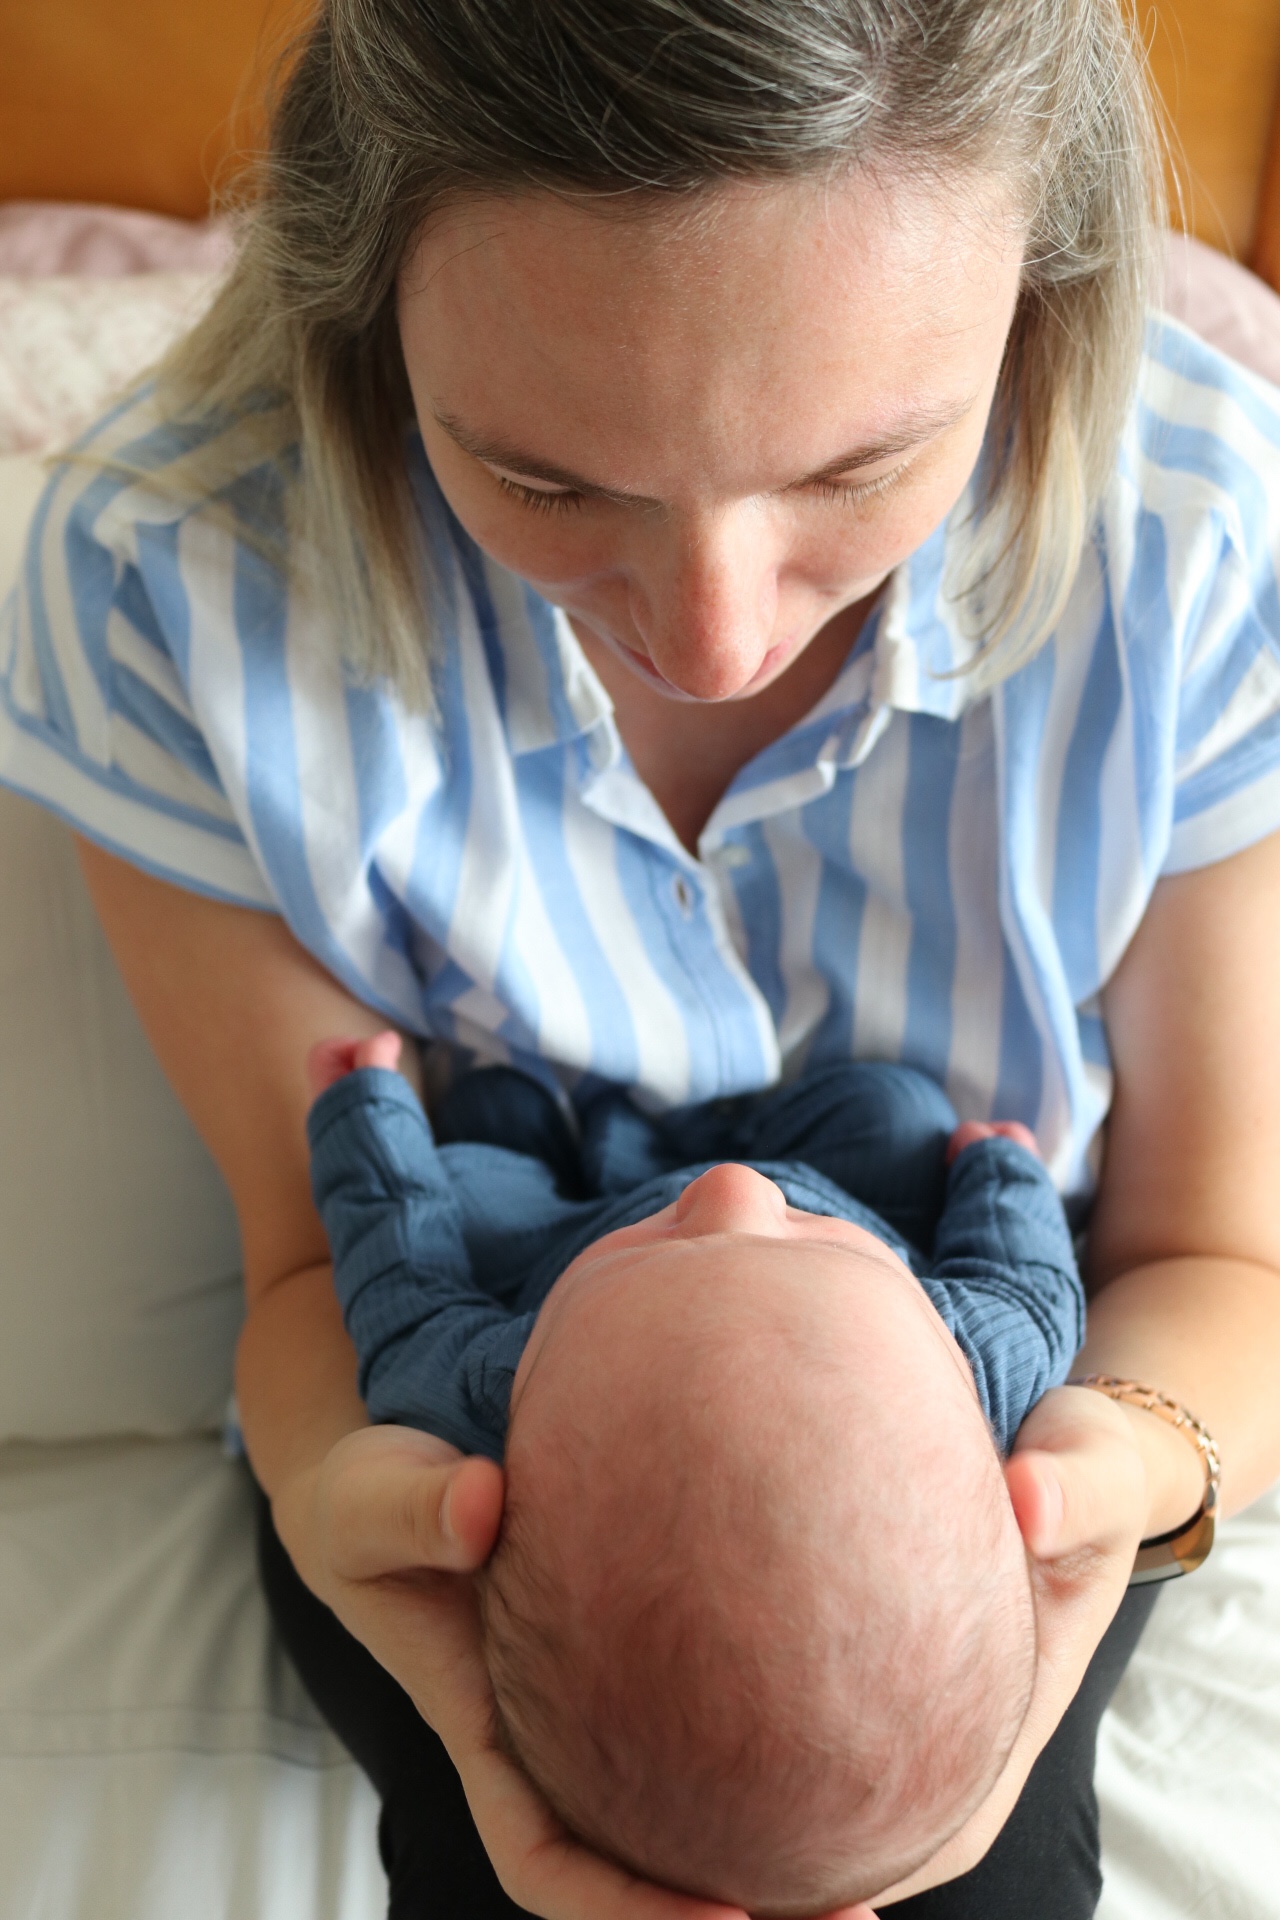
Next up: Angles! I go by one simple rule: if you can see up the baby’s nostrils it’s not the best angle. You want to shoot the opposite way. Granted you’ll notice not all of the photos live by that rule but it’s a good thing to keep in mind while you’re taking photos.
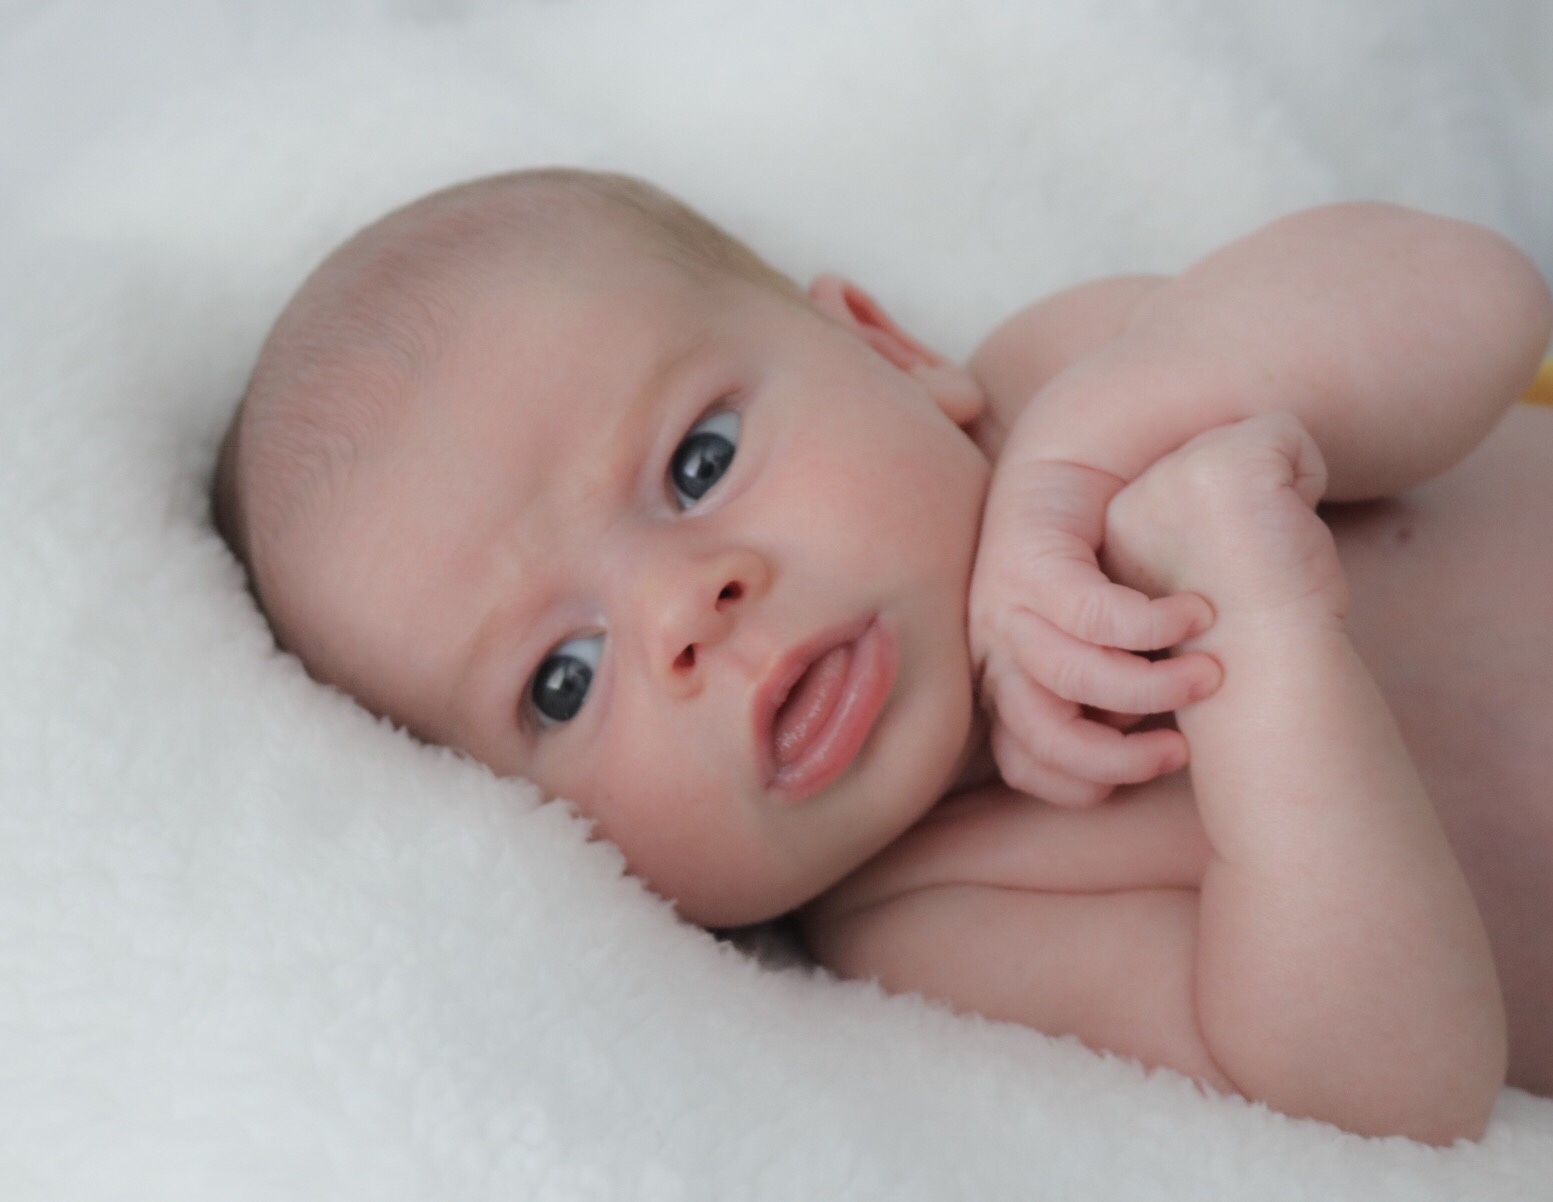
Editing: Most photo editing apps have a lot of free features you can adjust. For newborn photos I usually follow these basic steps: Straighten the photo, increase exposure, decrease shadows, decrease texture & clarity. I use light room to edit all my photos so I’m also able to fiddle if I want to decrease any hues of certain colors. You’d be amazed at how much better a photo can look just by simply straightening it & adjusting the exposure.
If you’re on a budget, don’t want strangers in your home taking photos during a pandemic or are like me and can’t stomach paying hundreds of dollars for photos you can take yourself try out these tips!