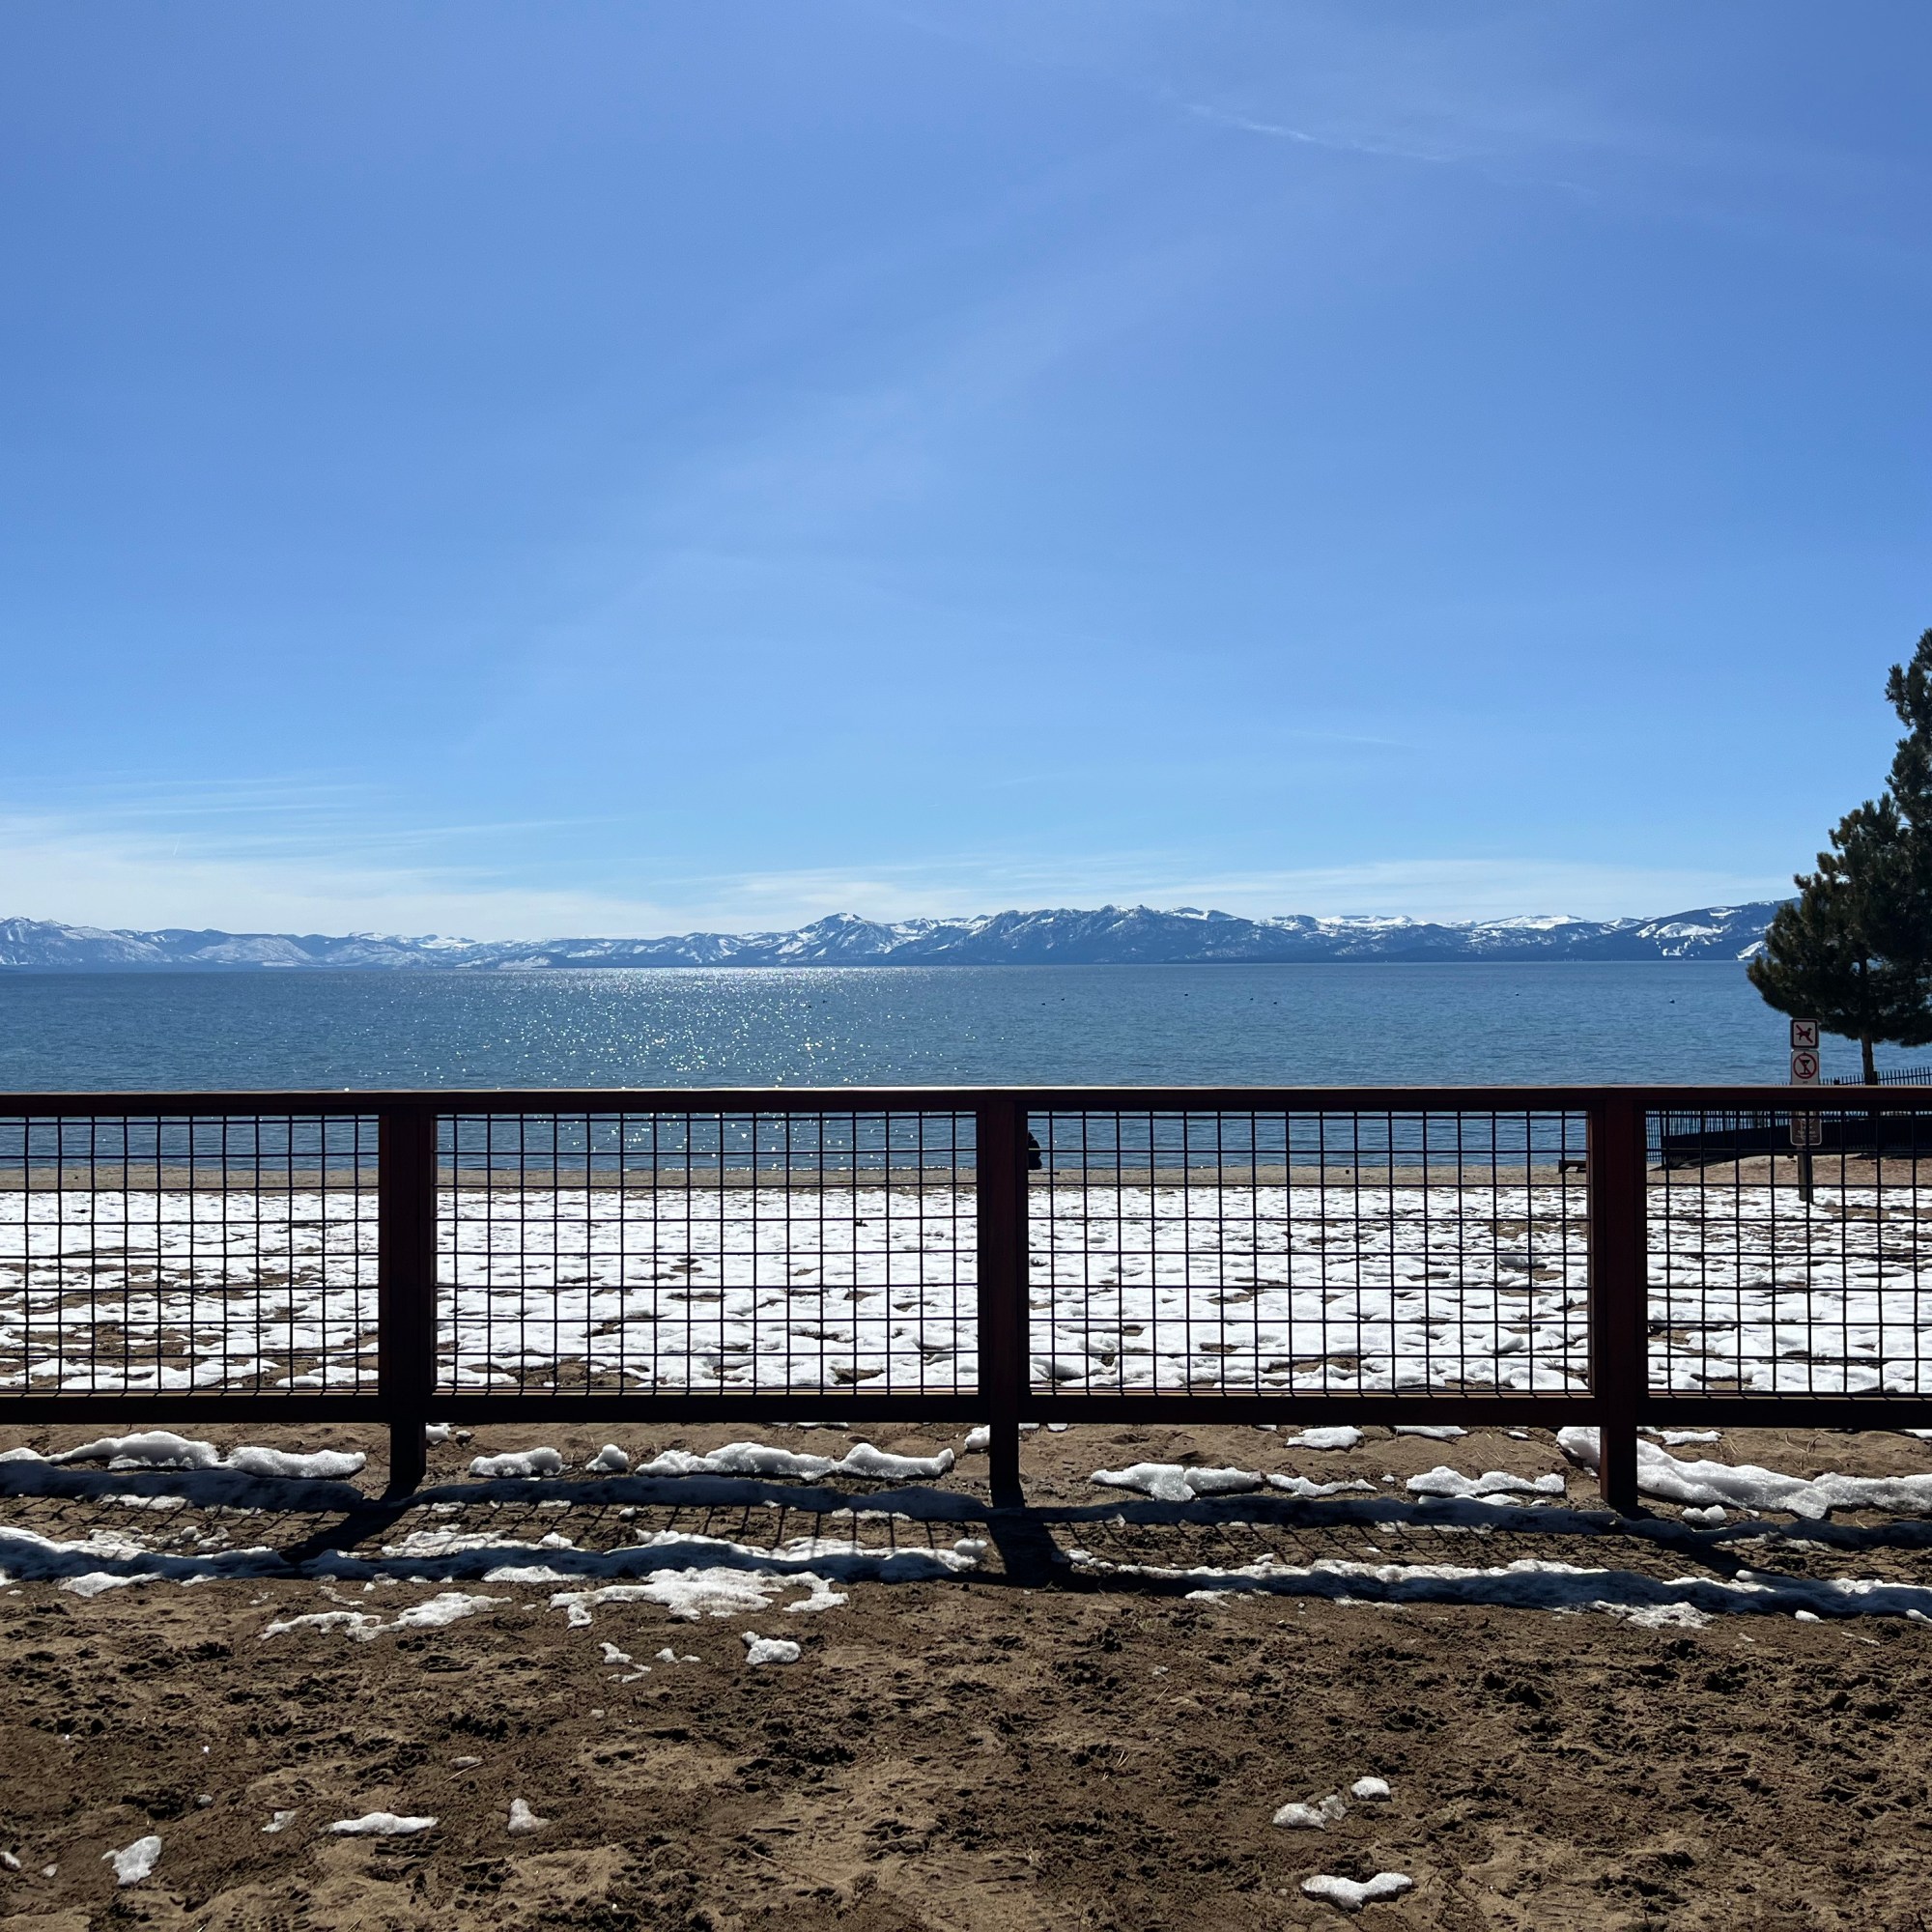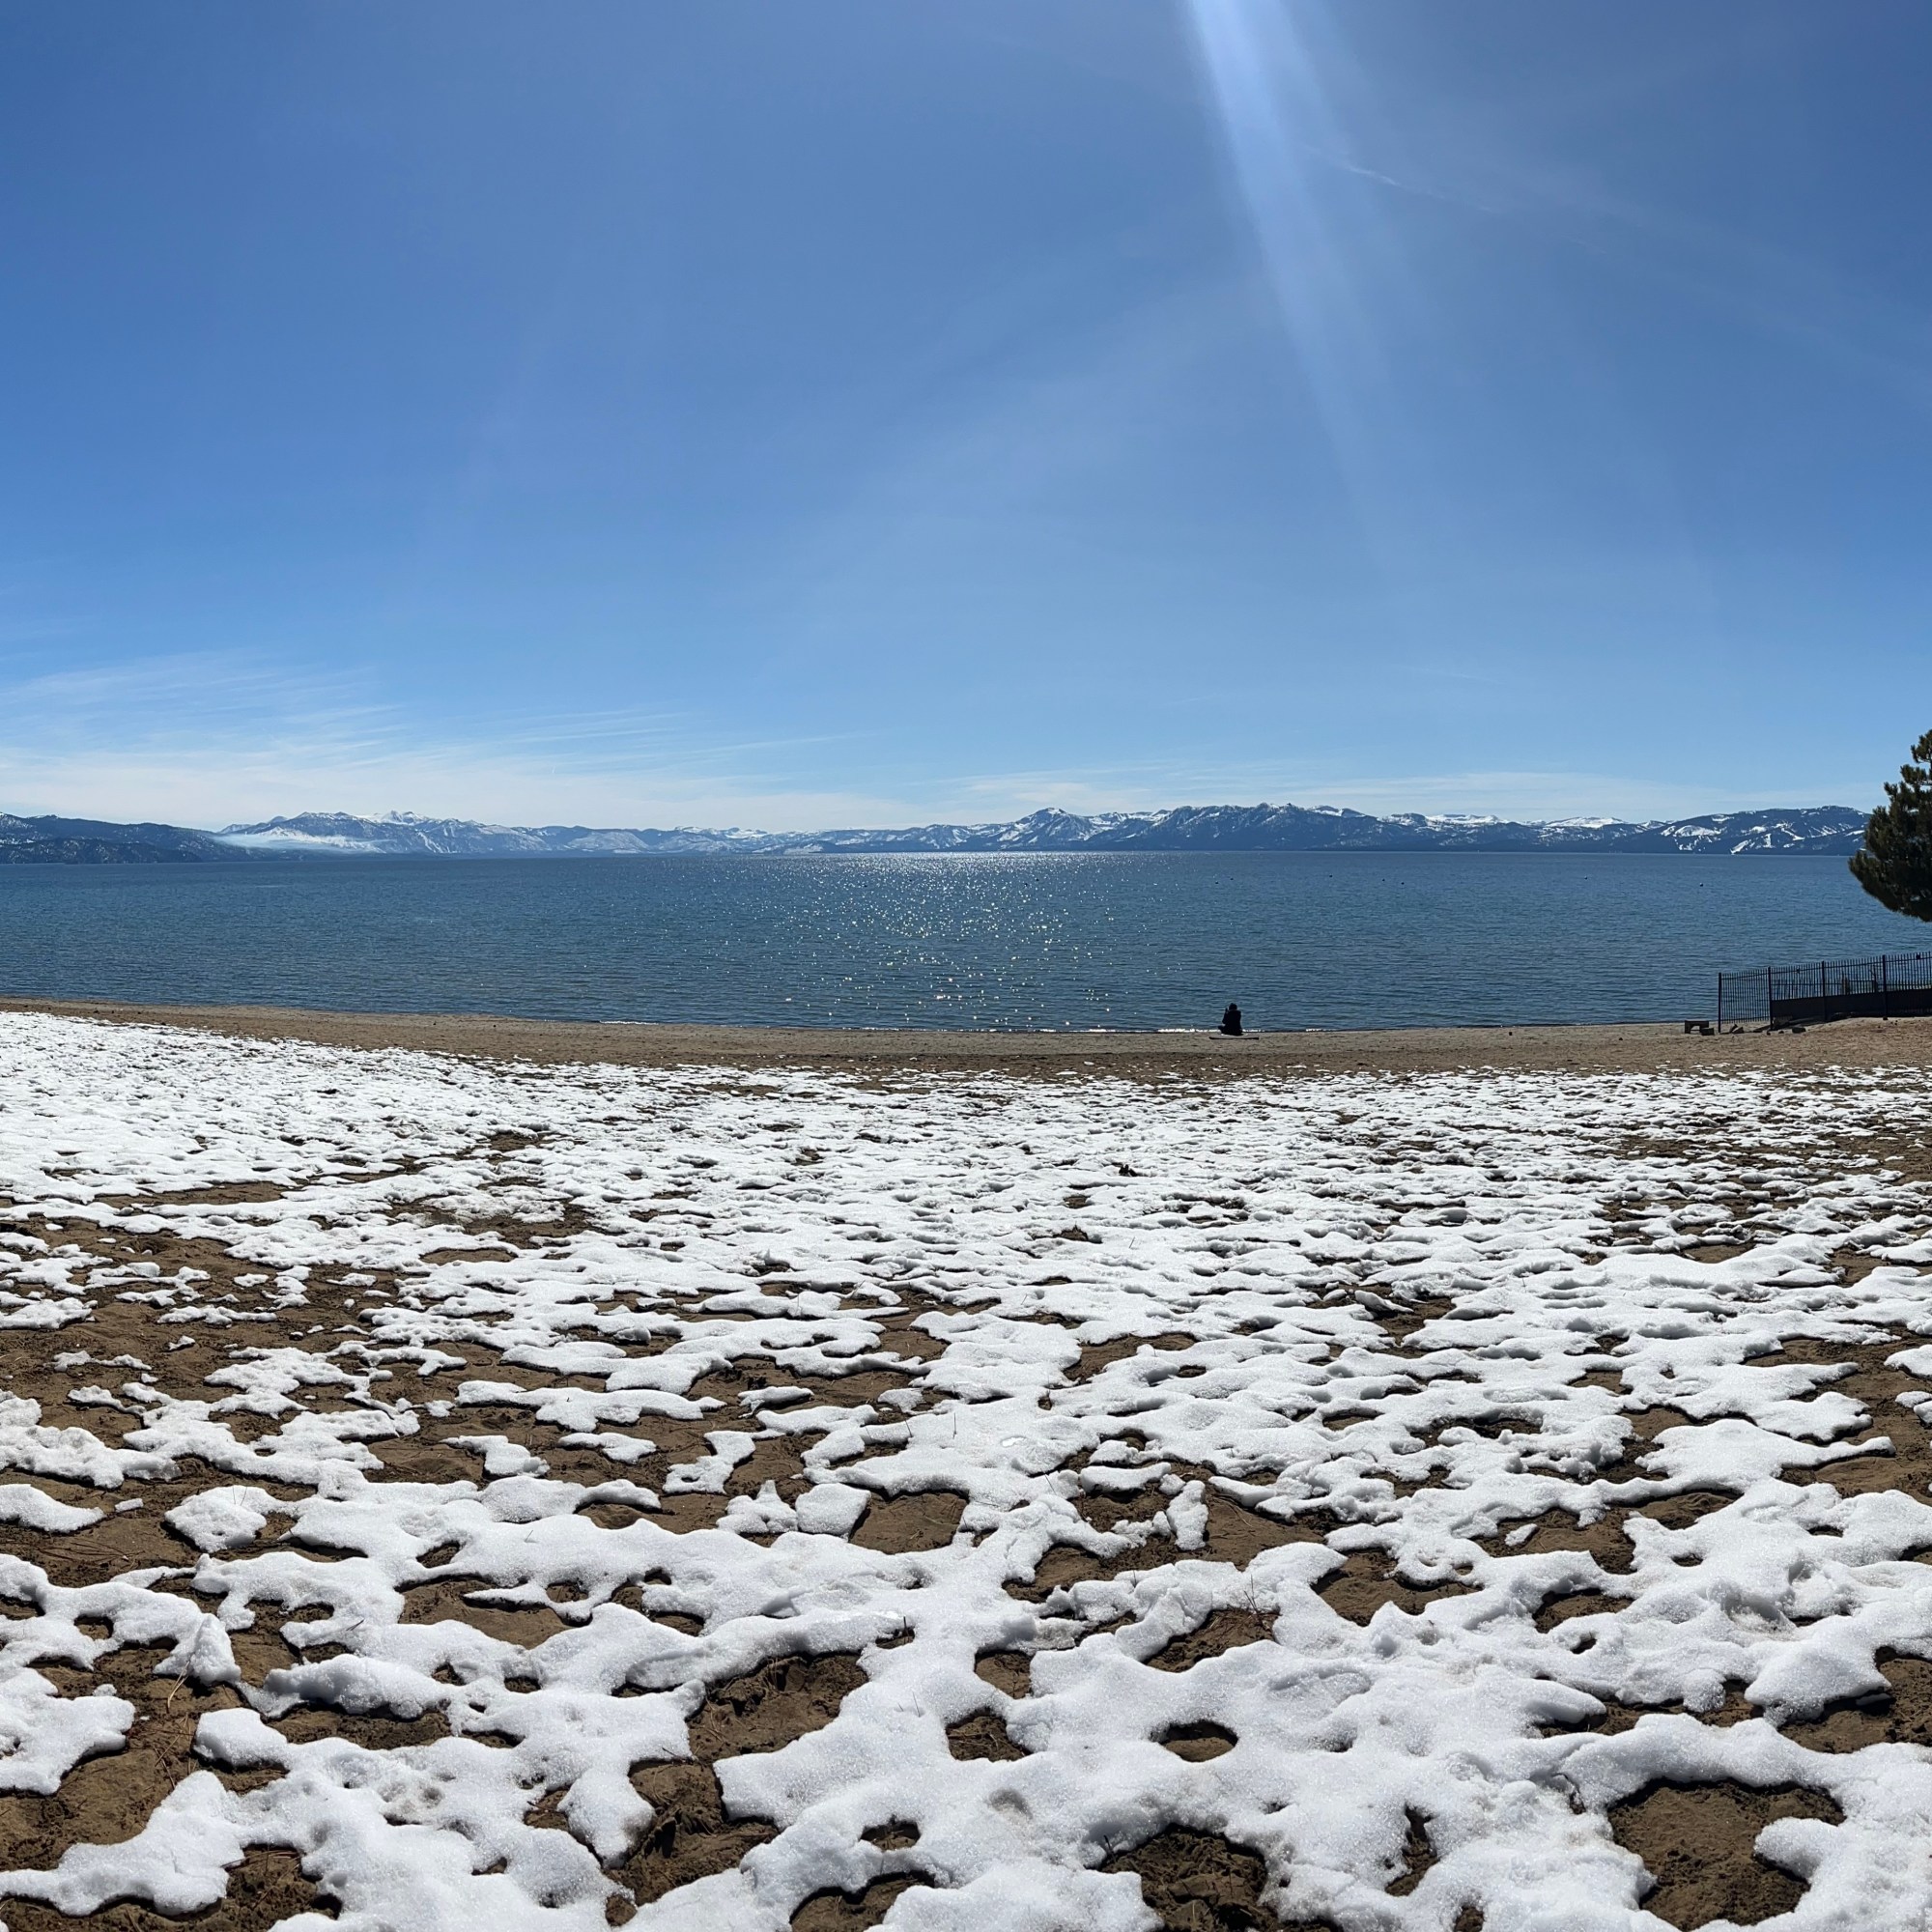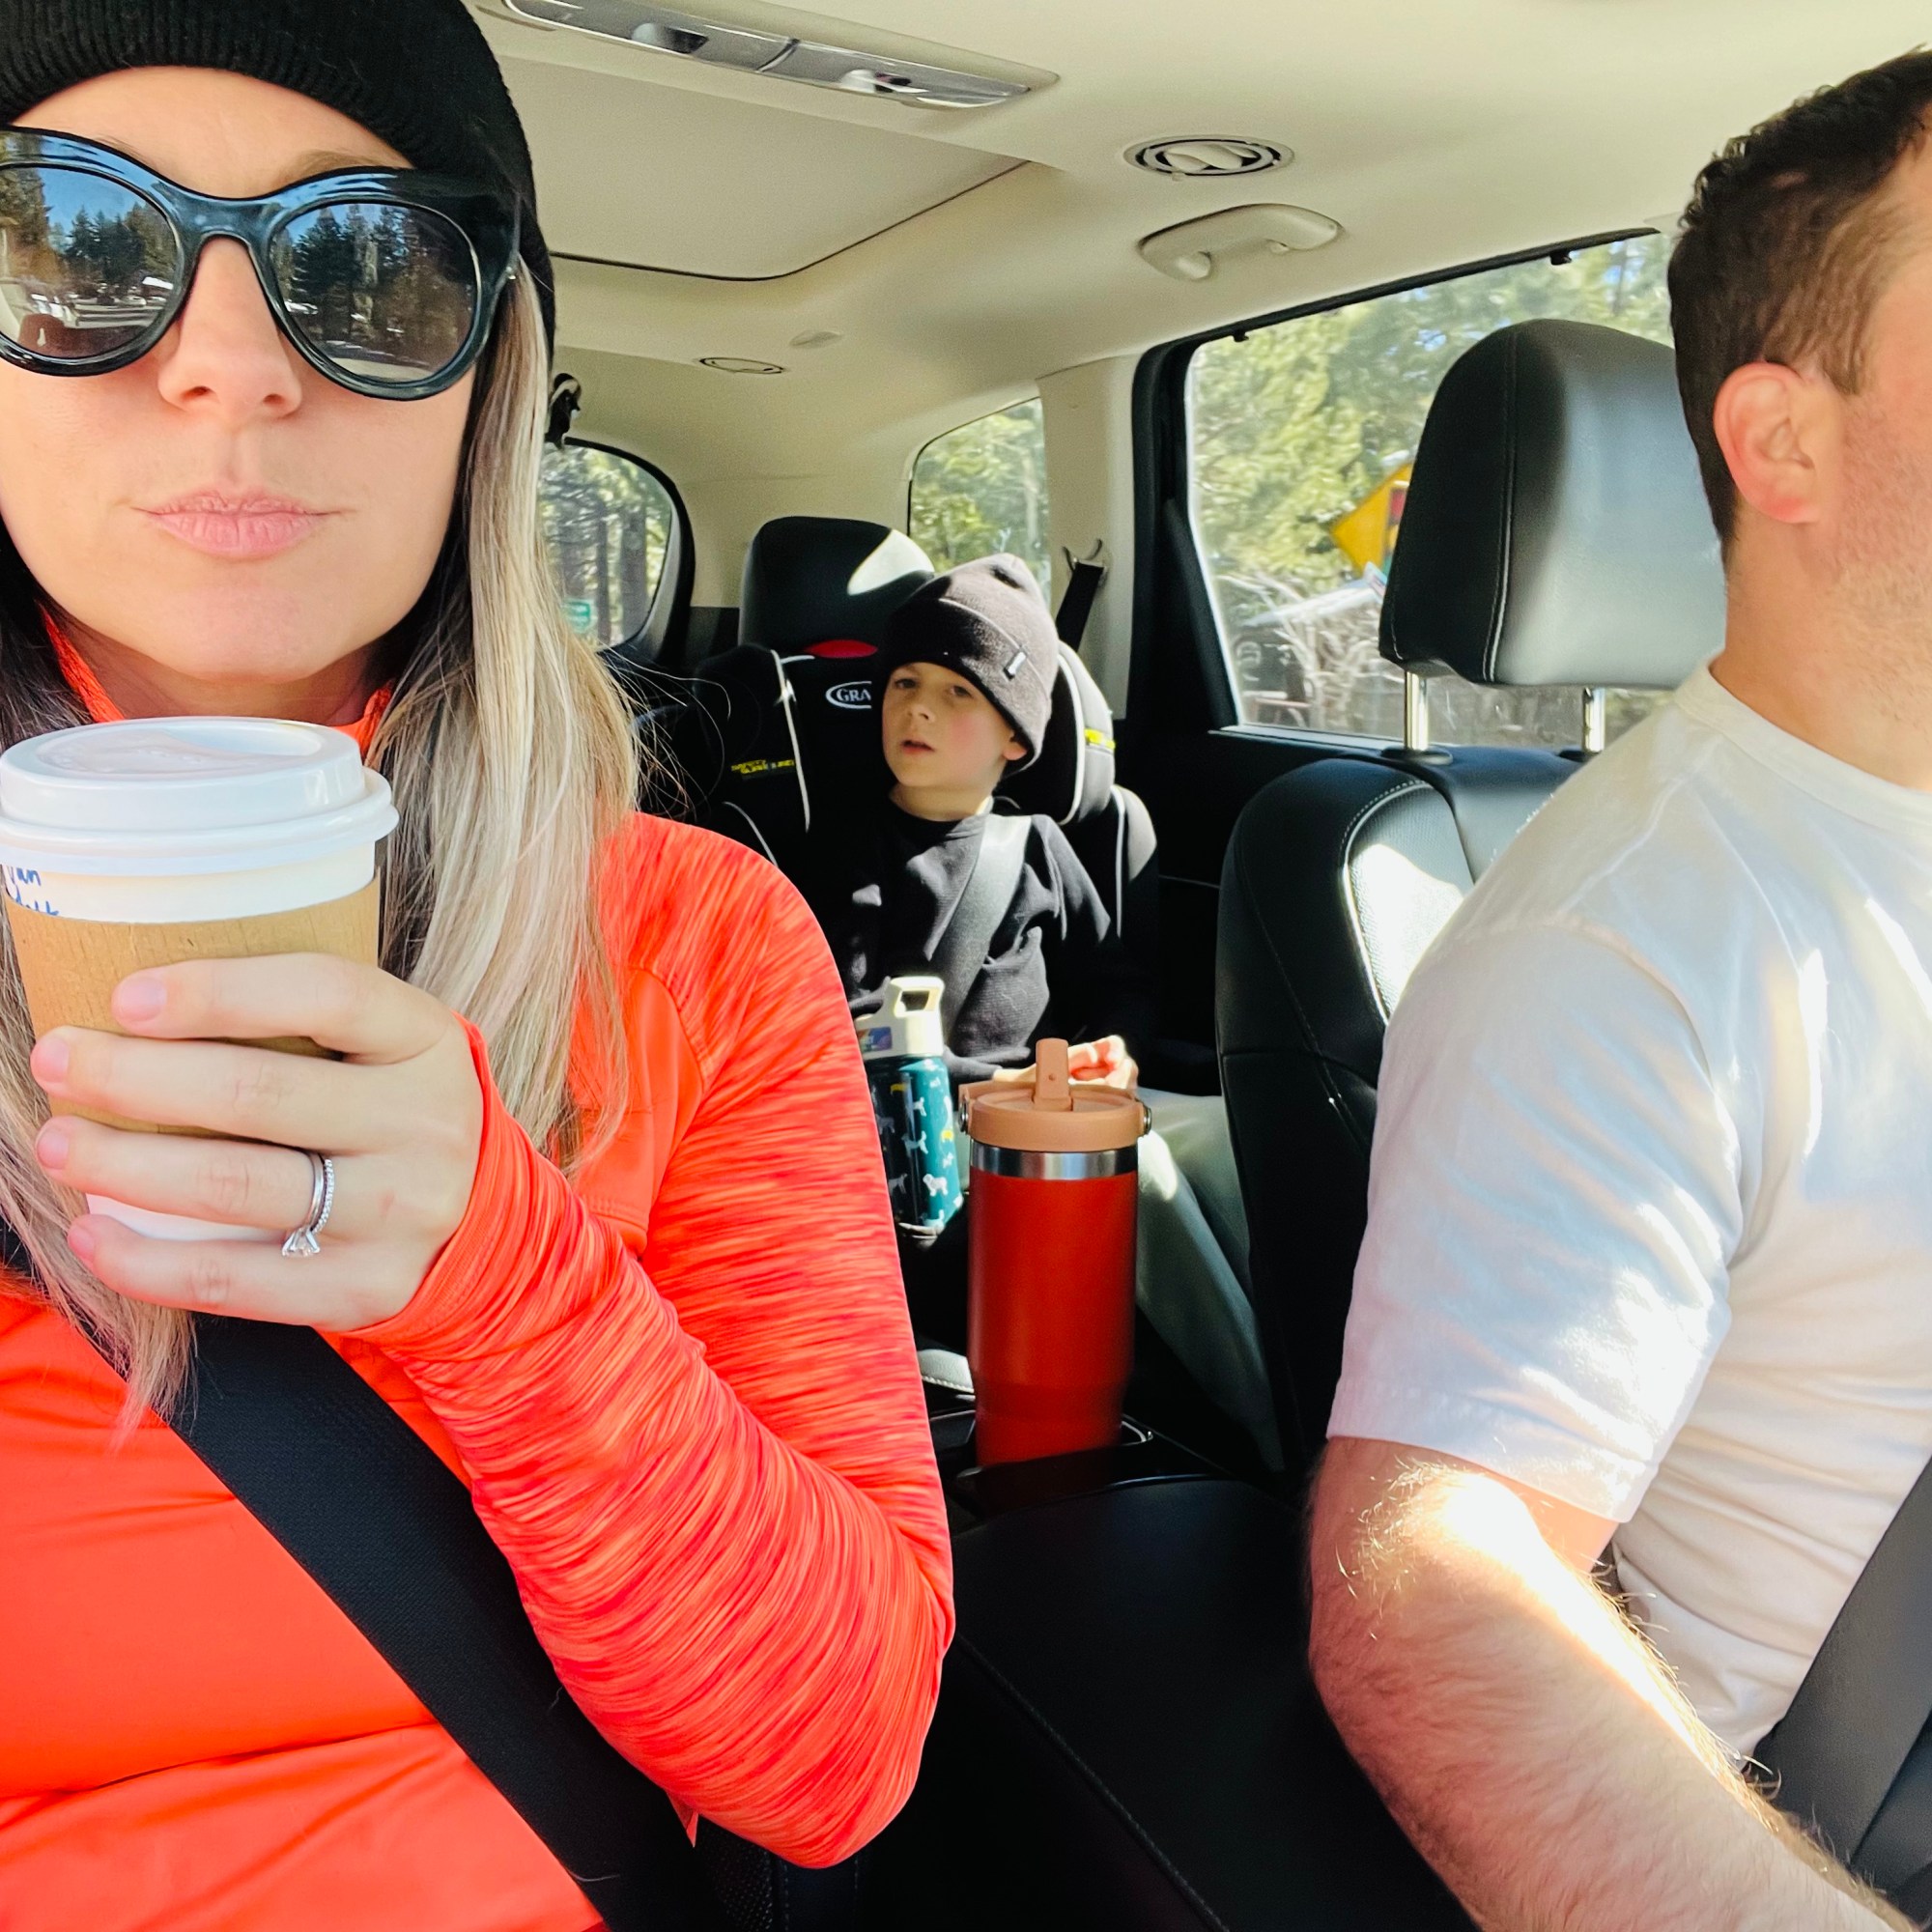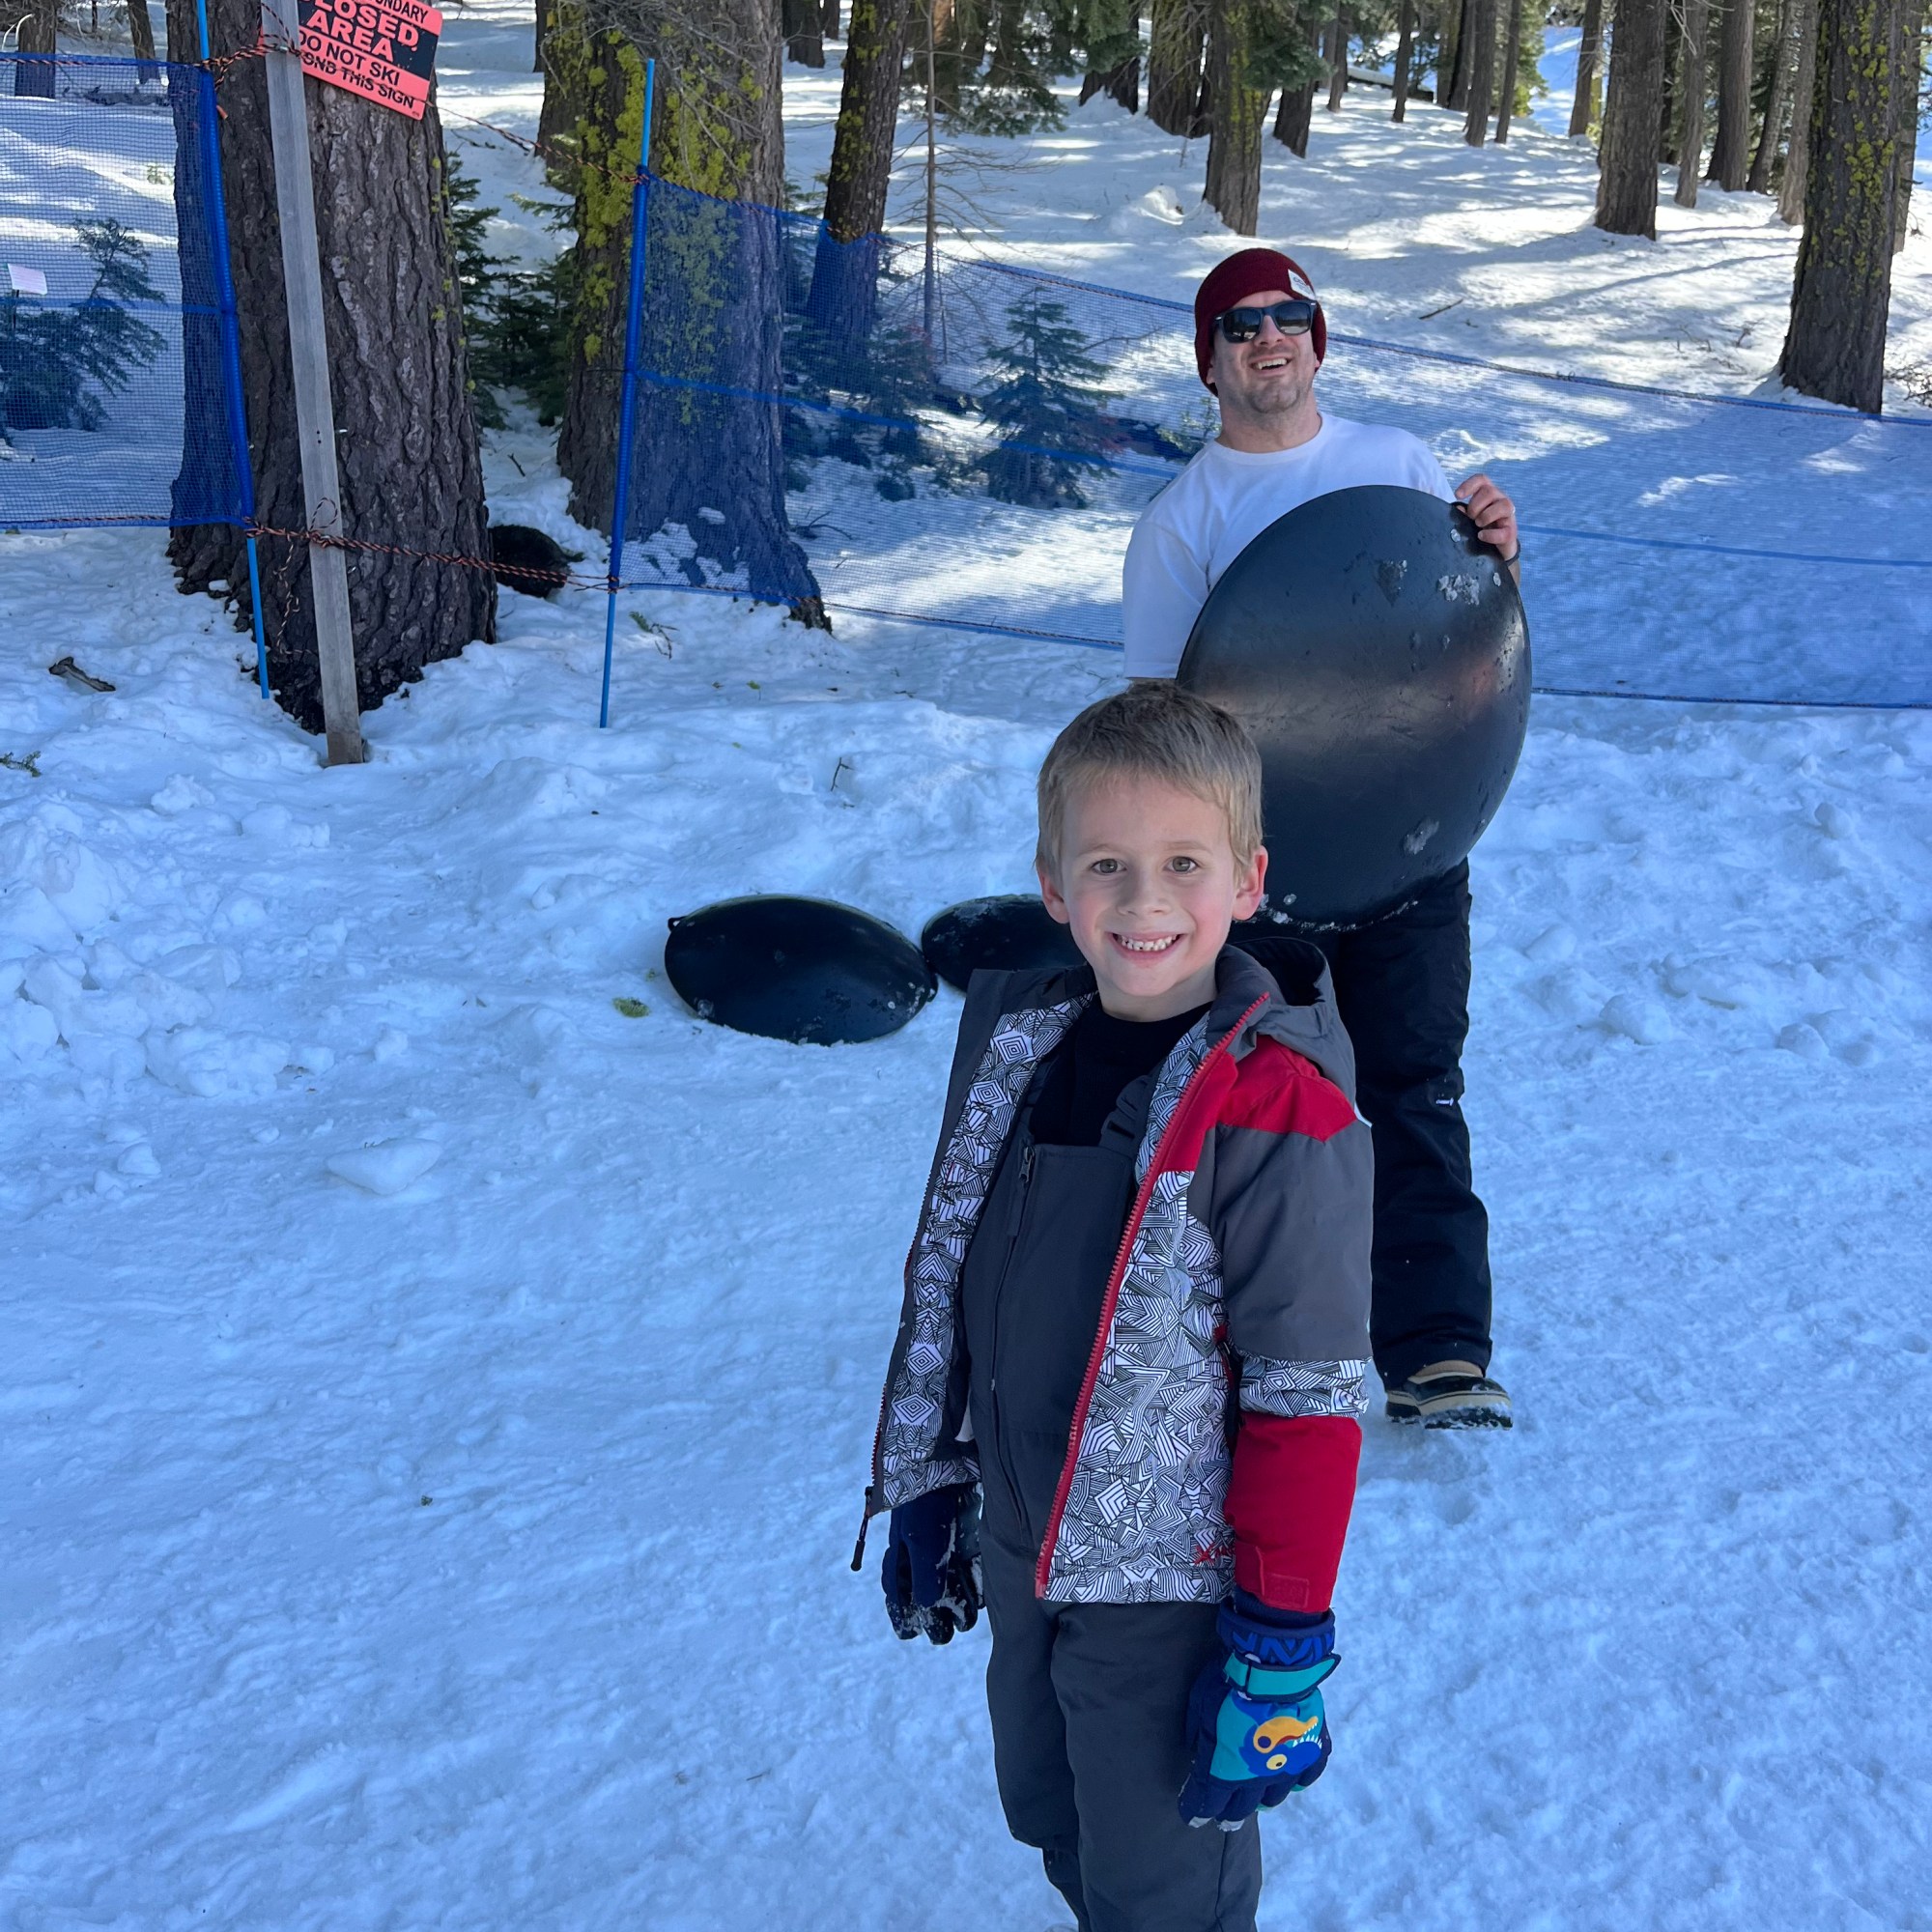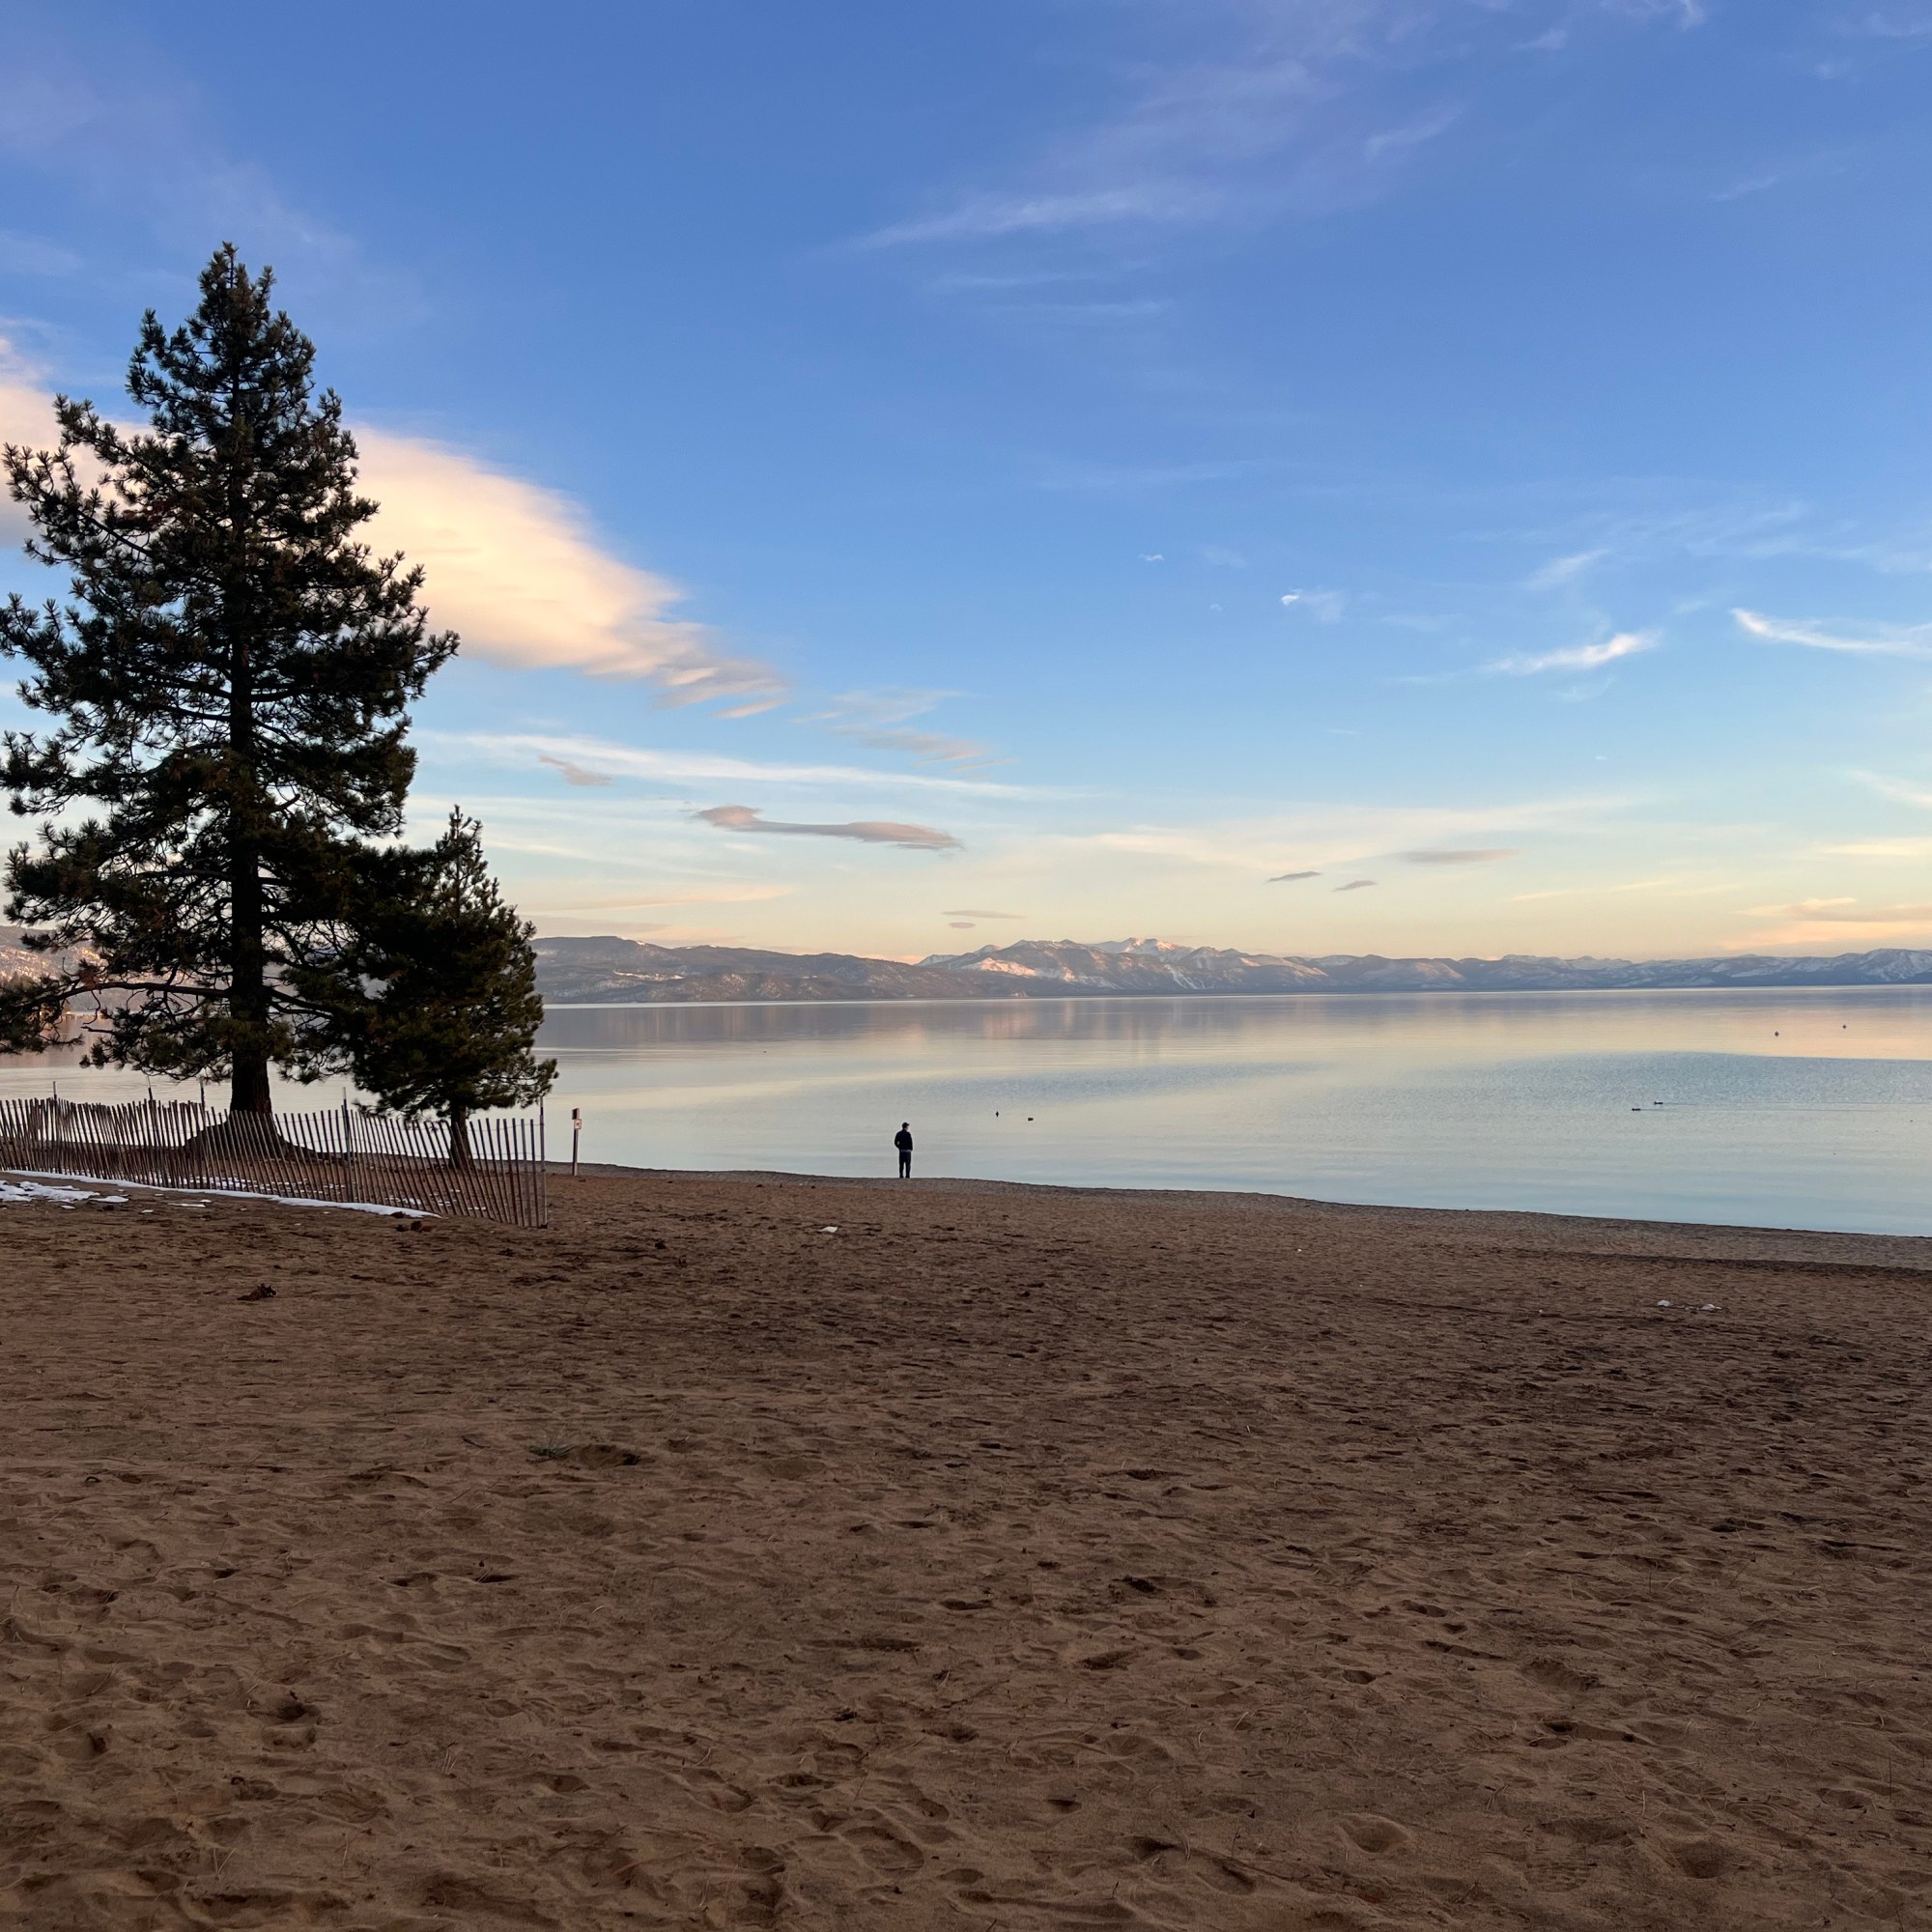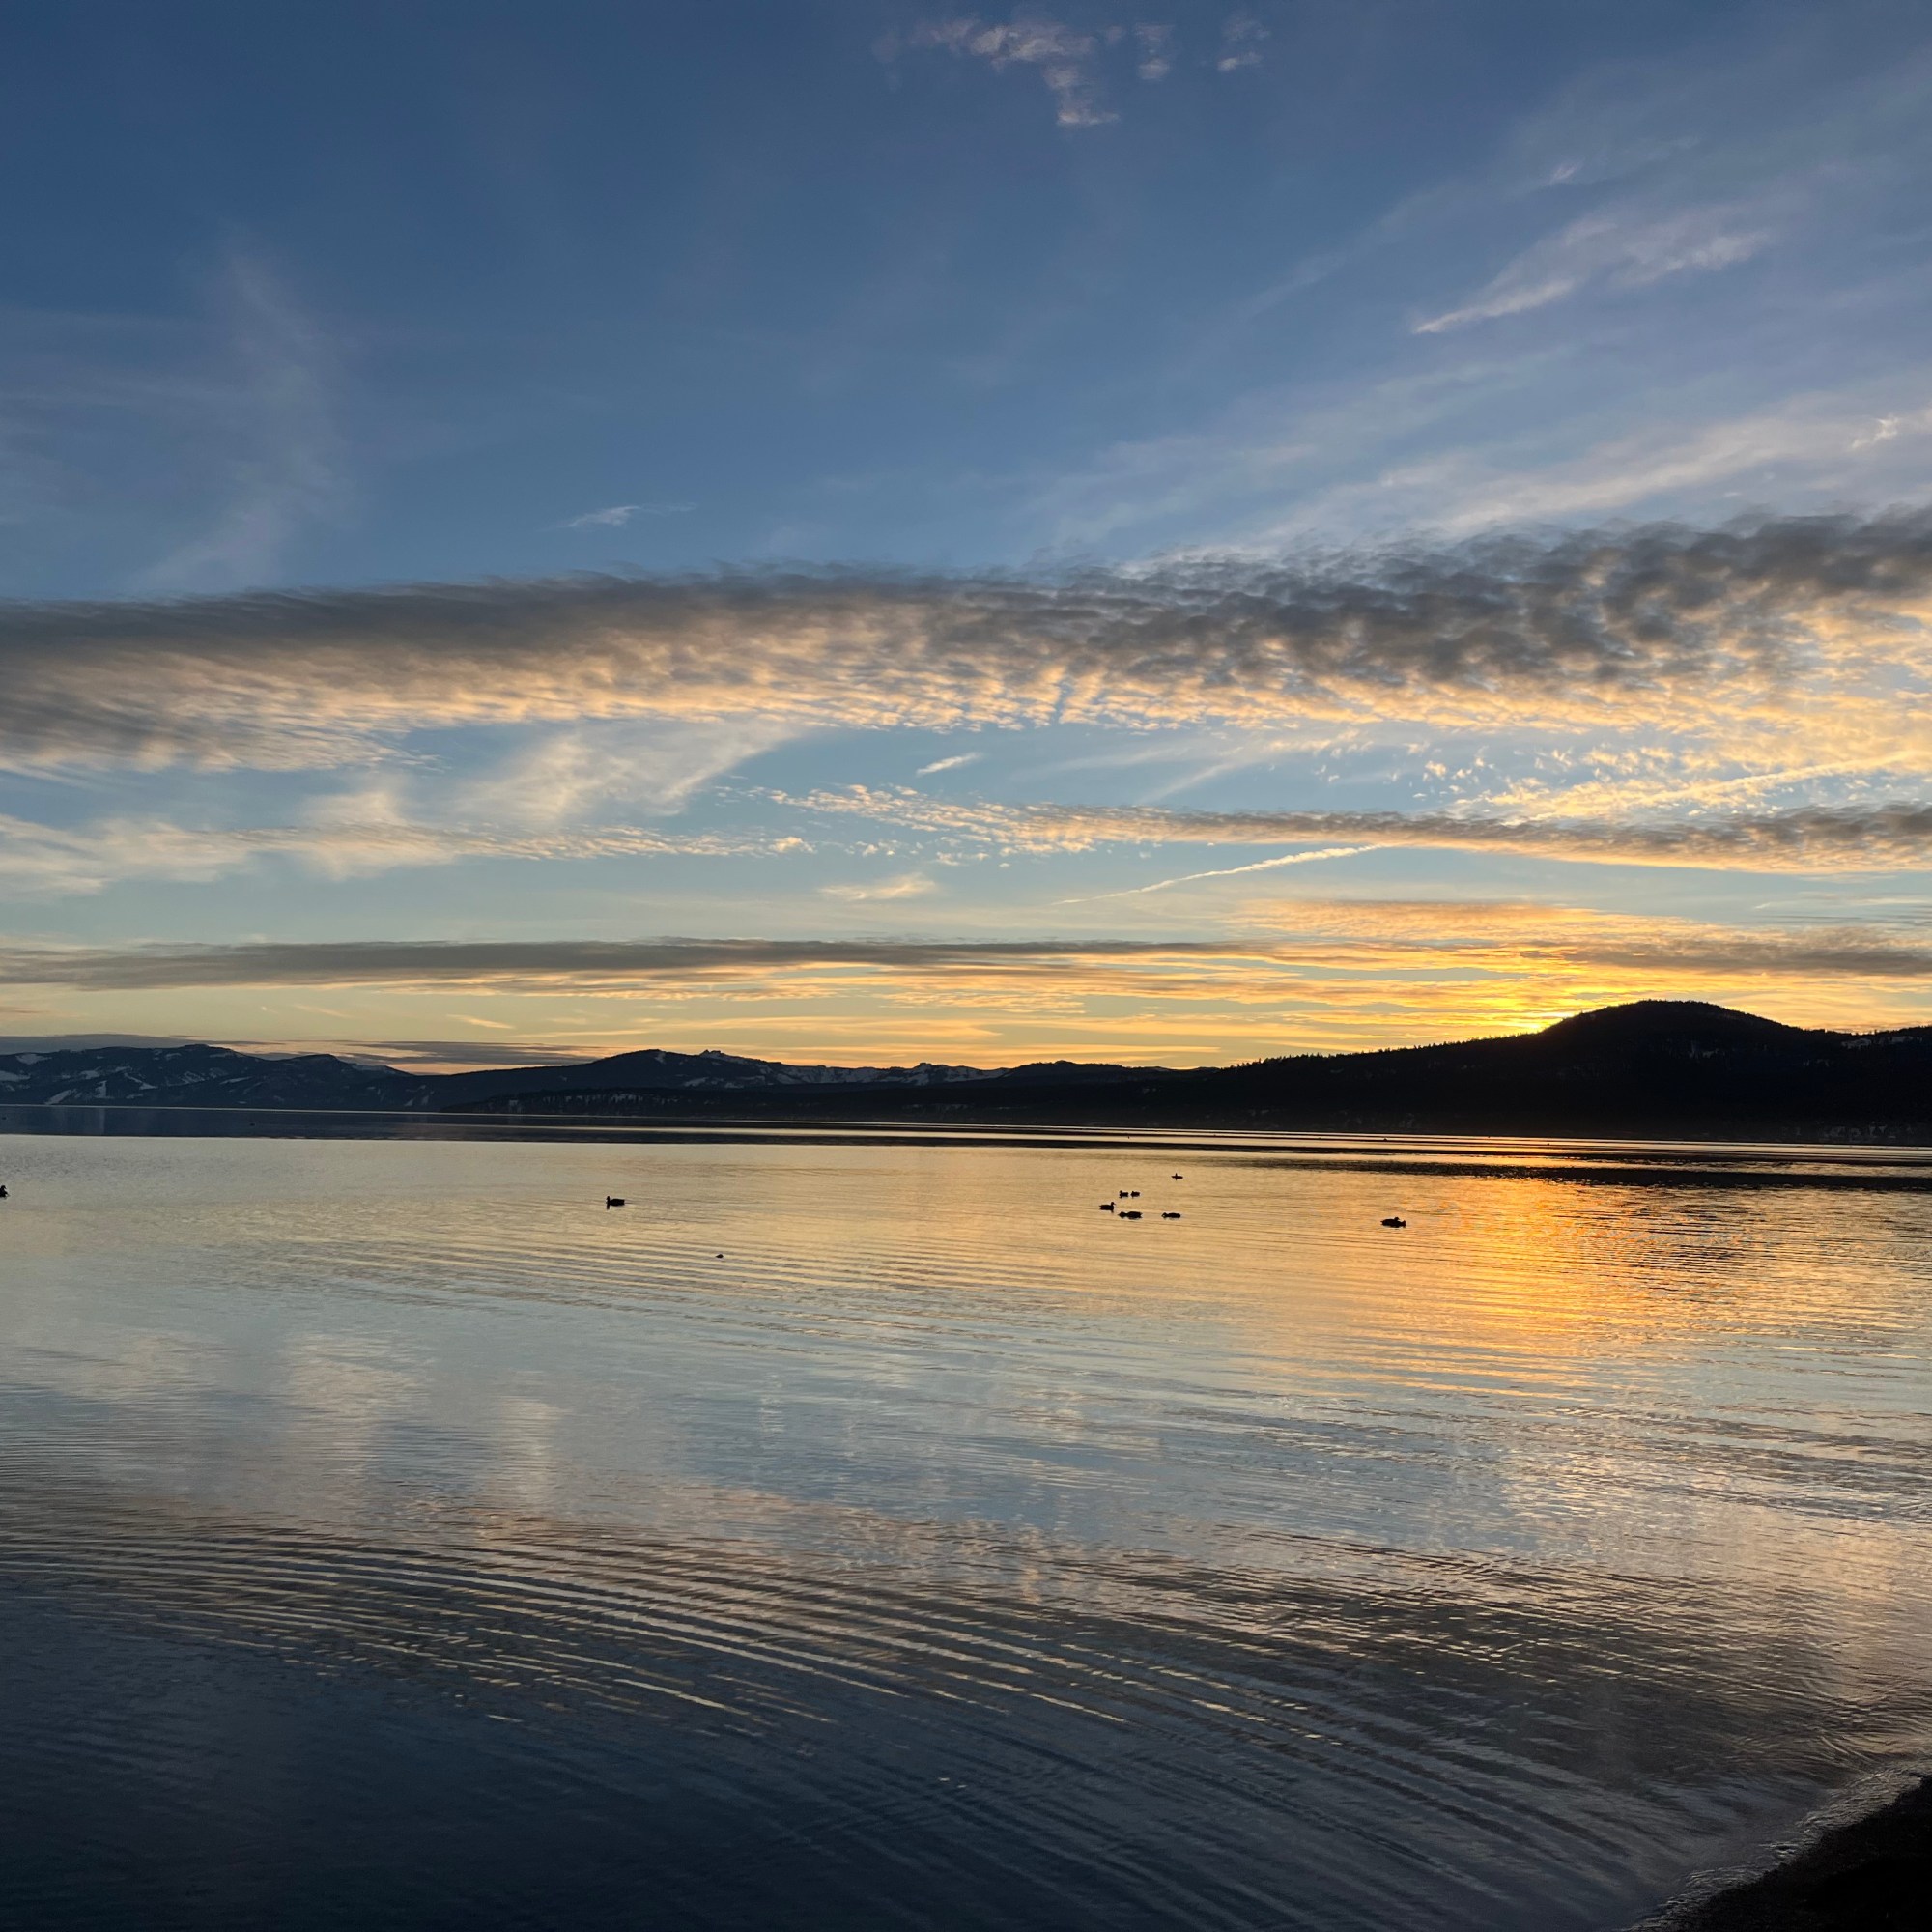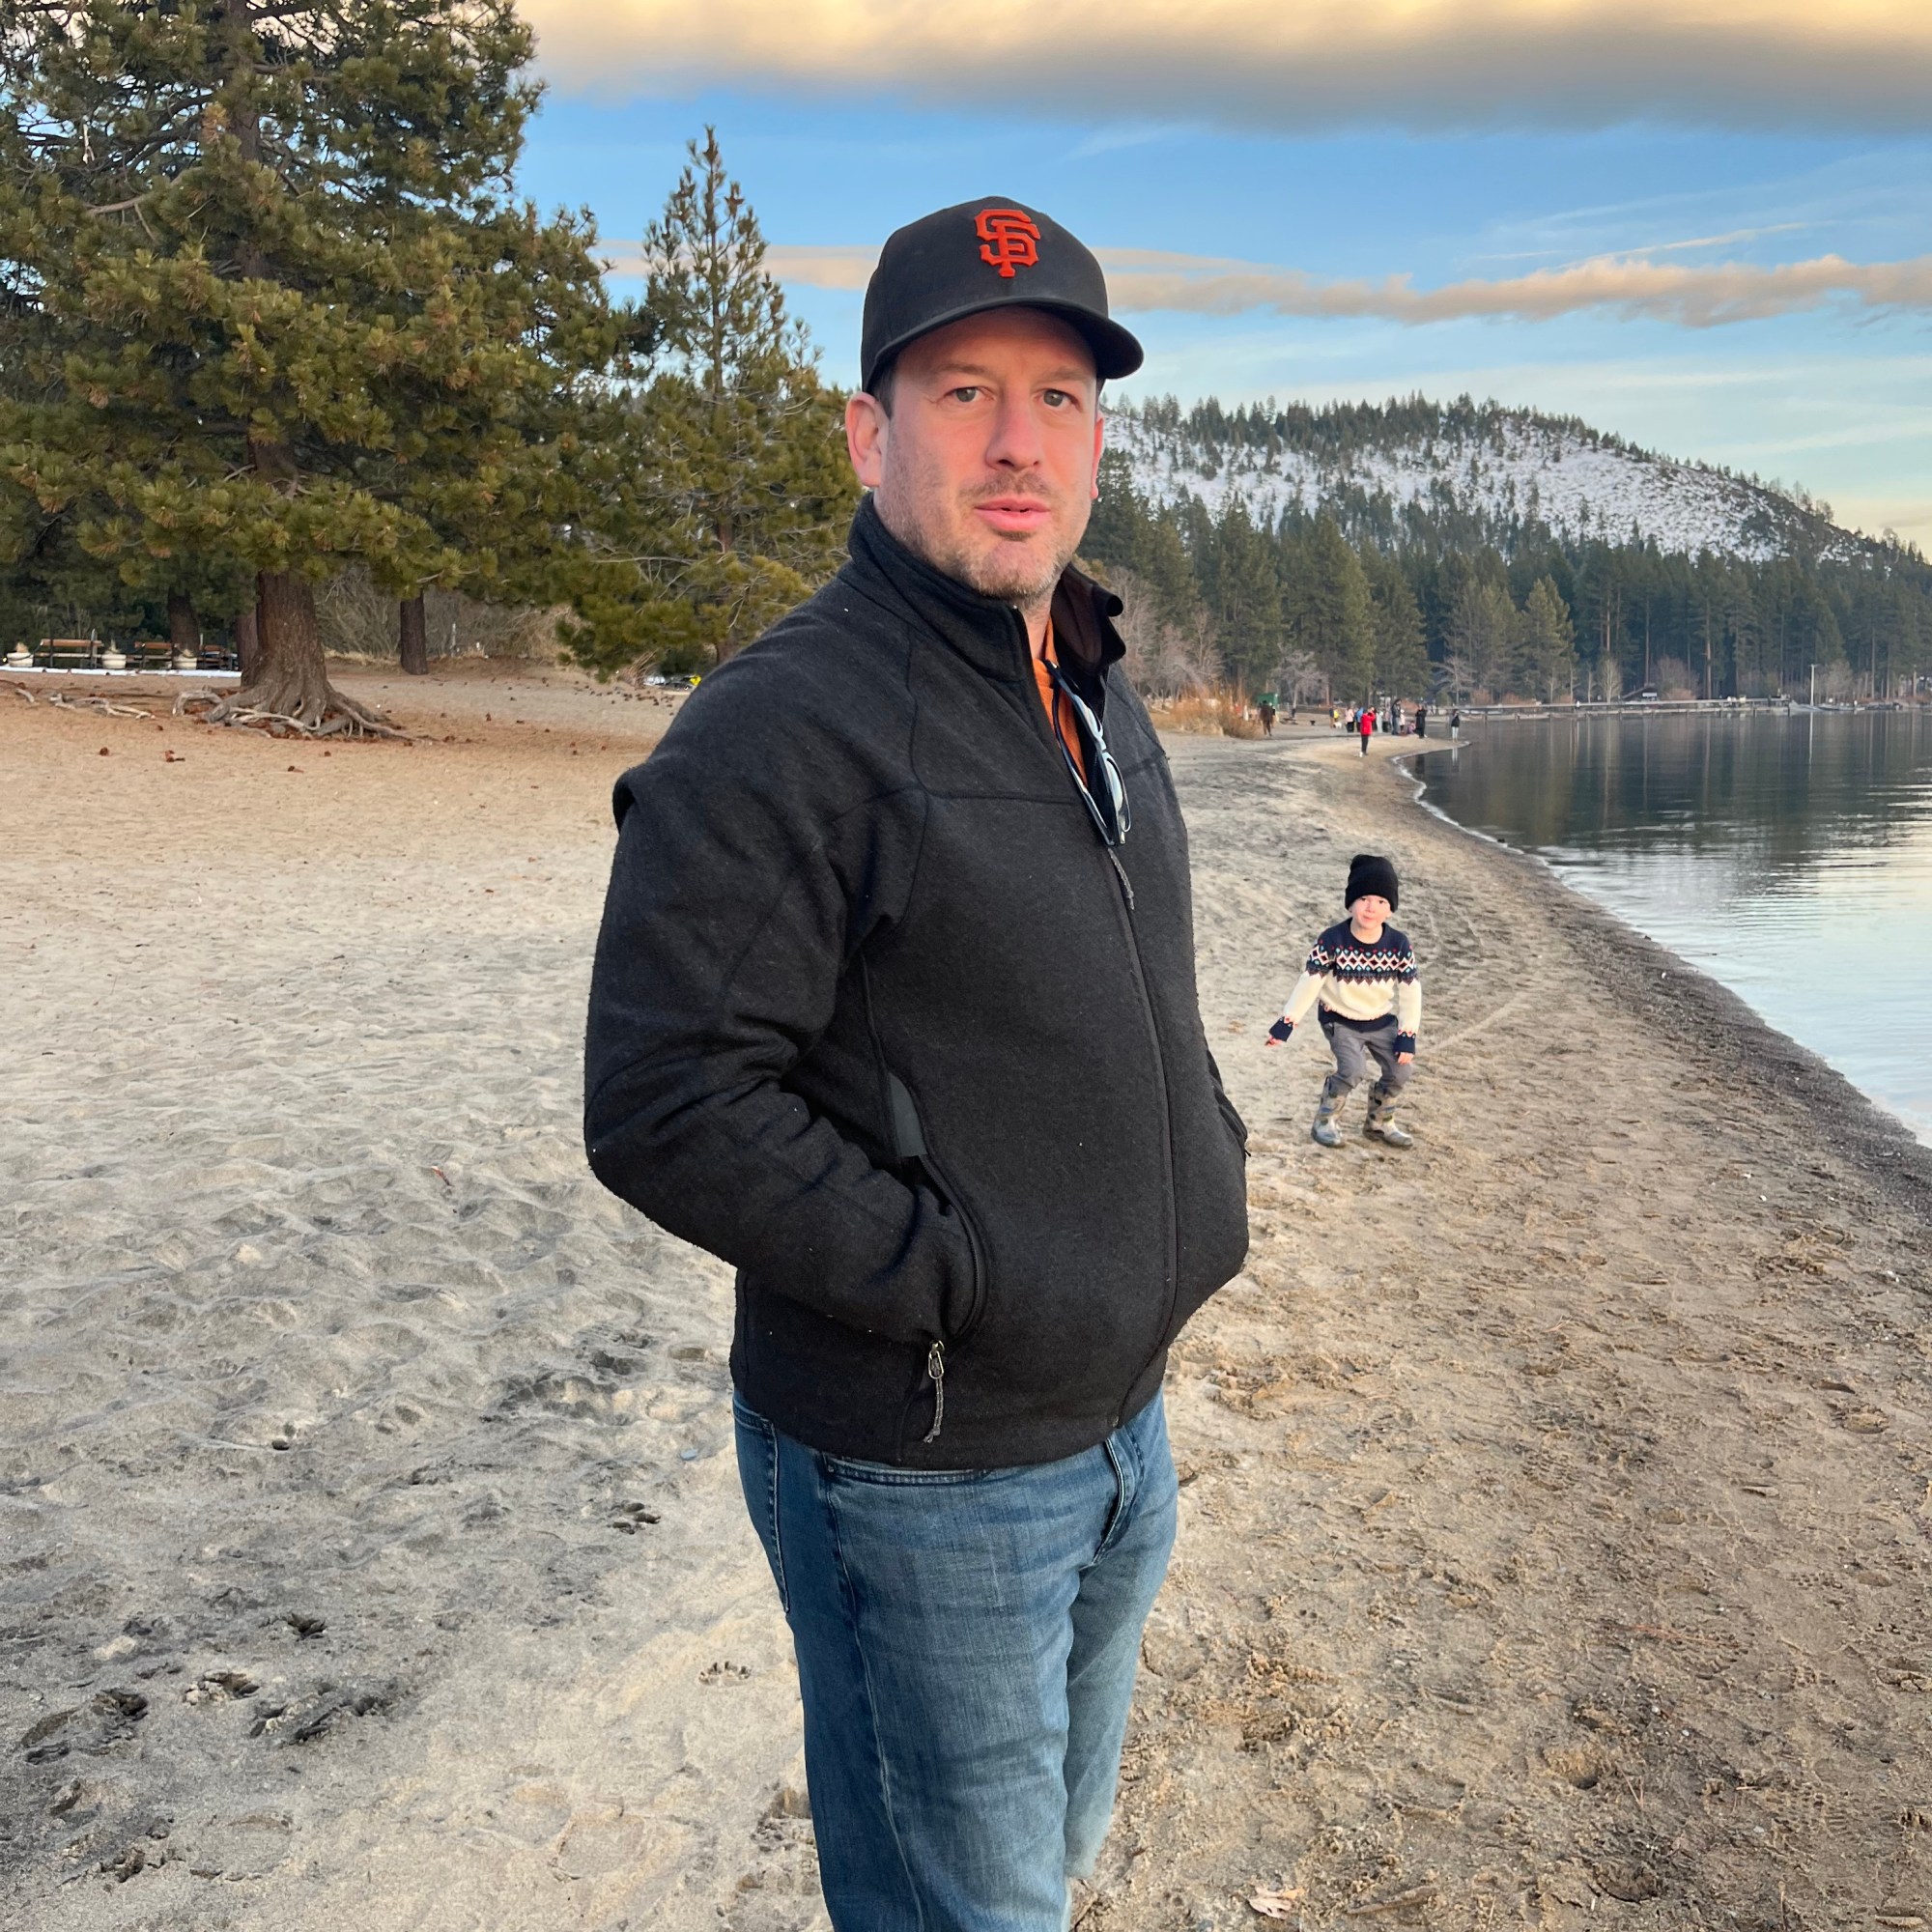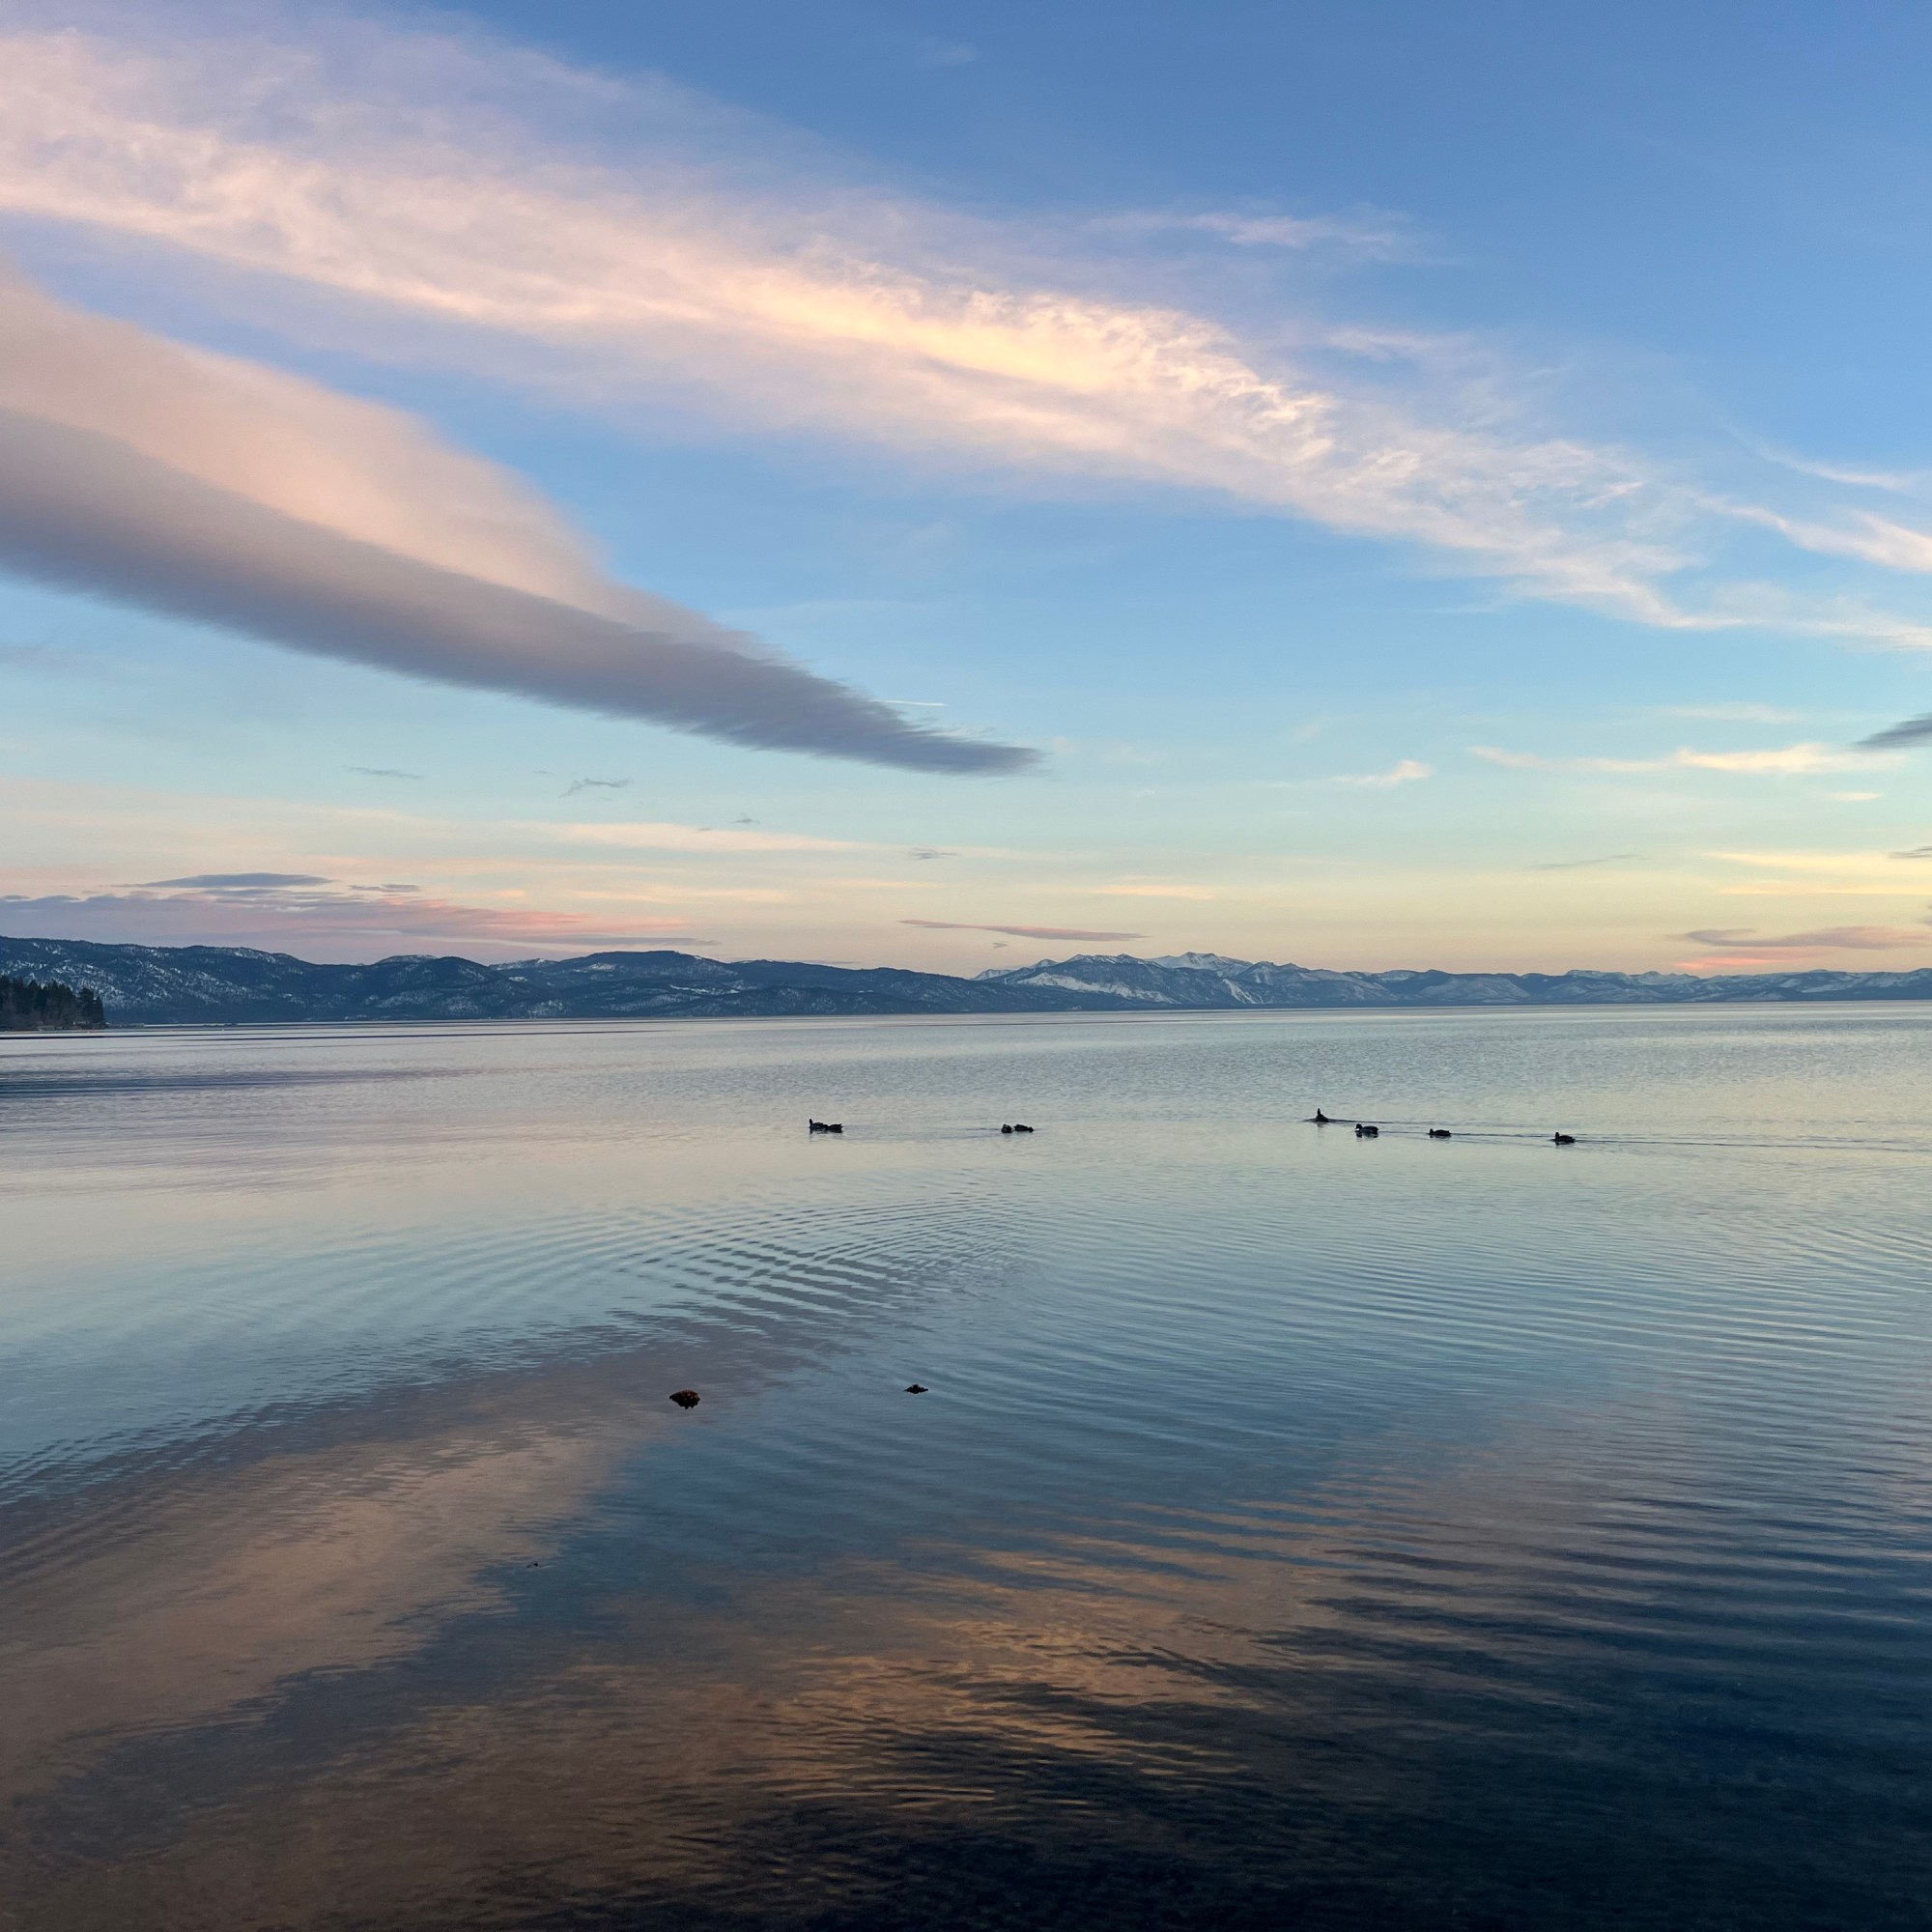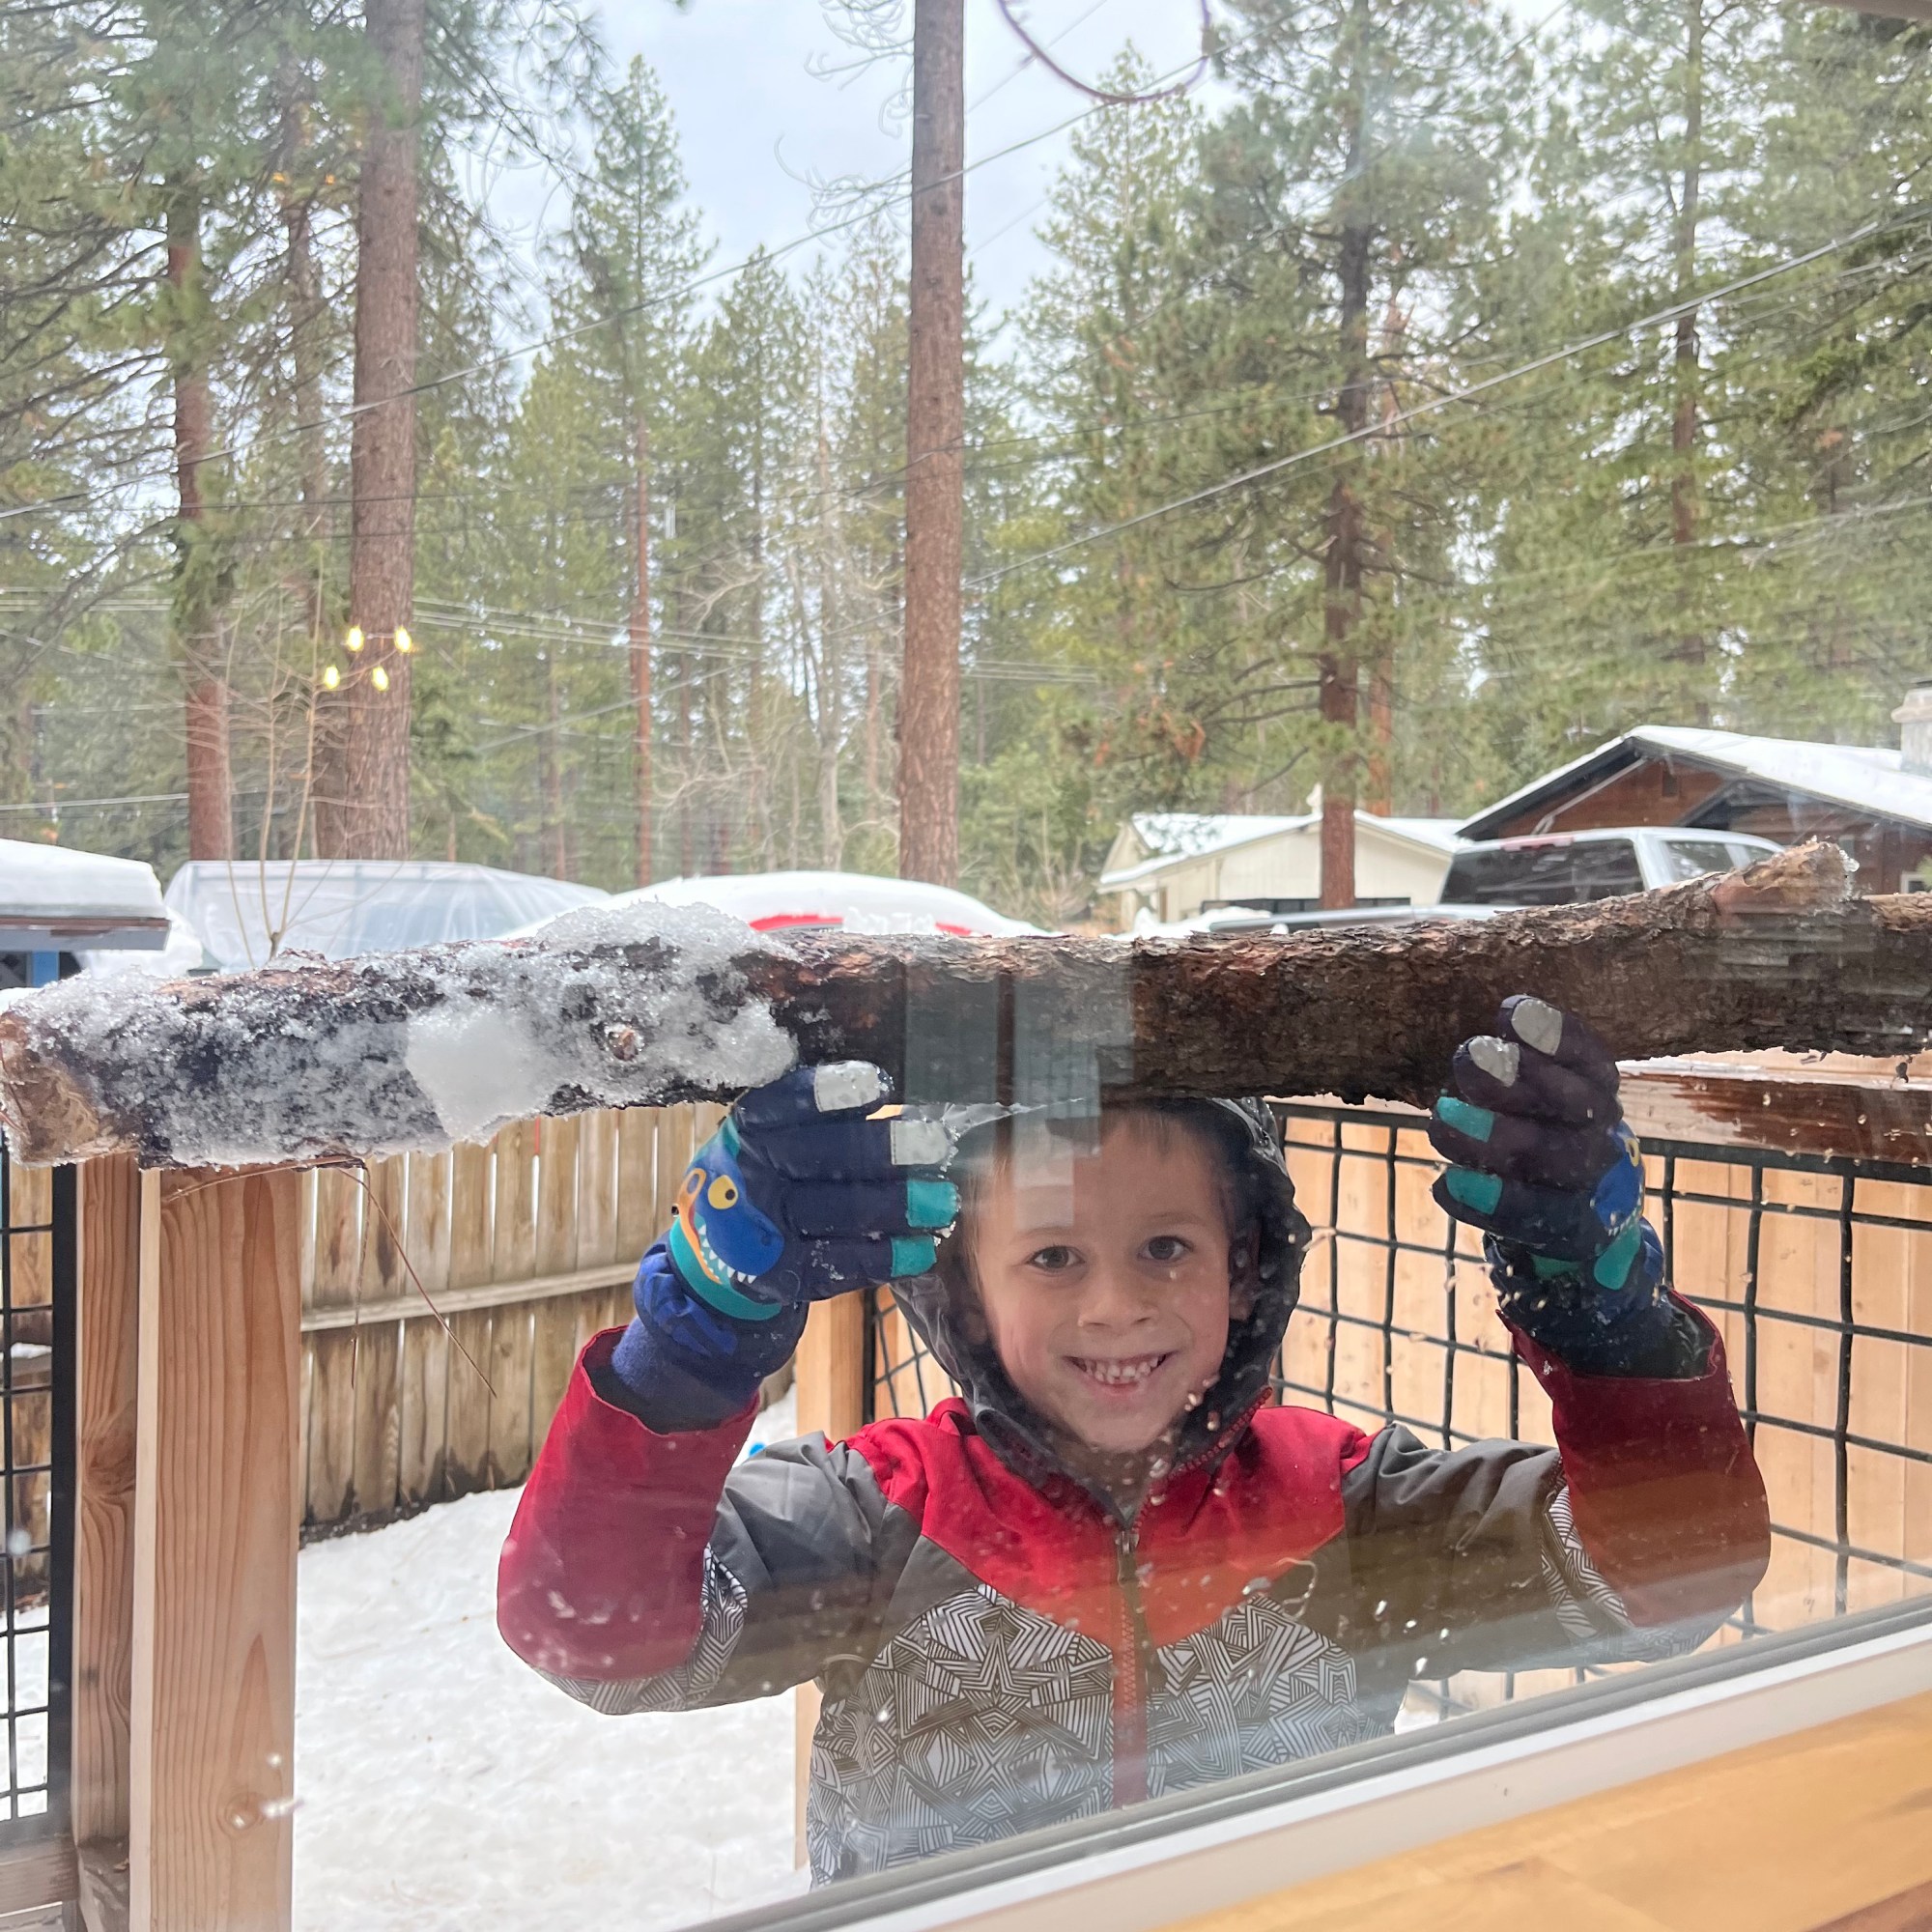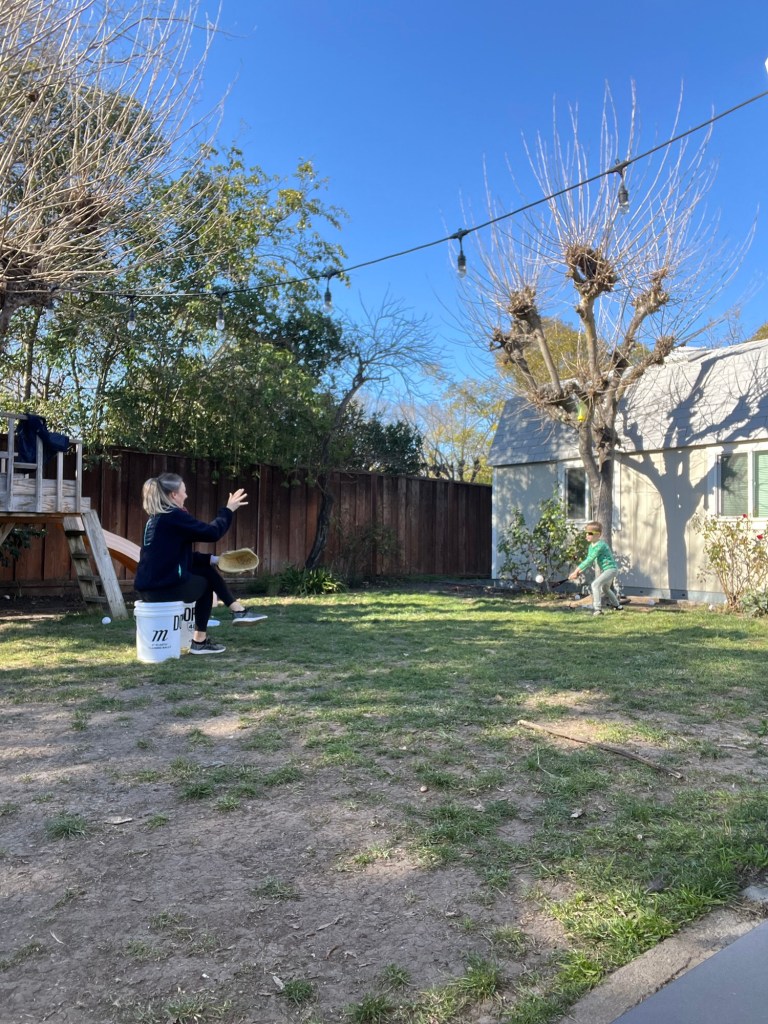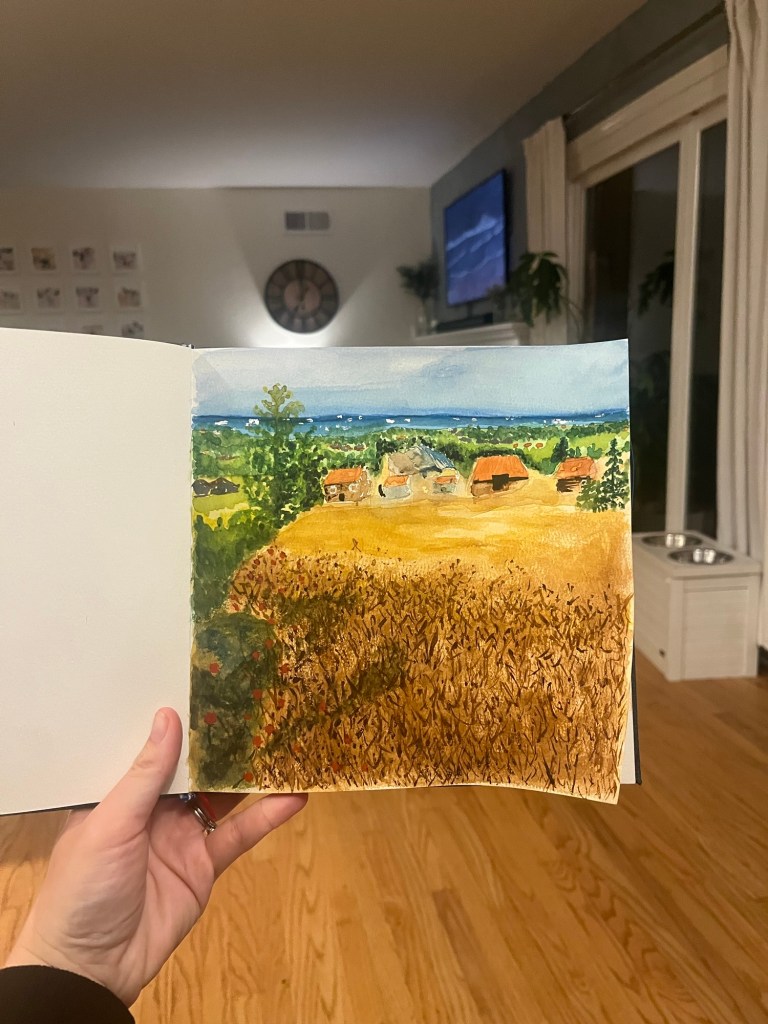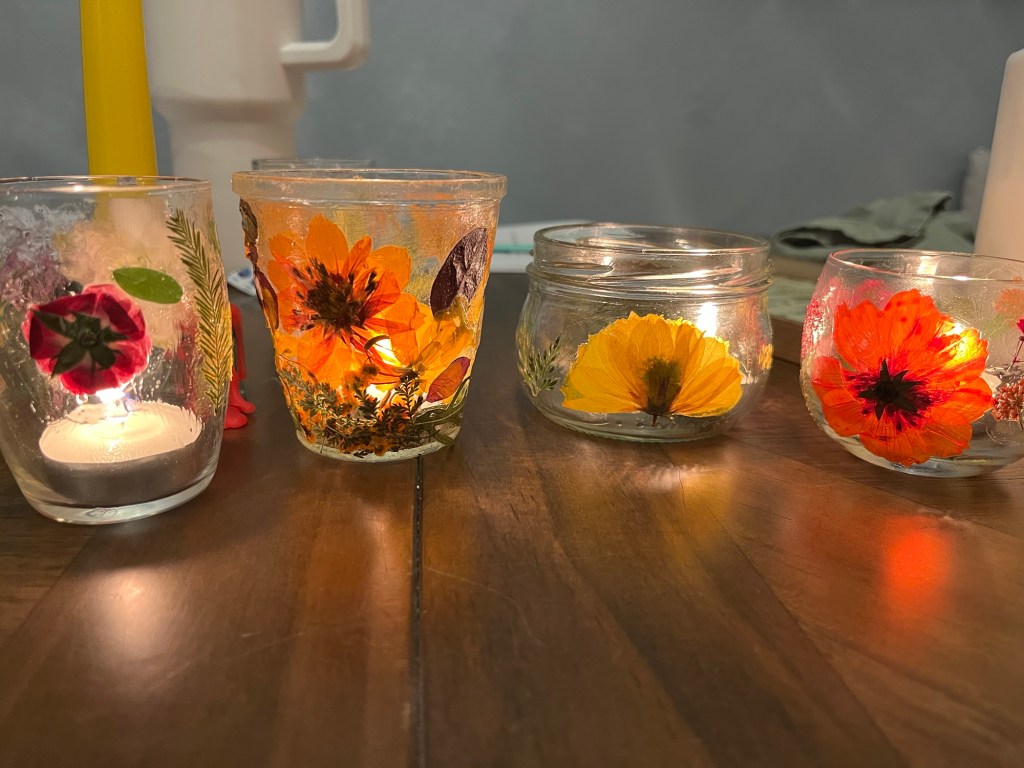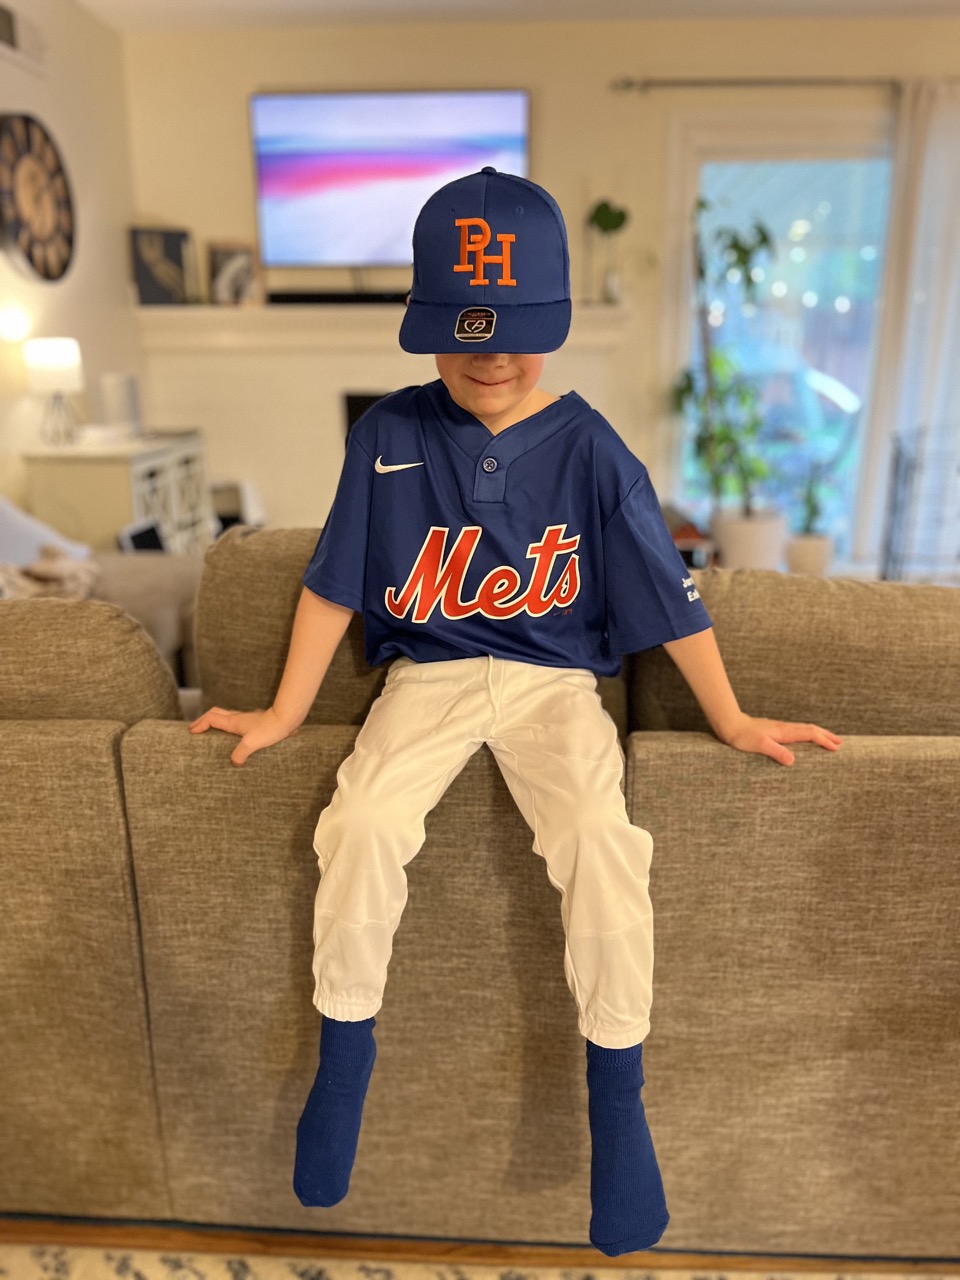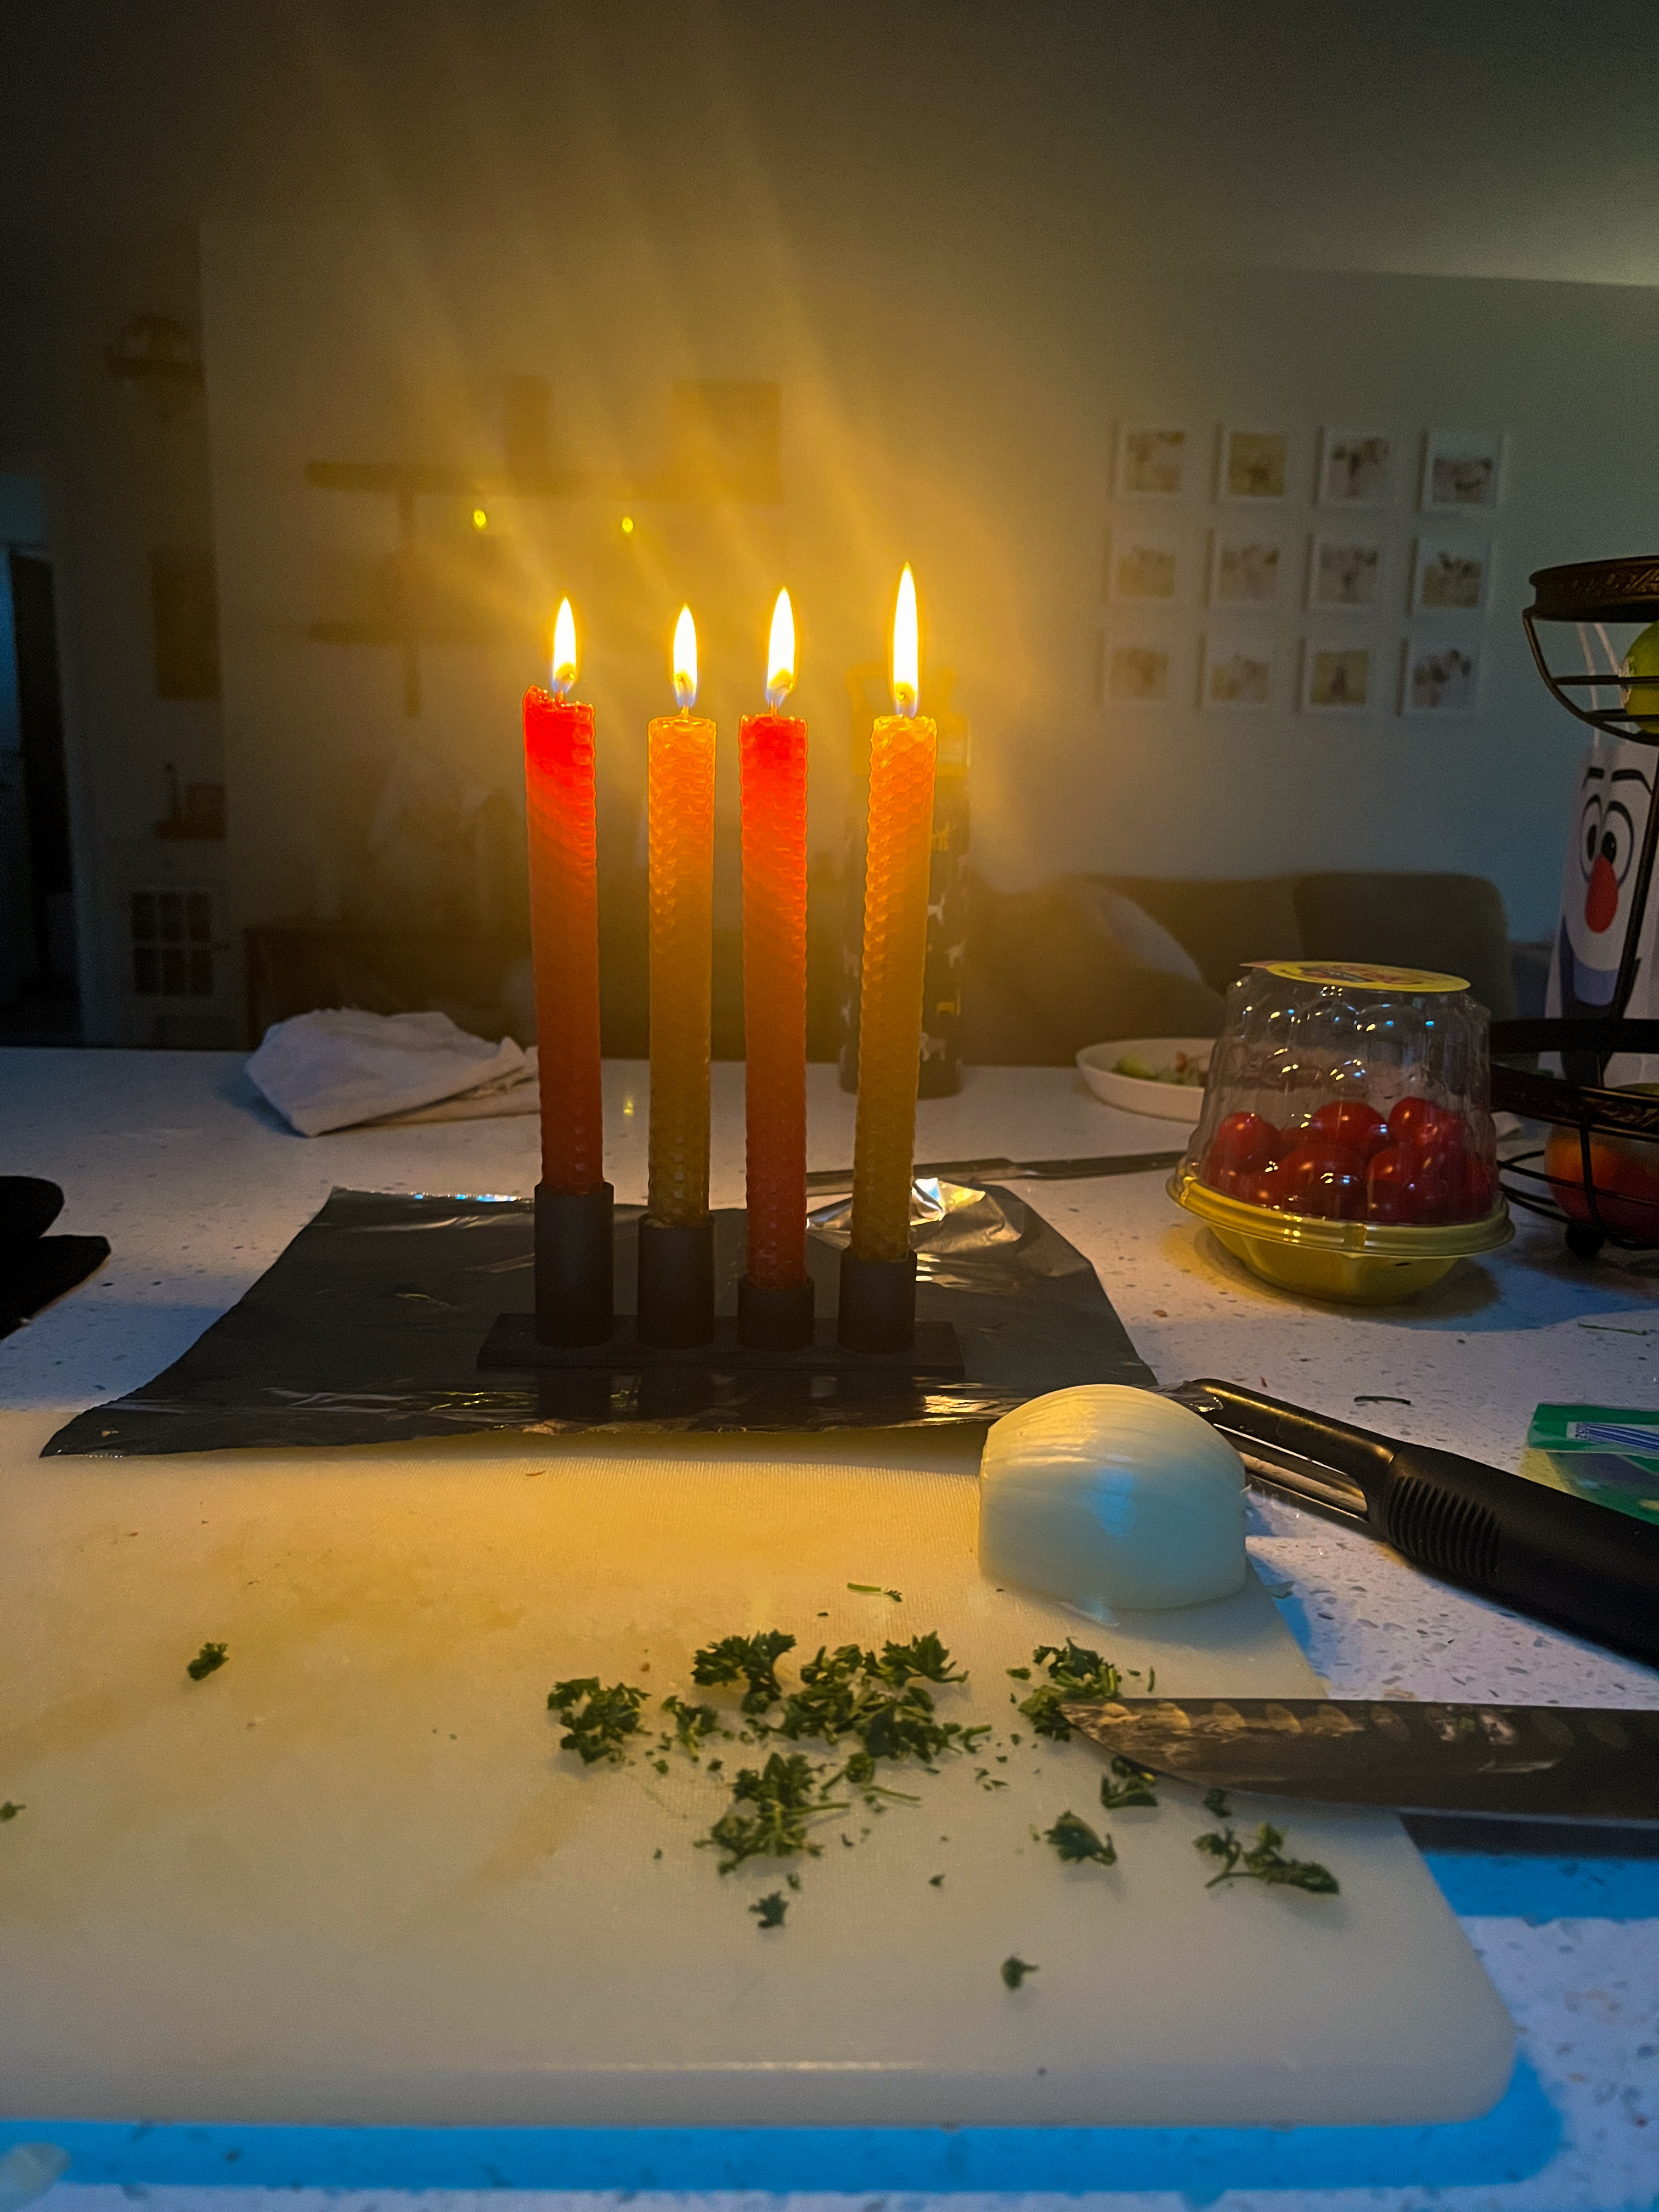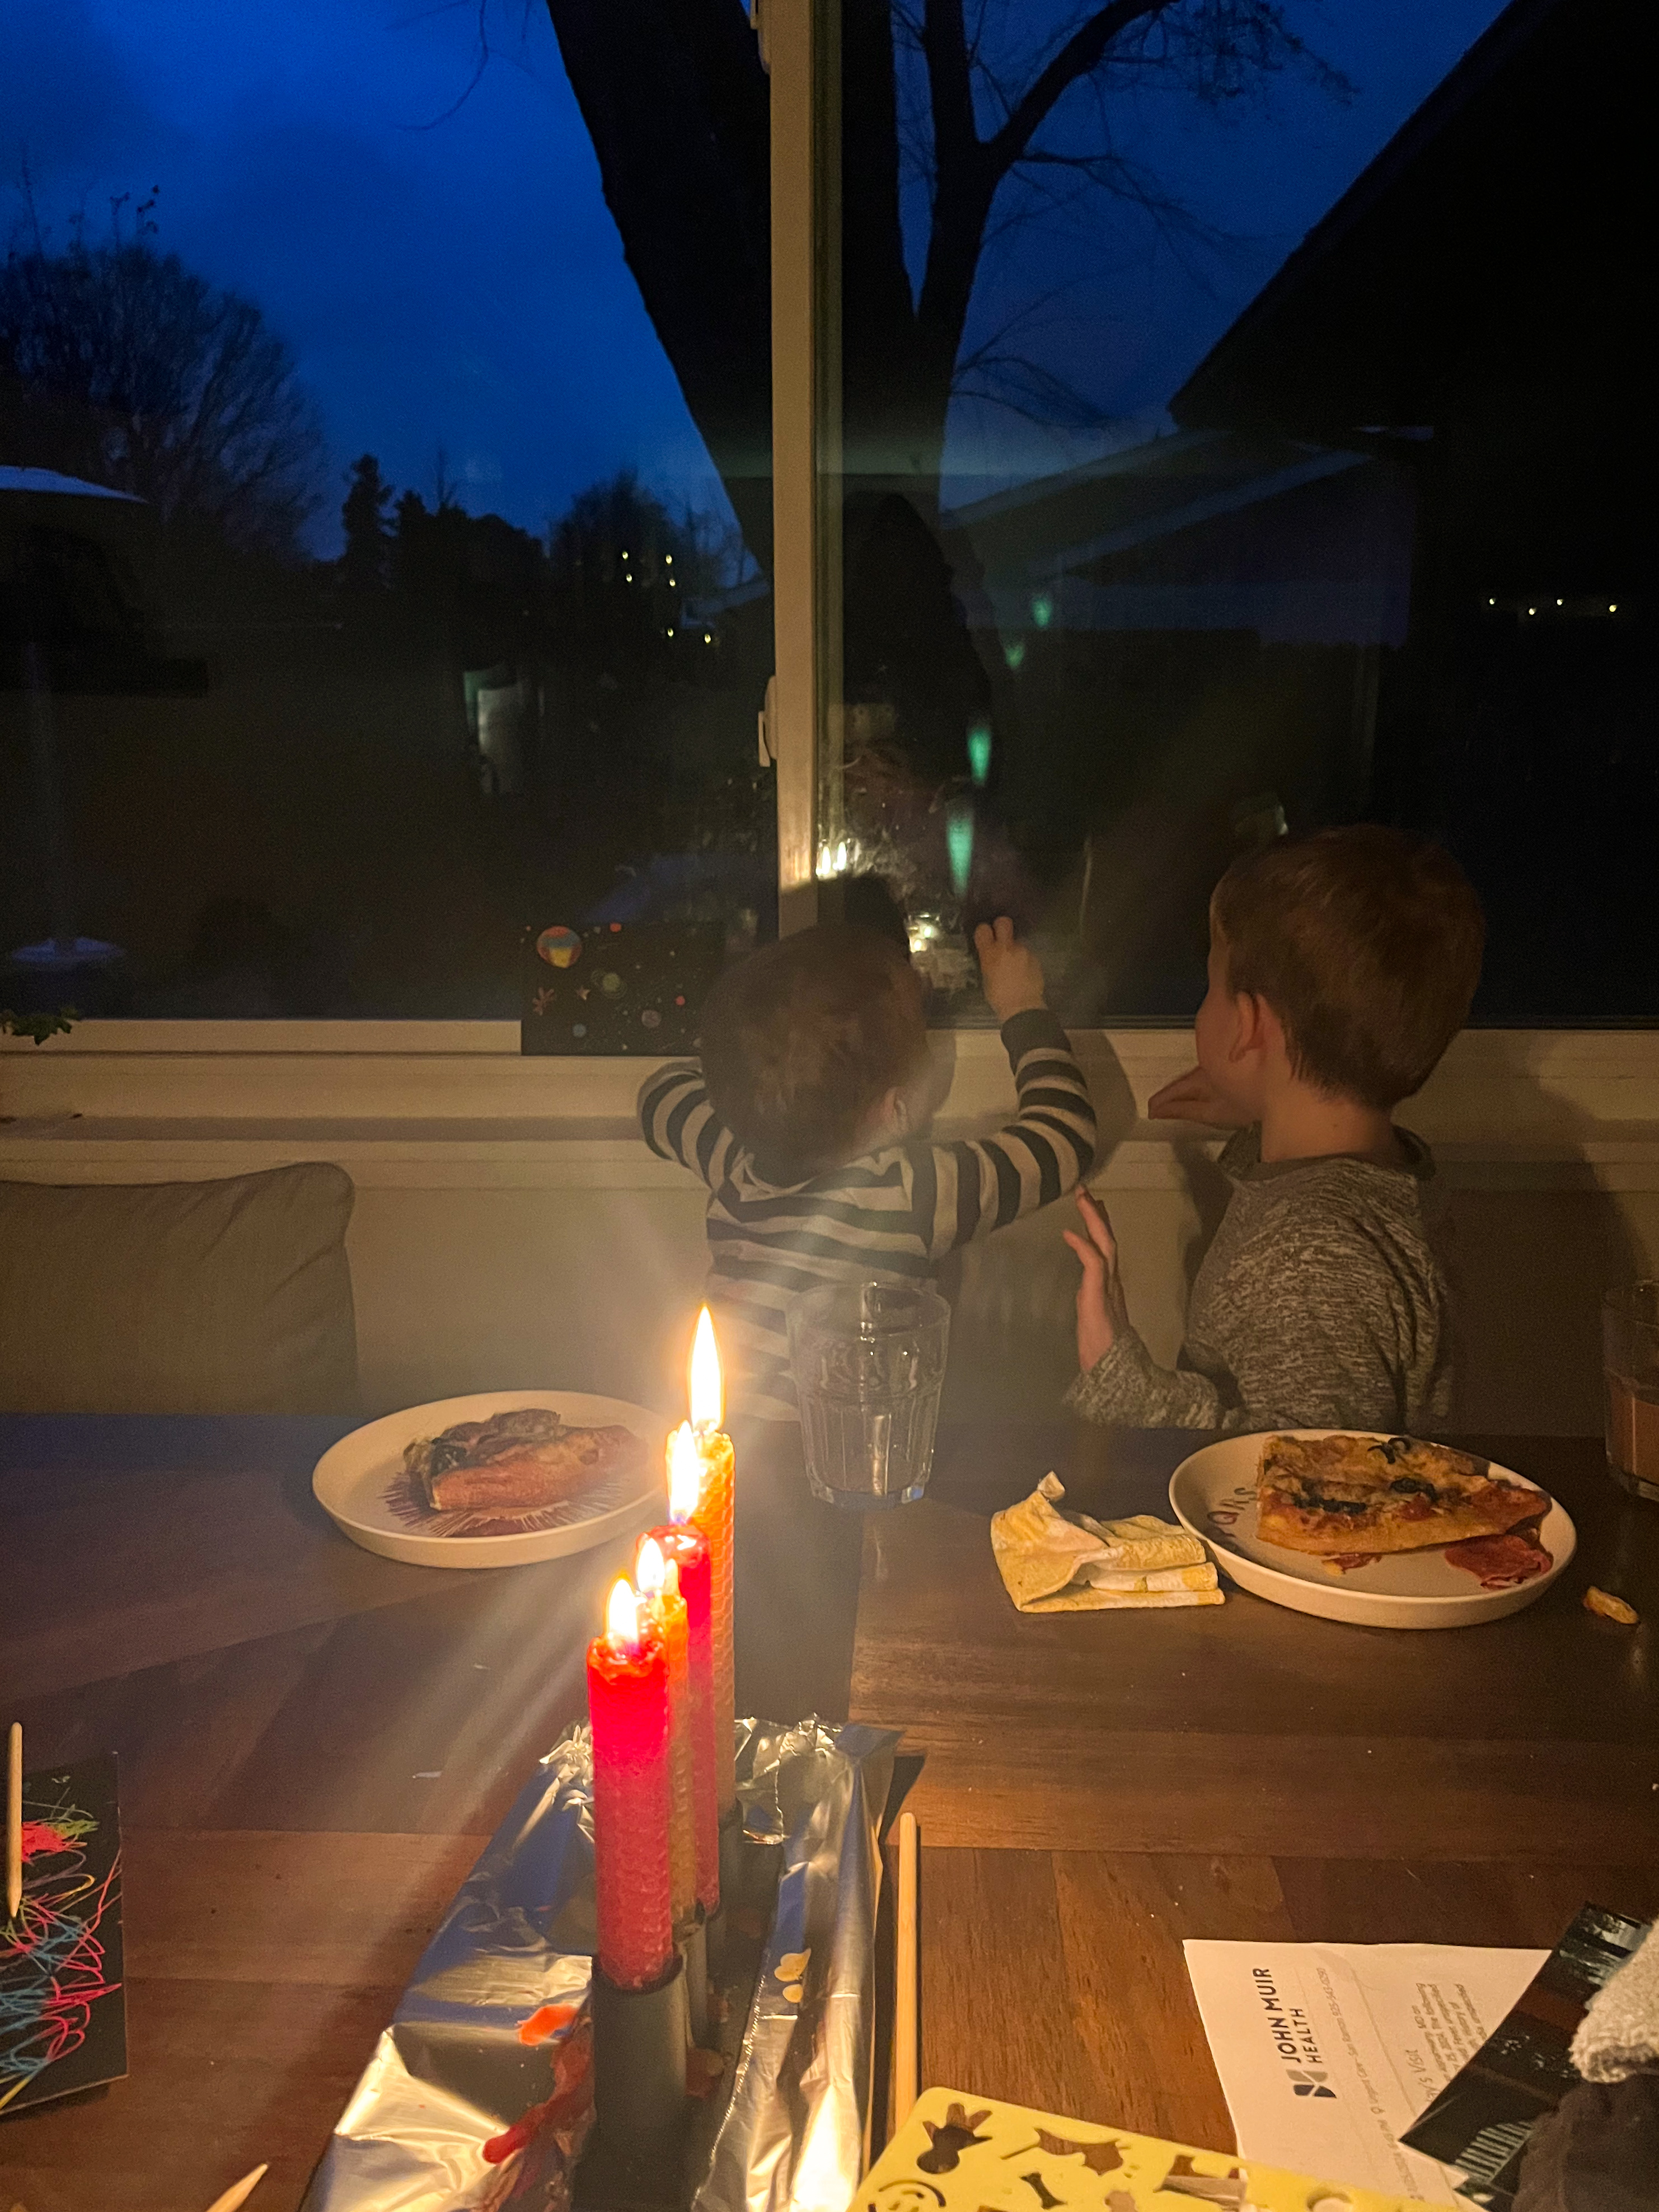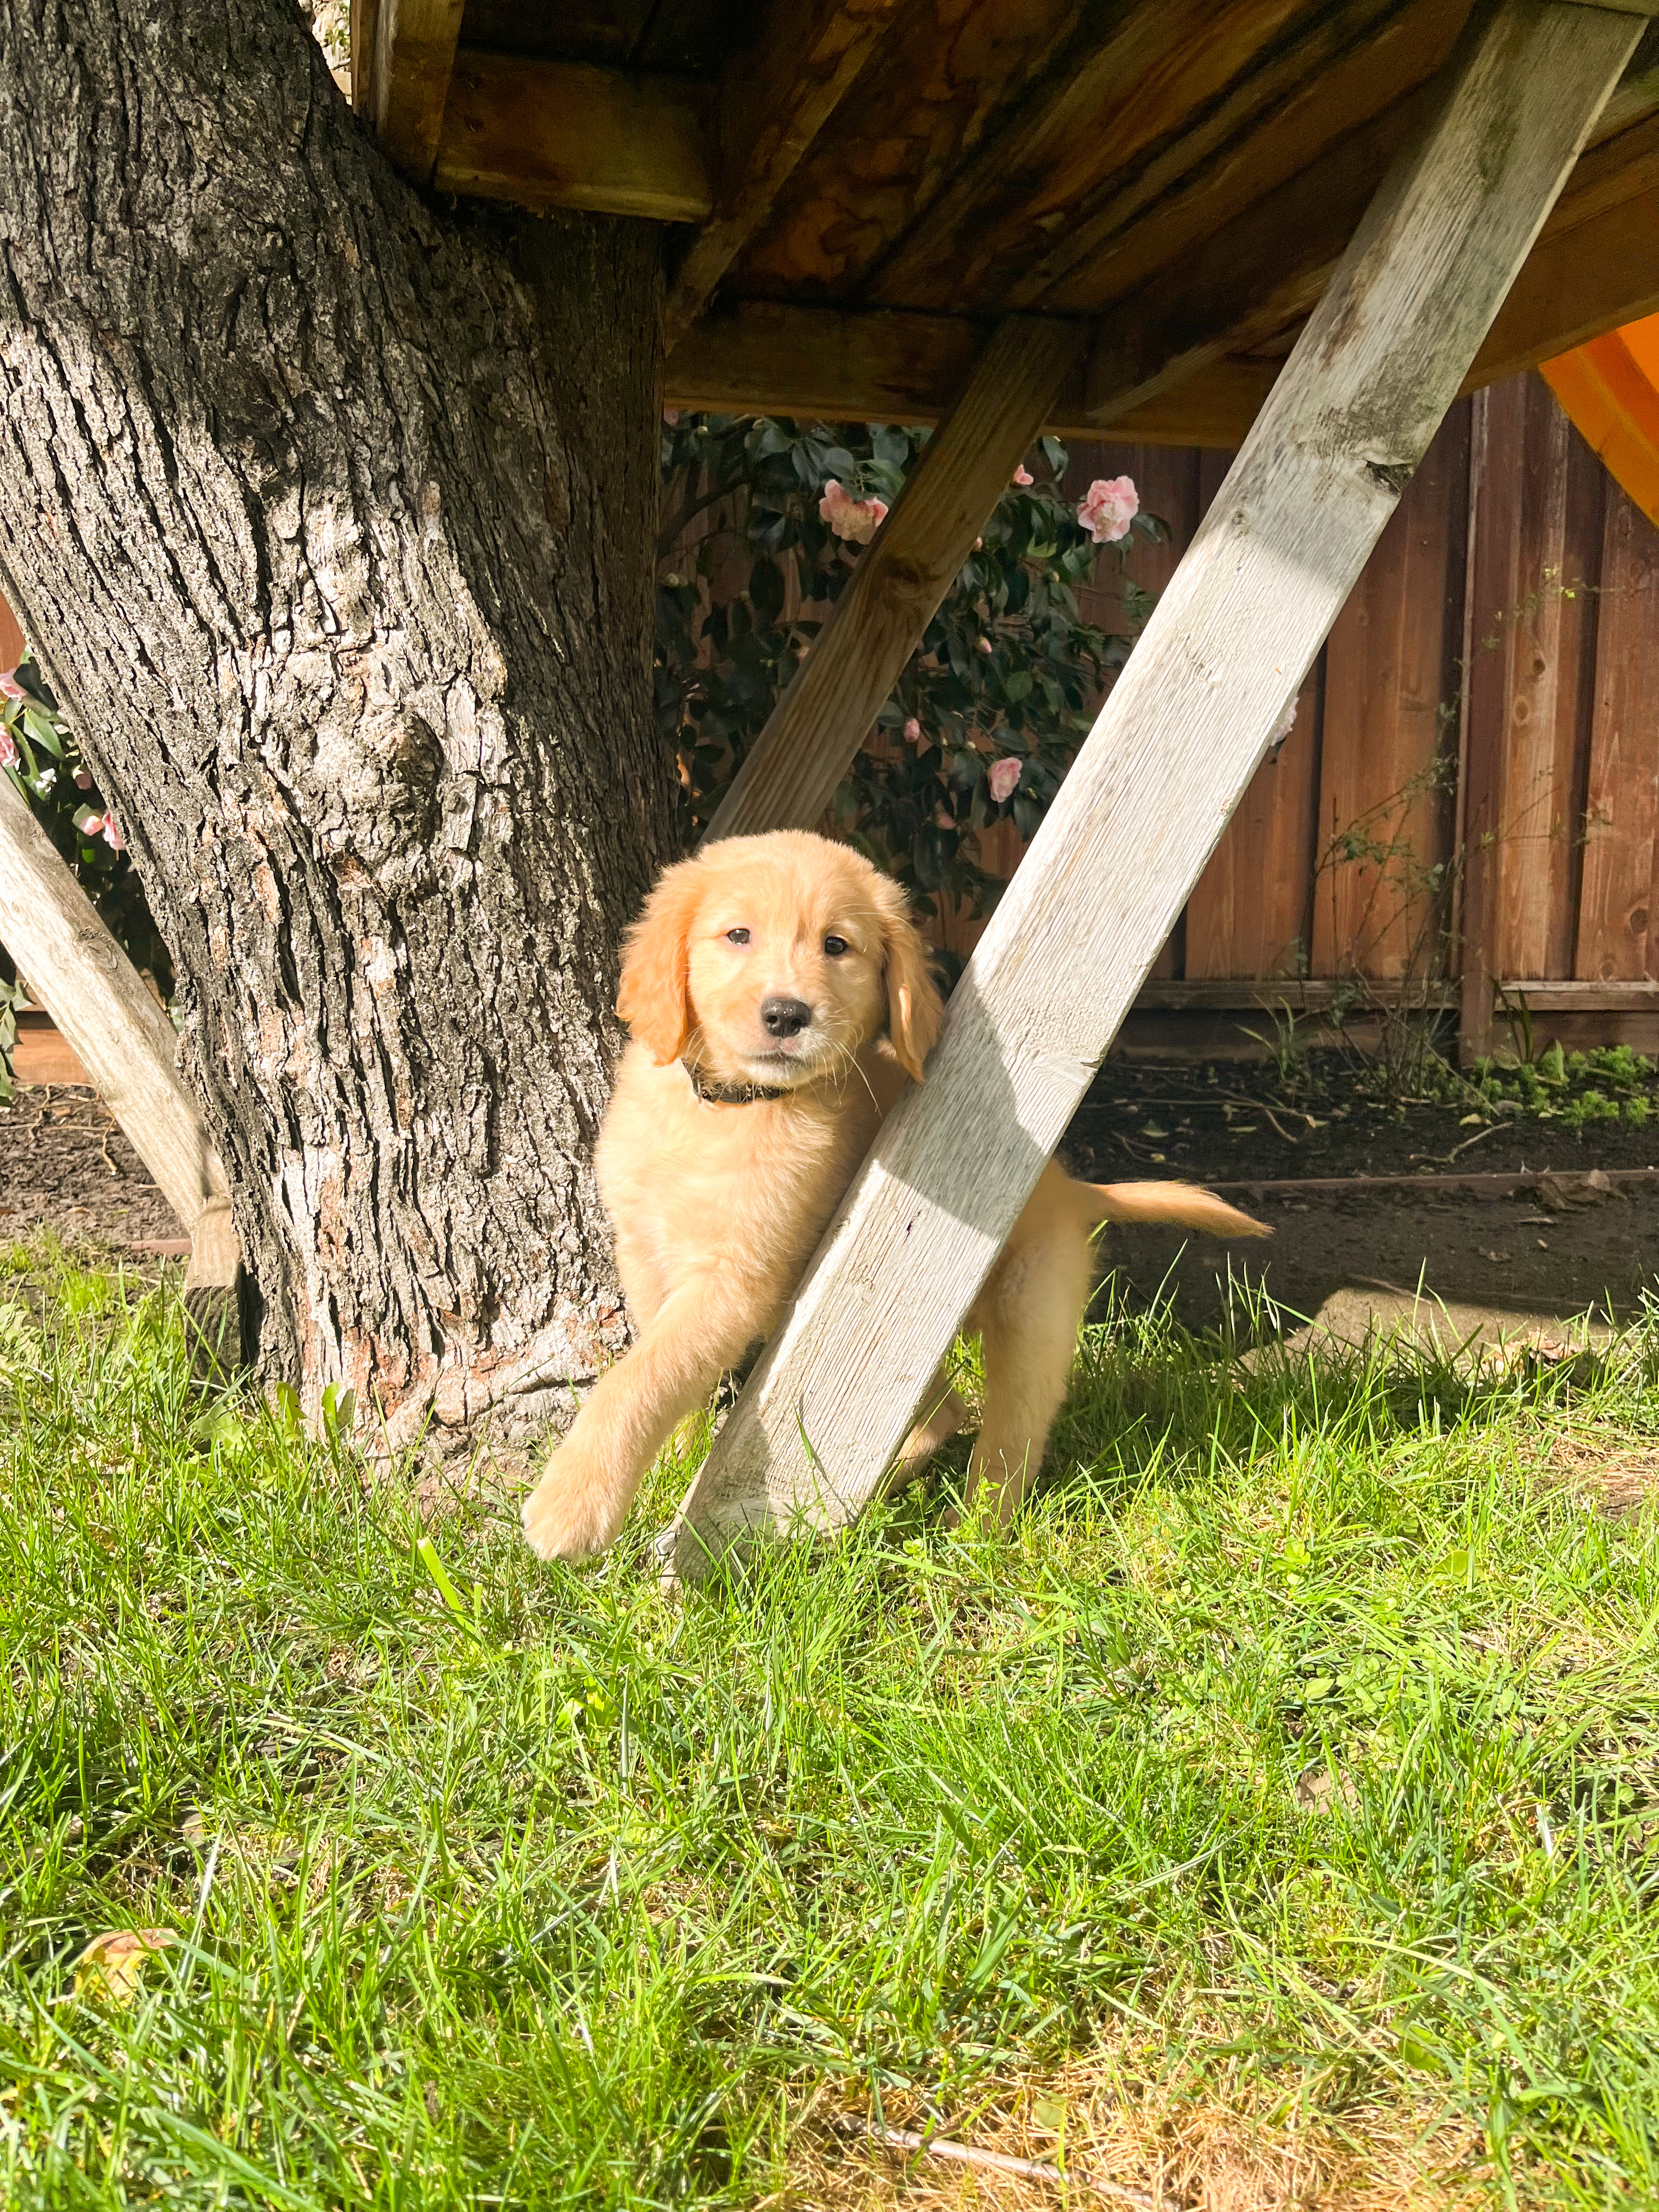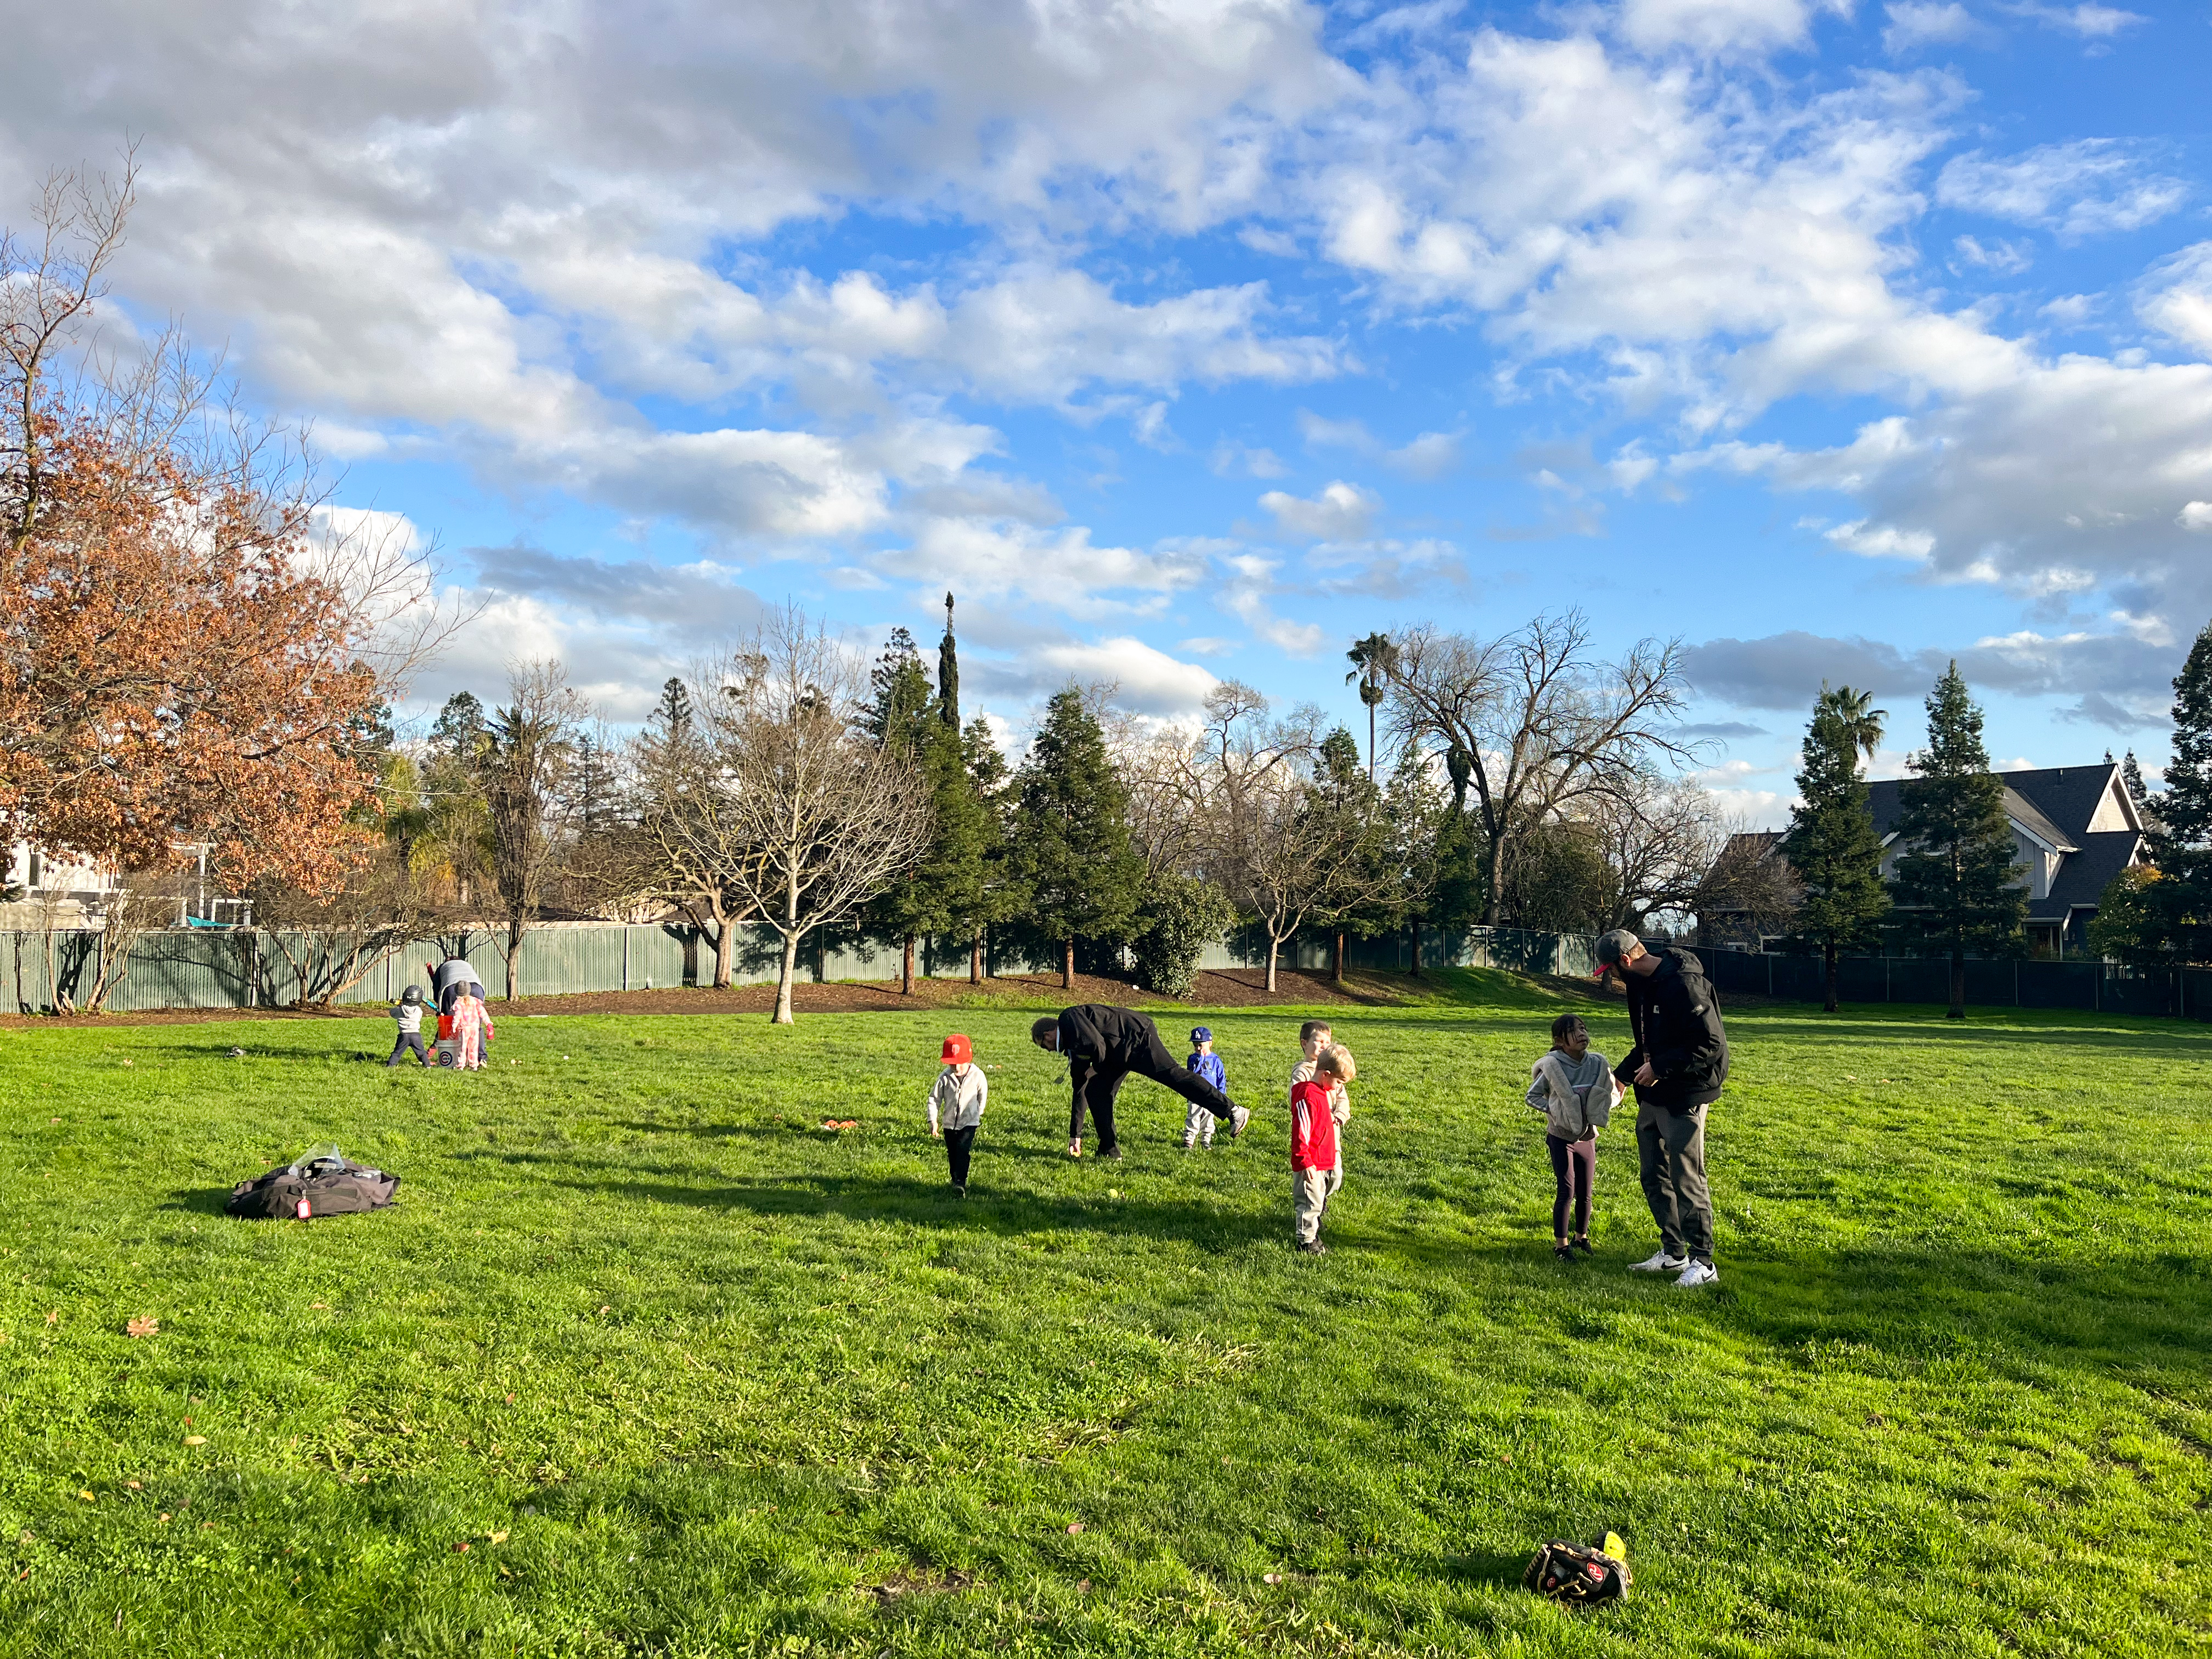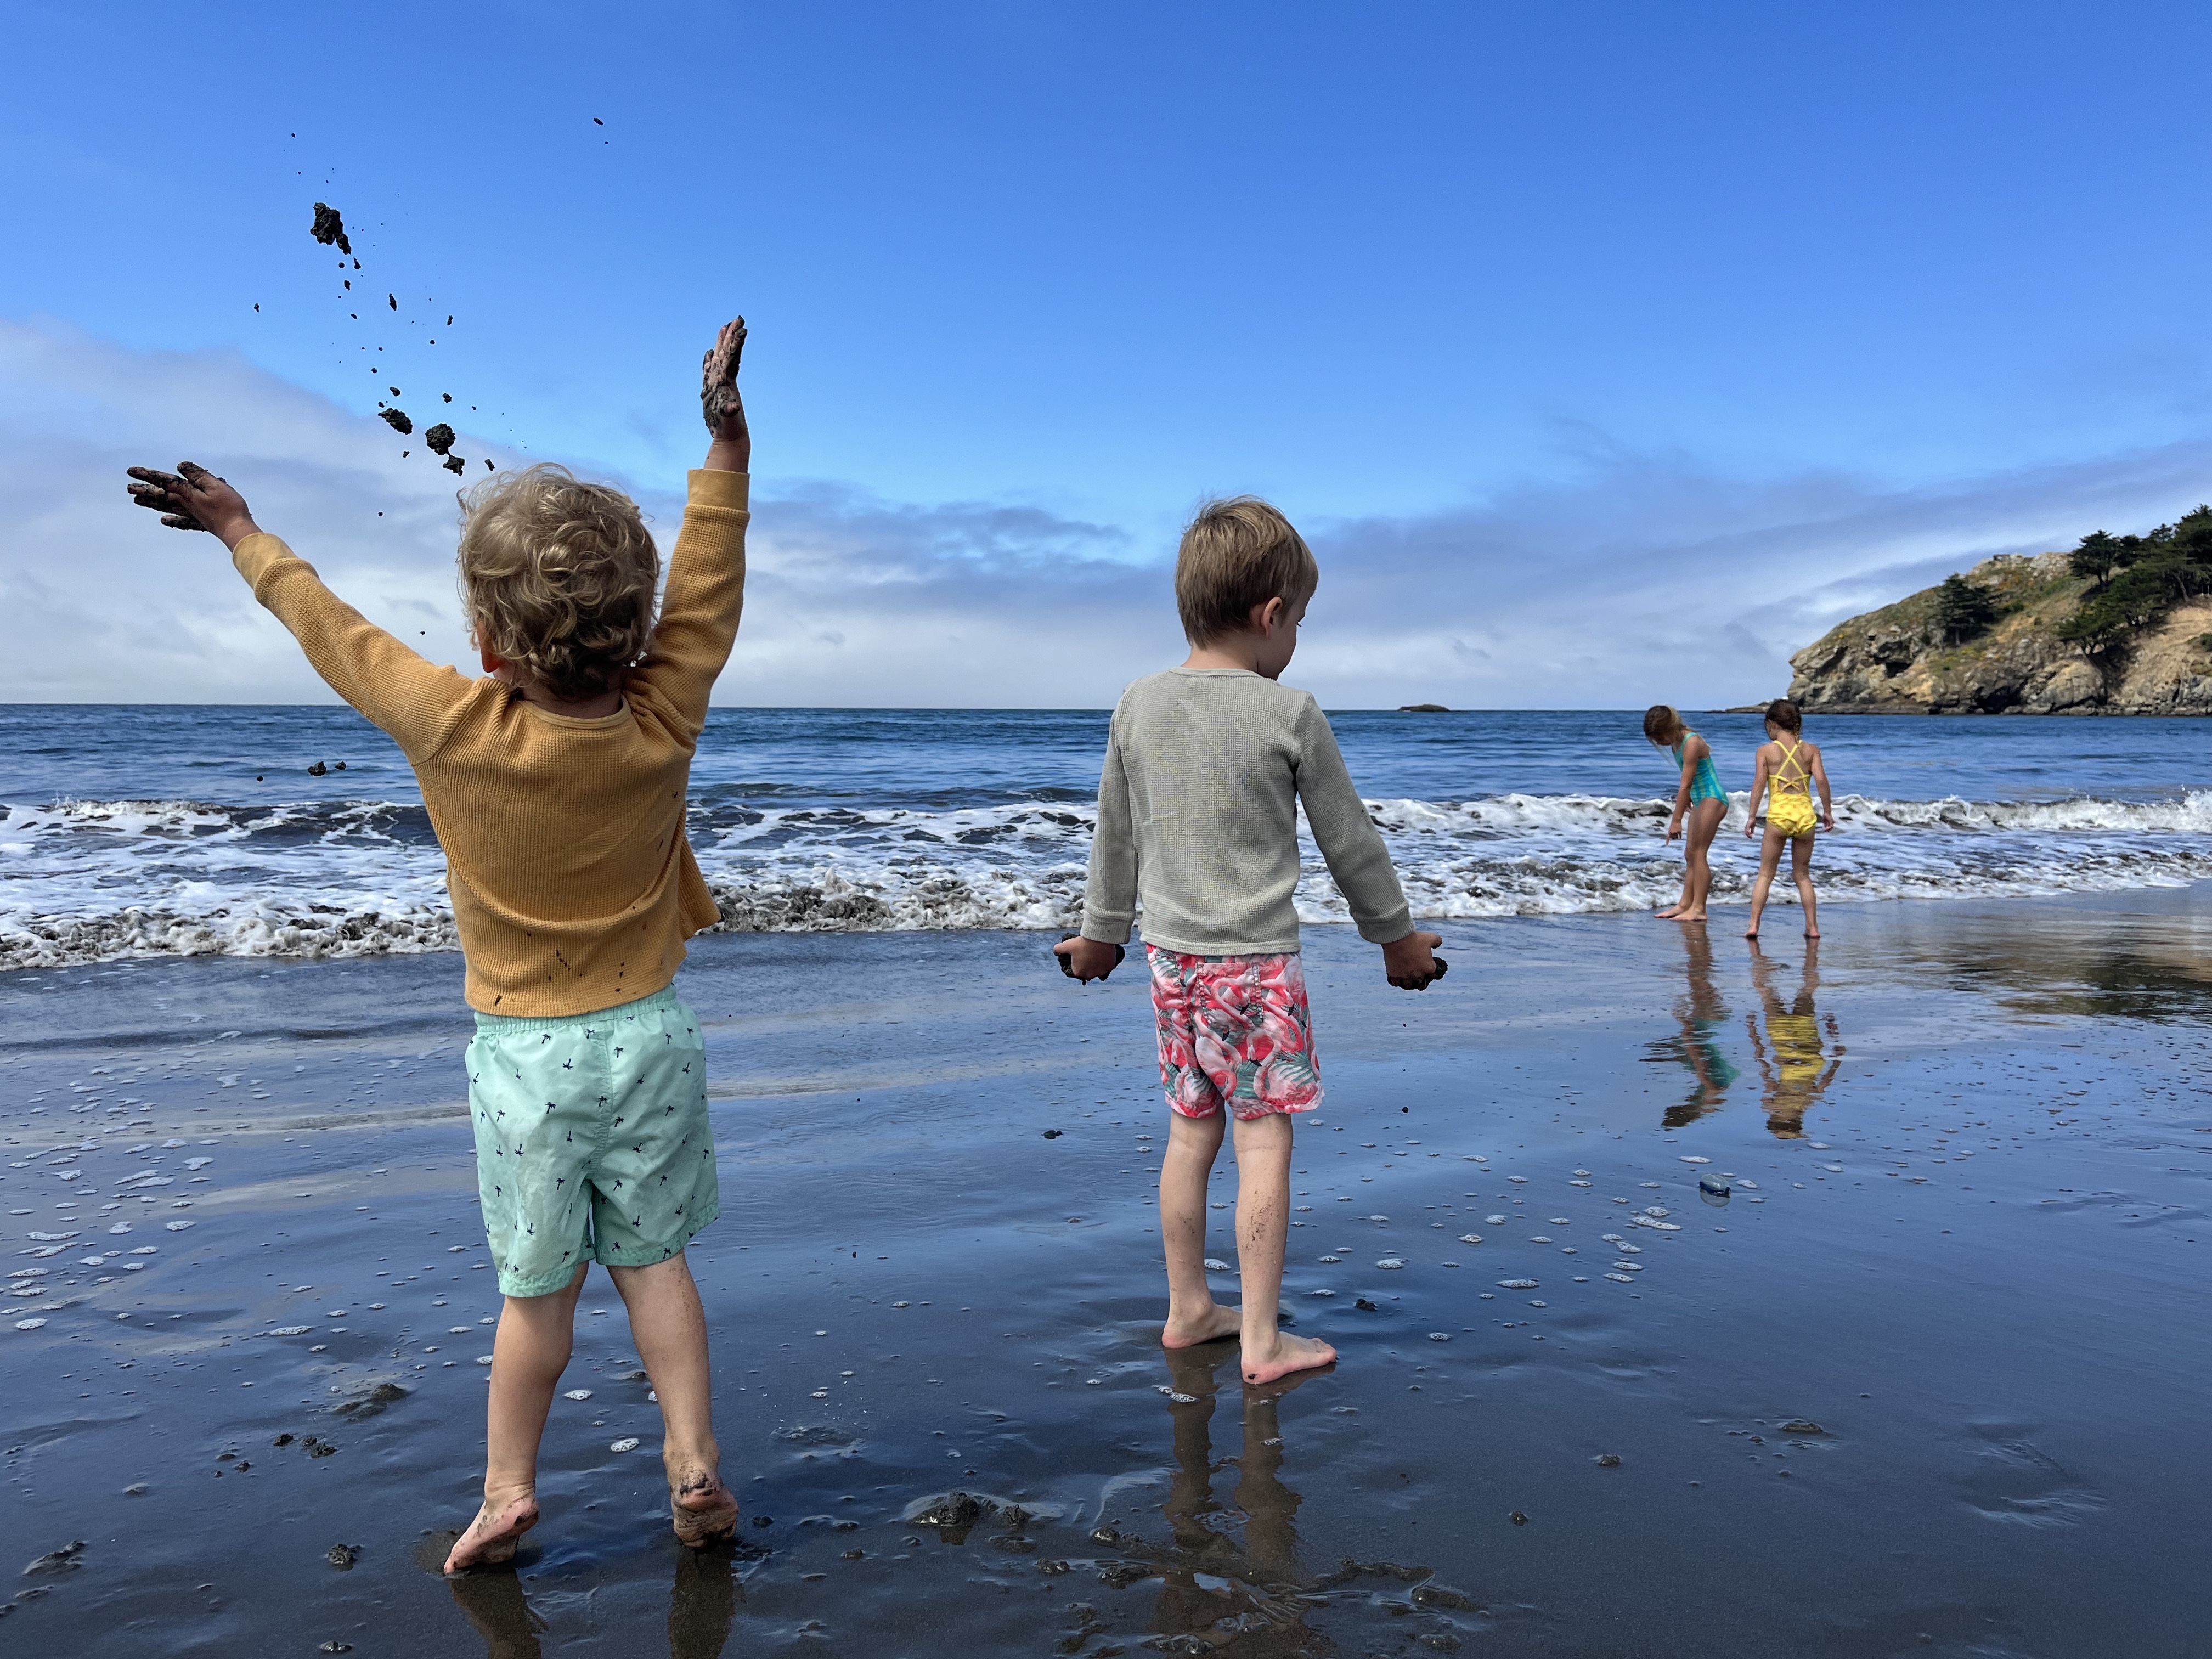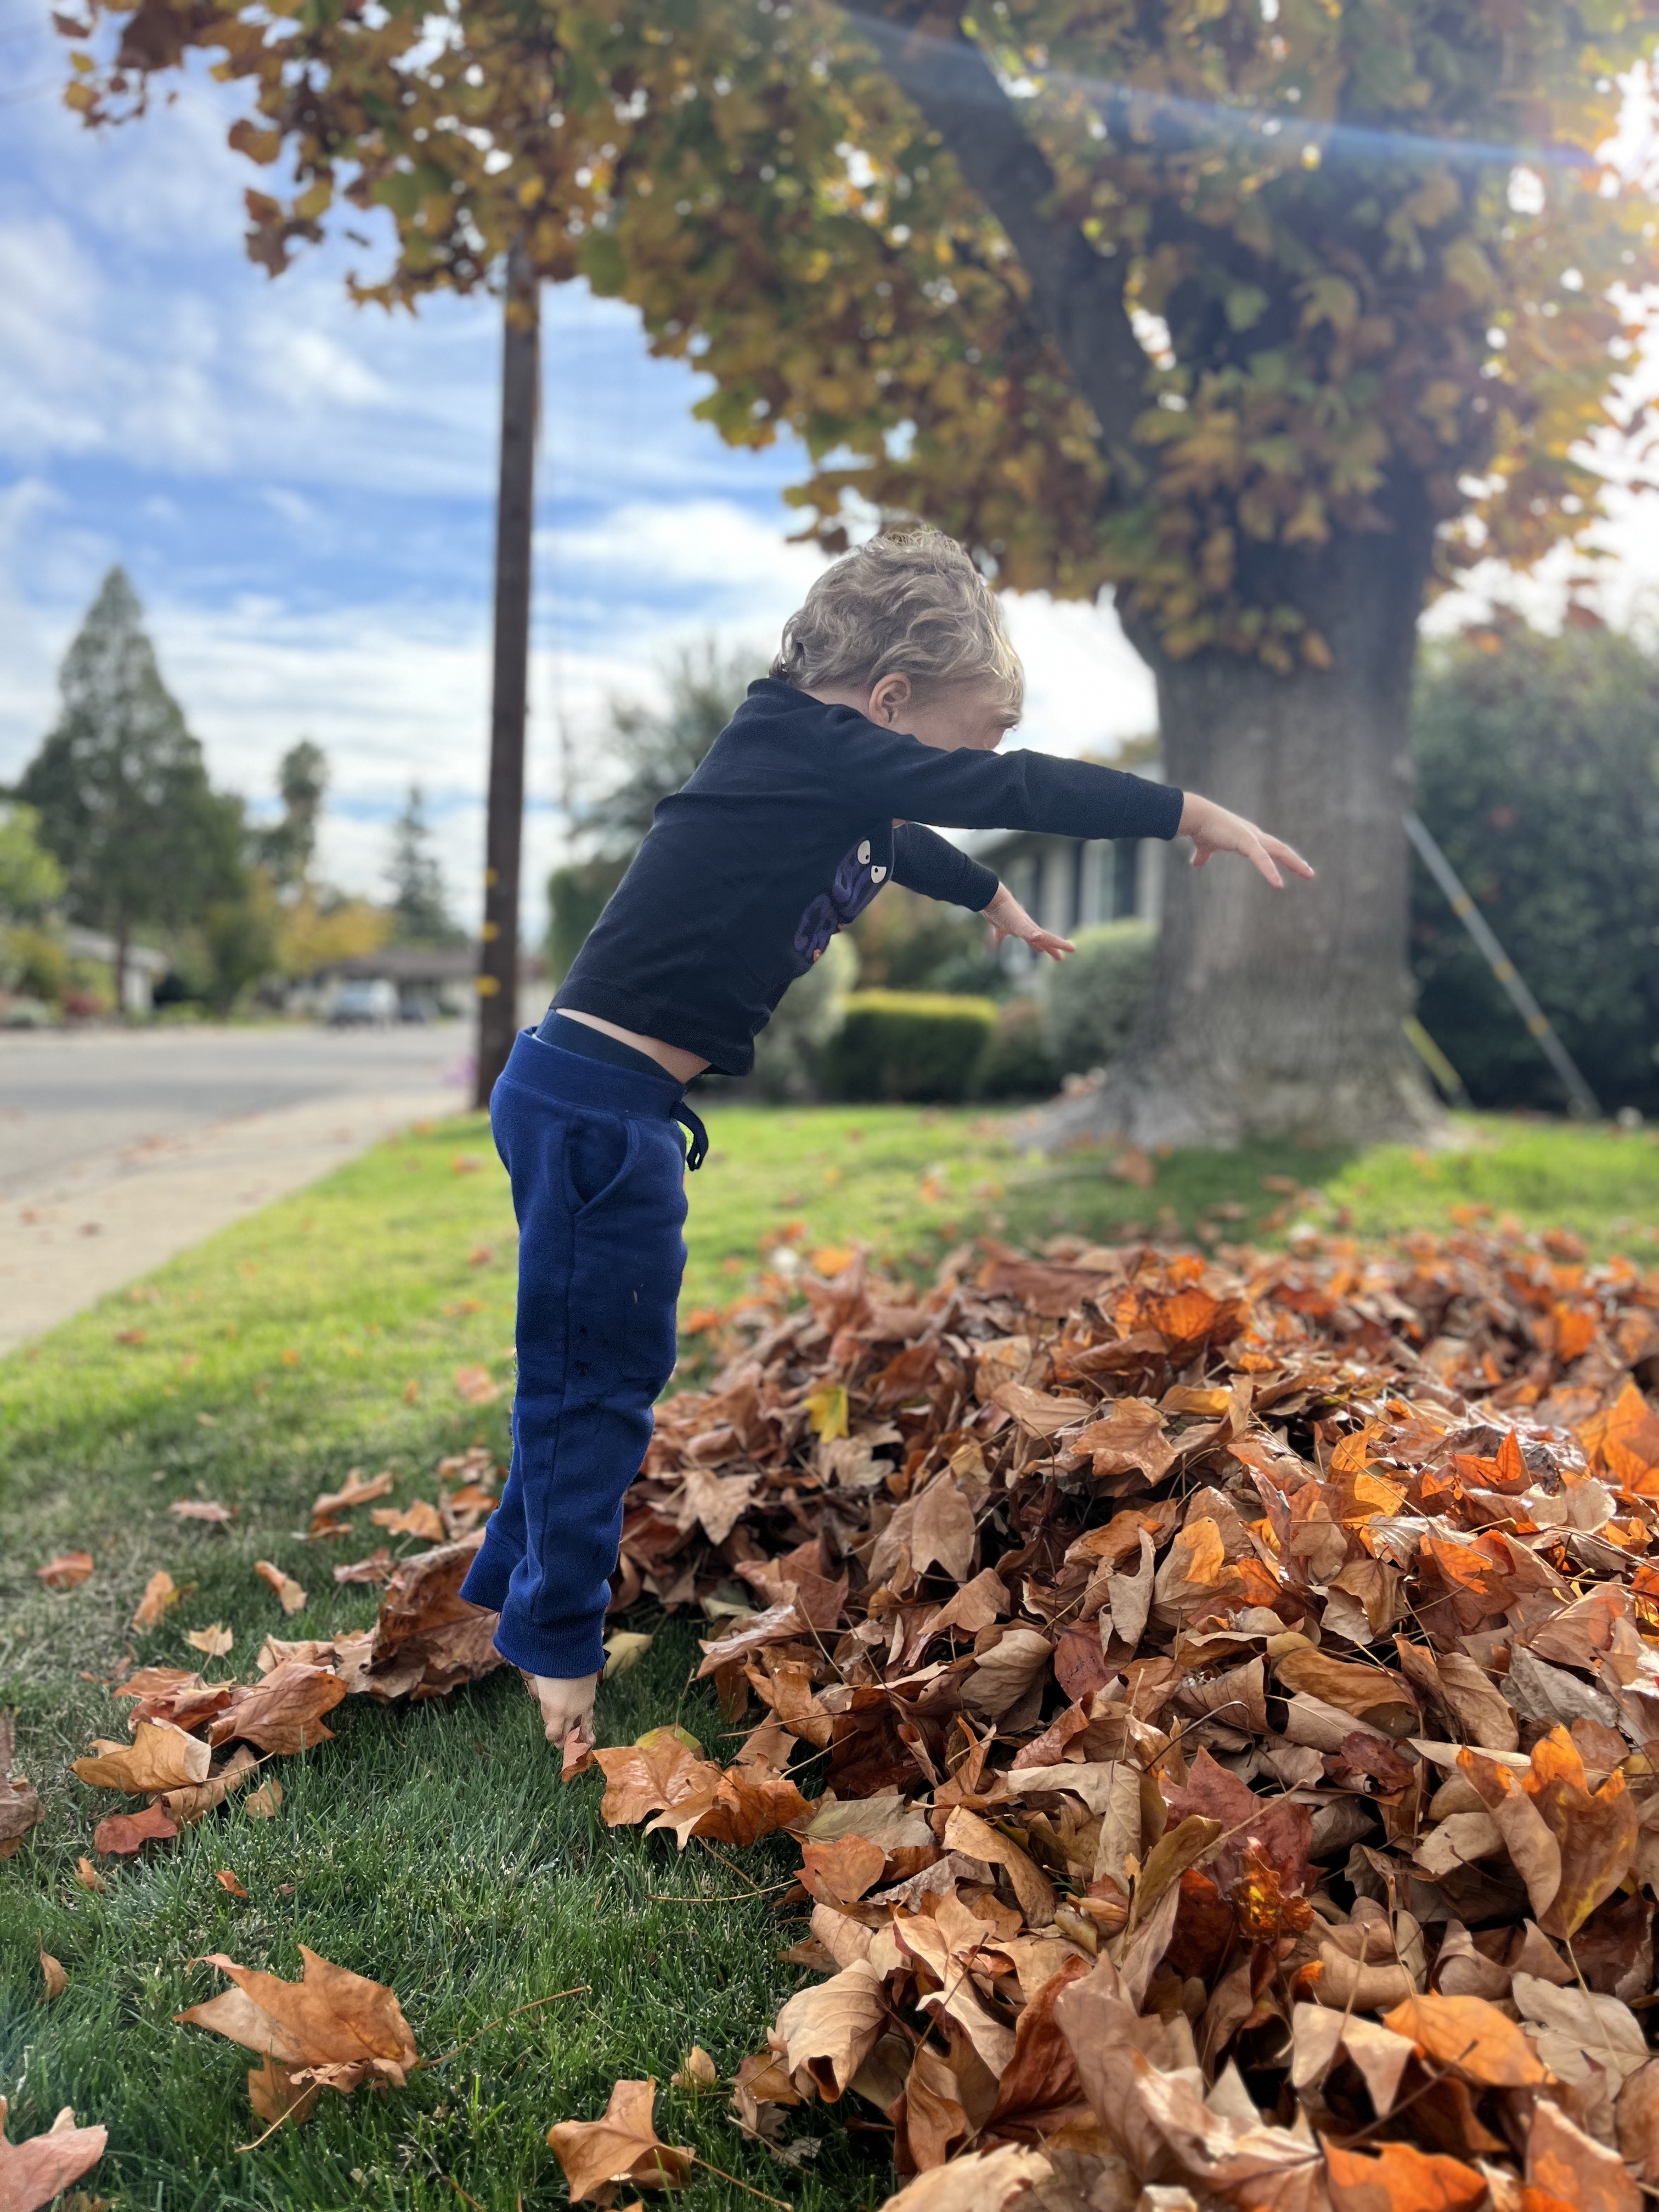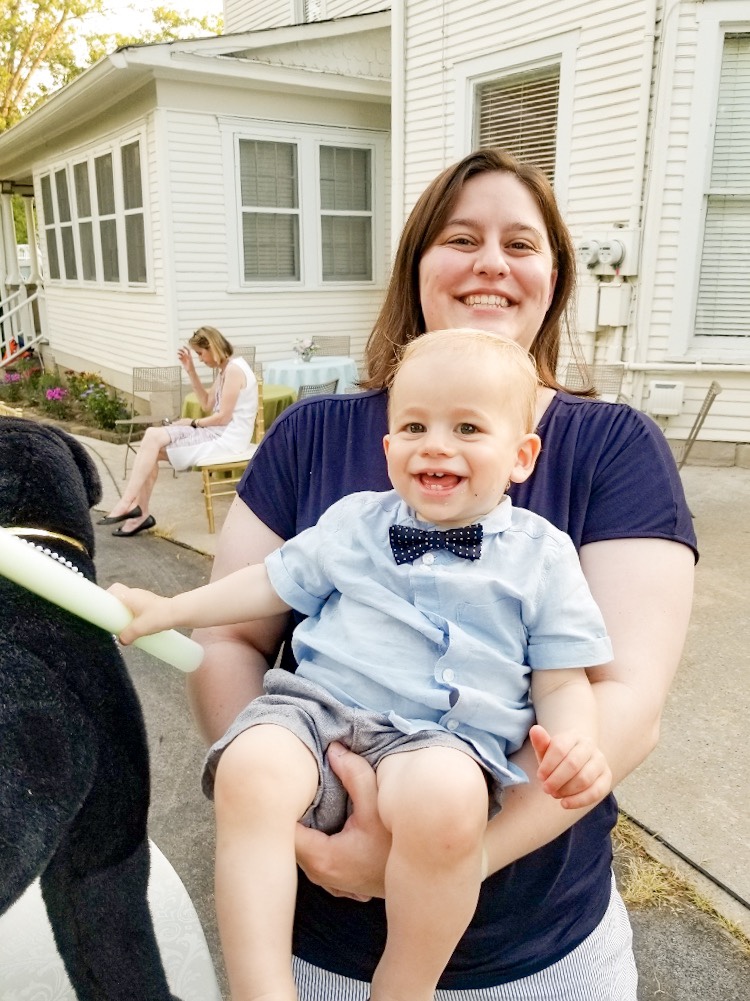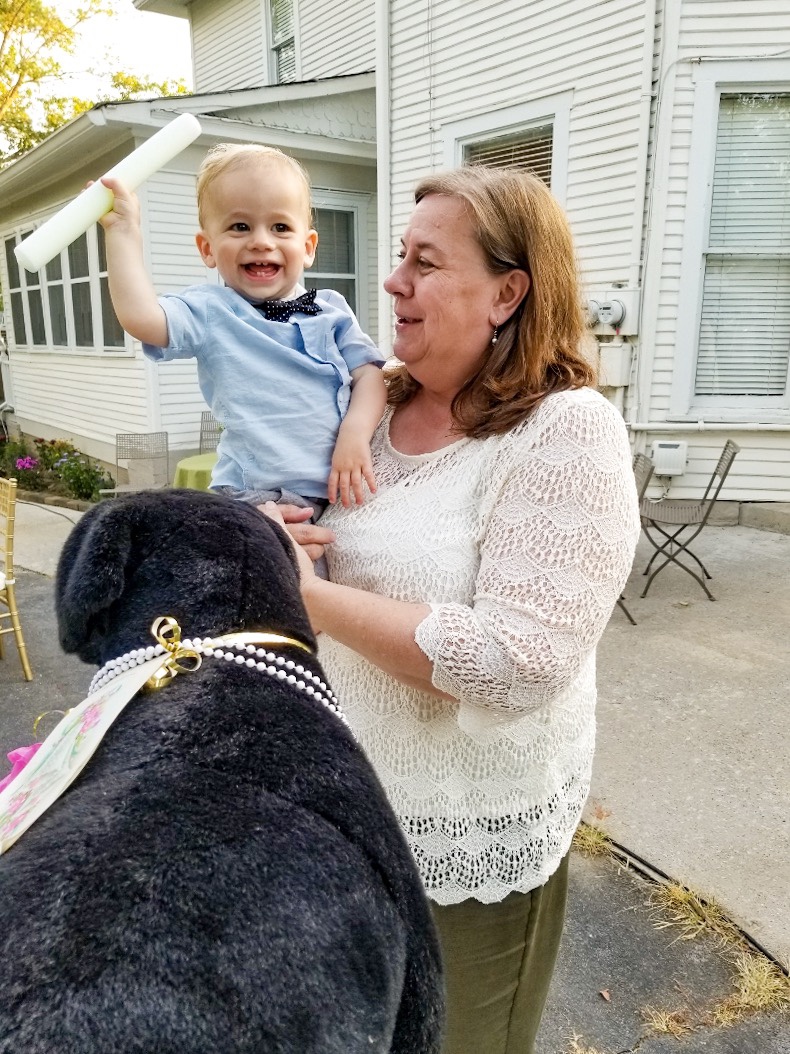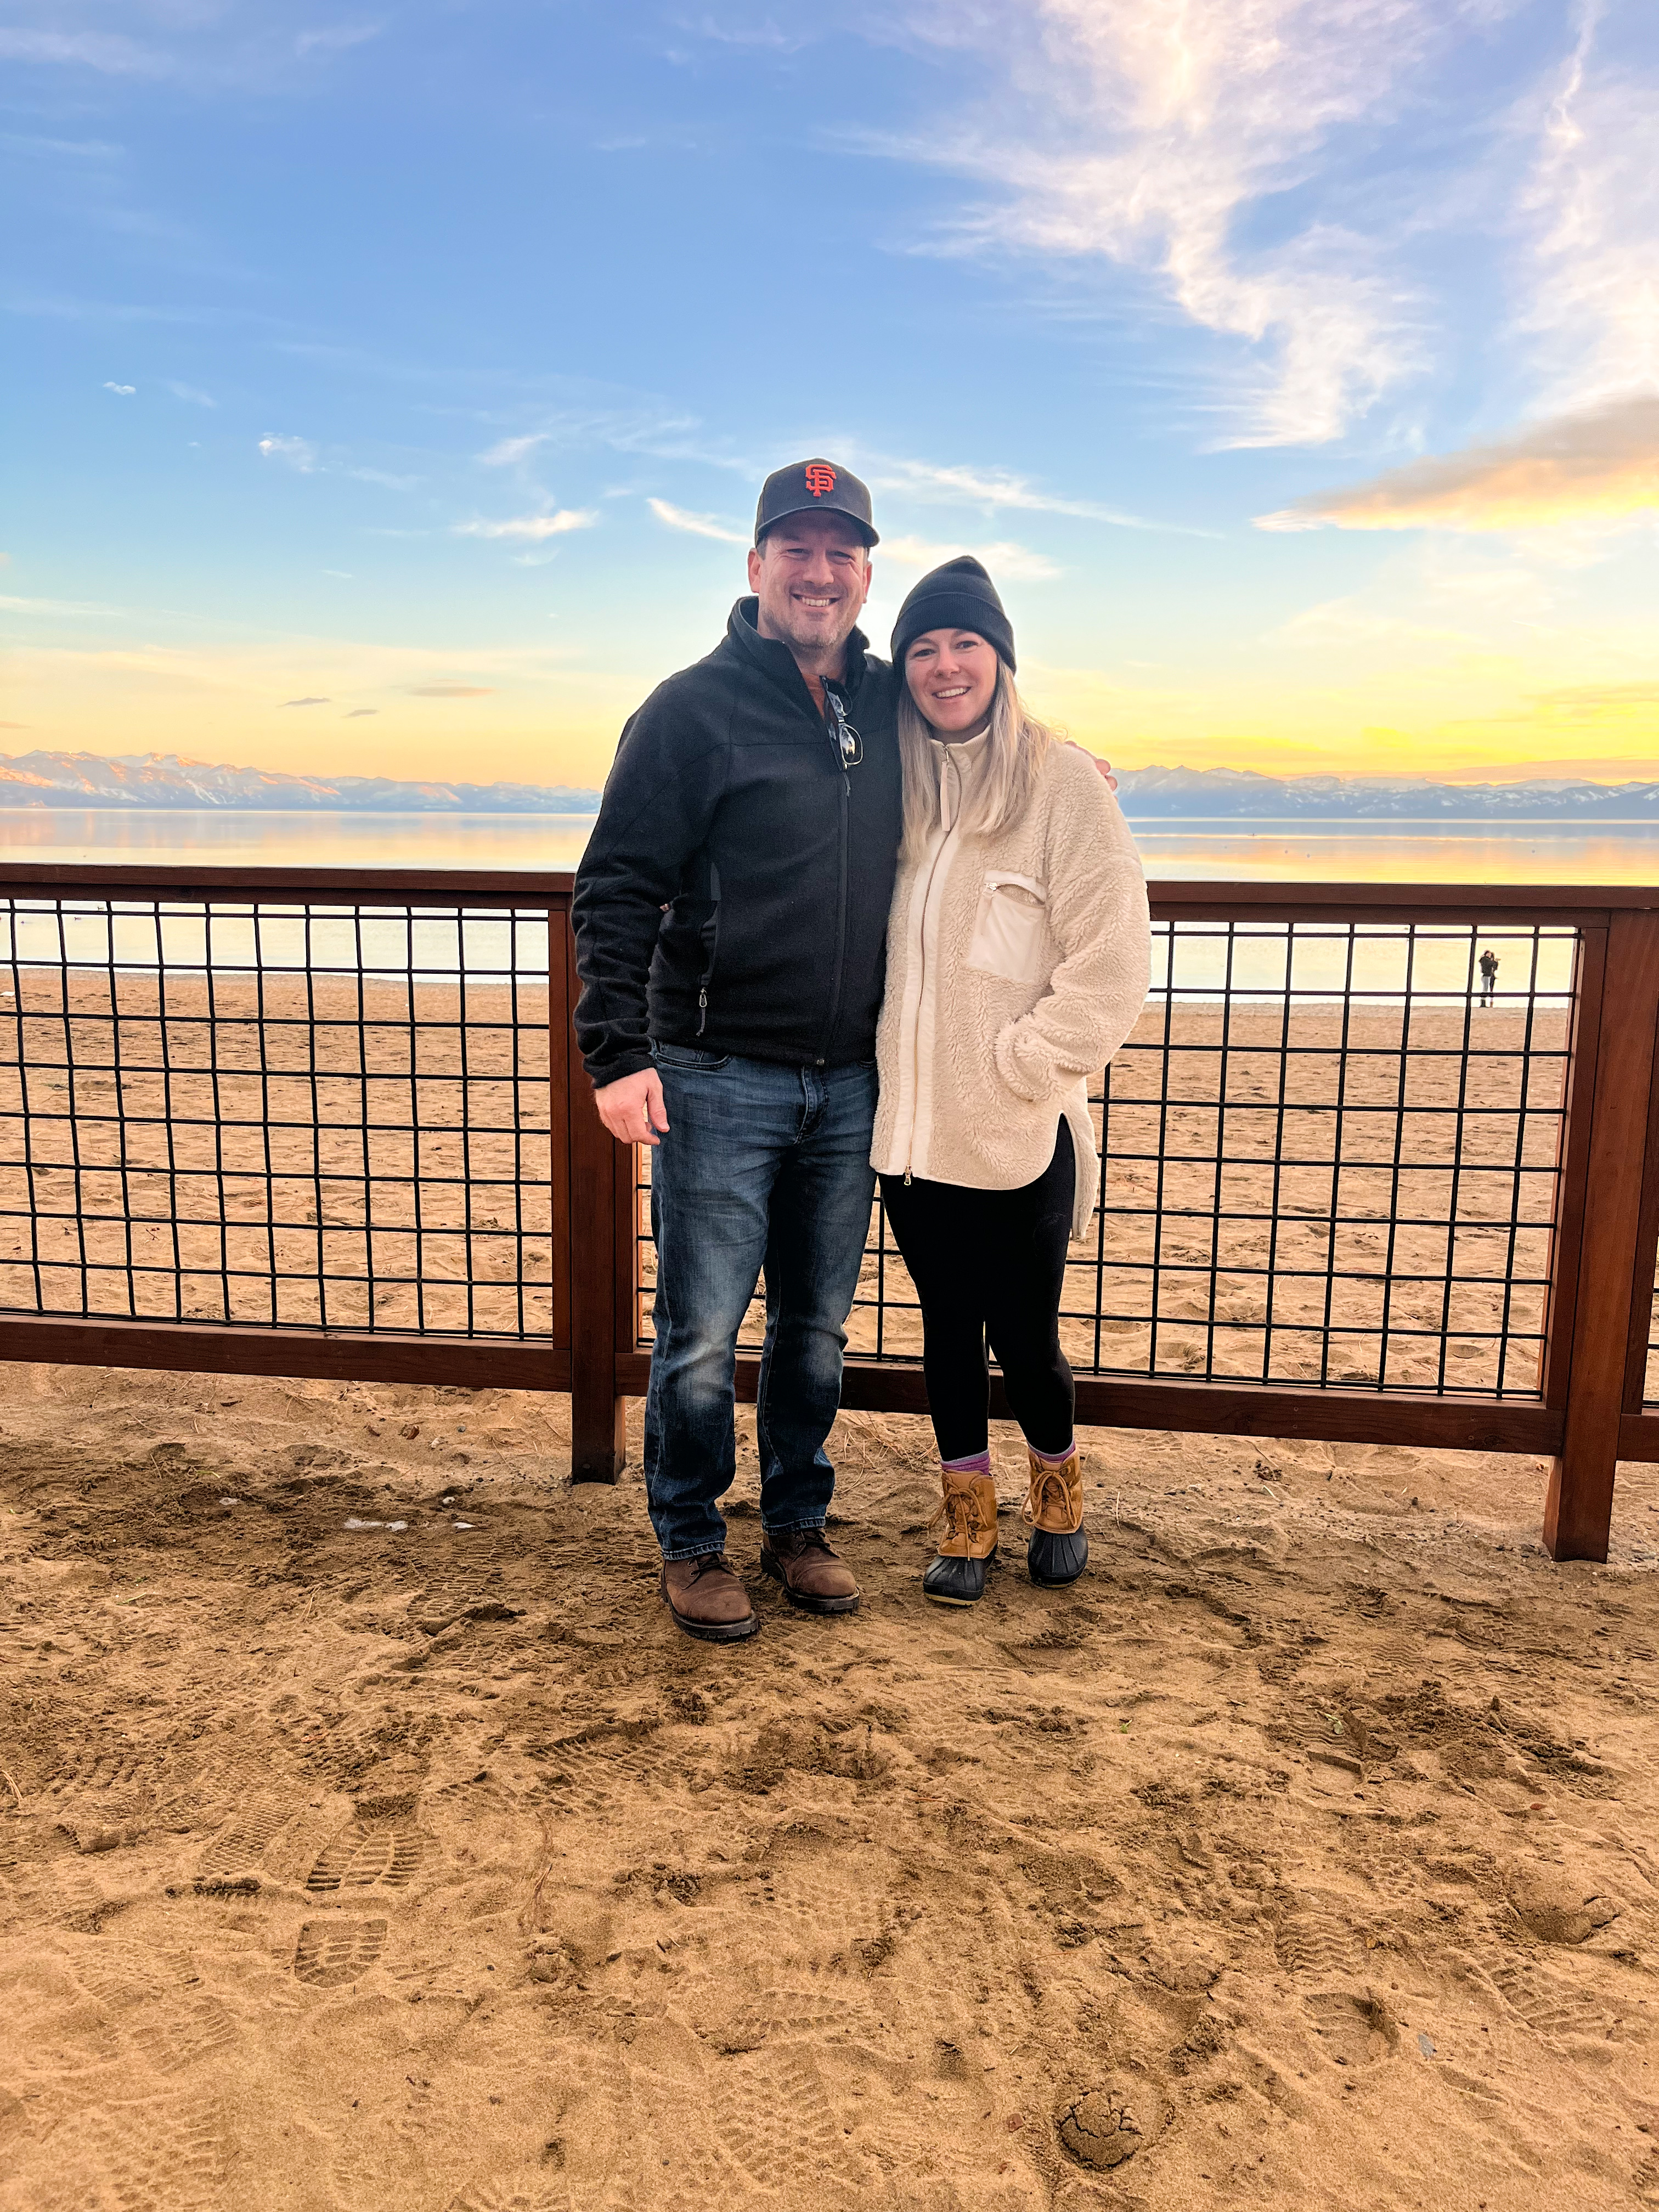
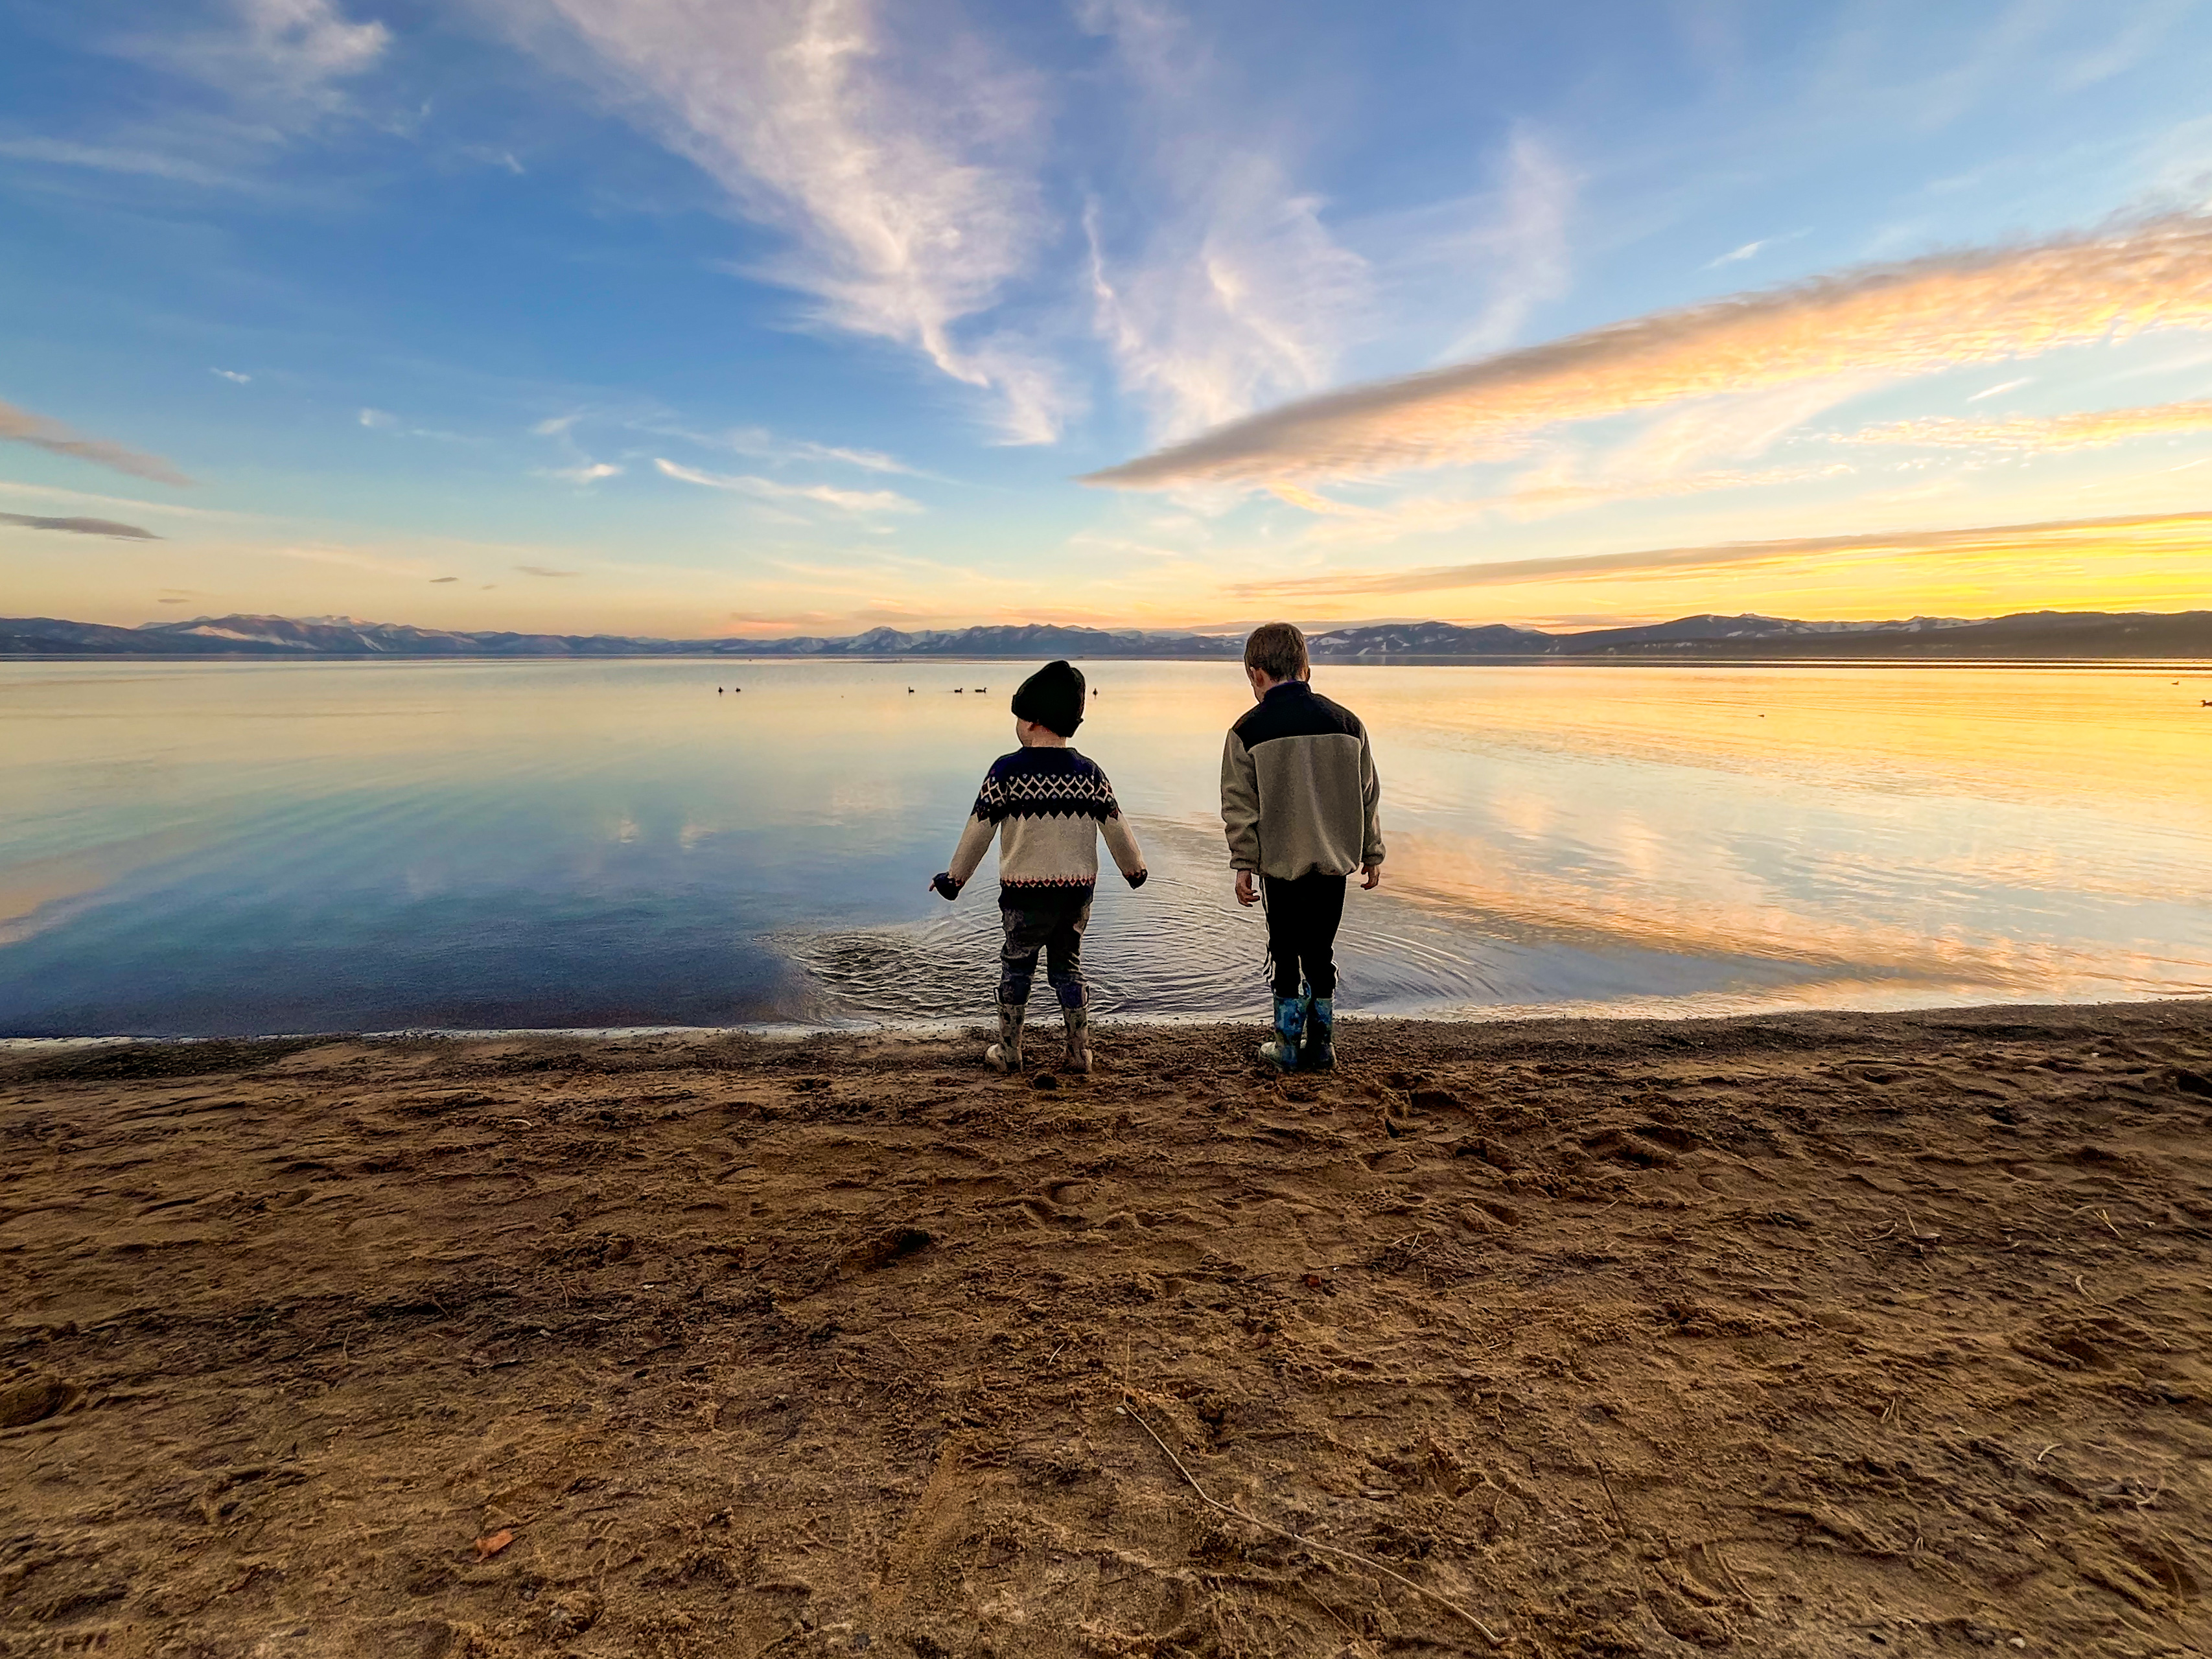


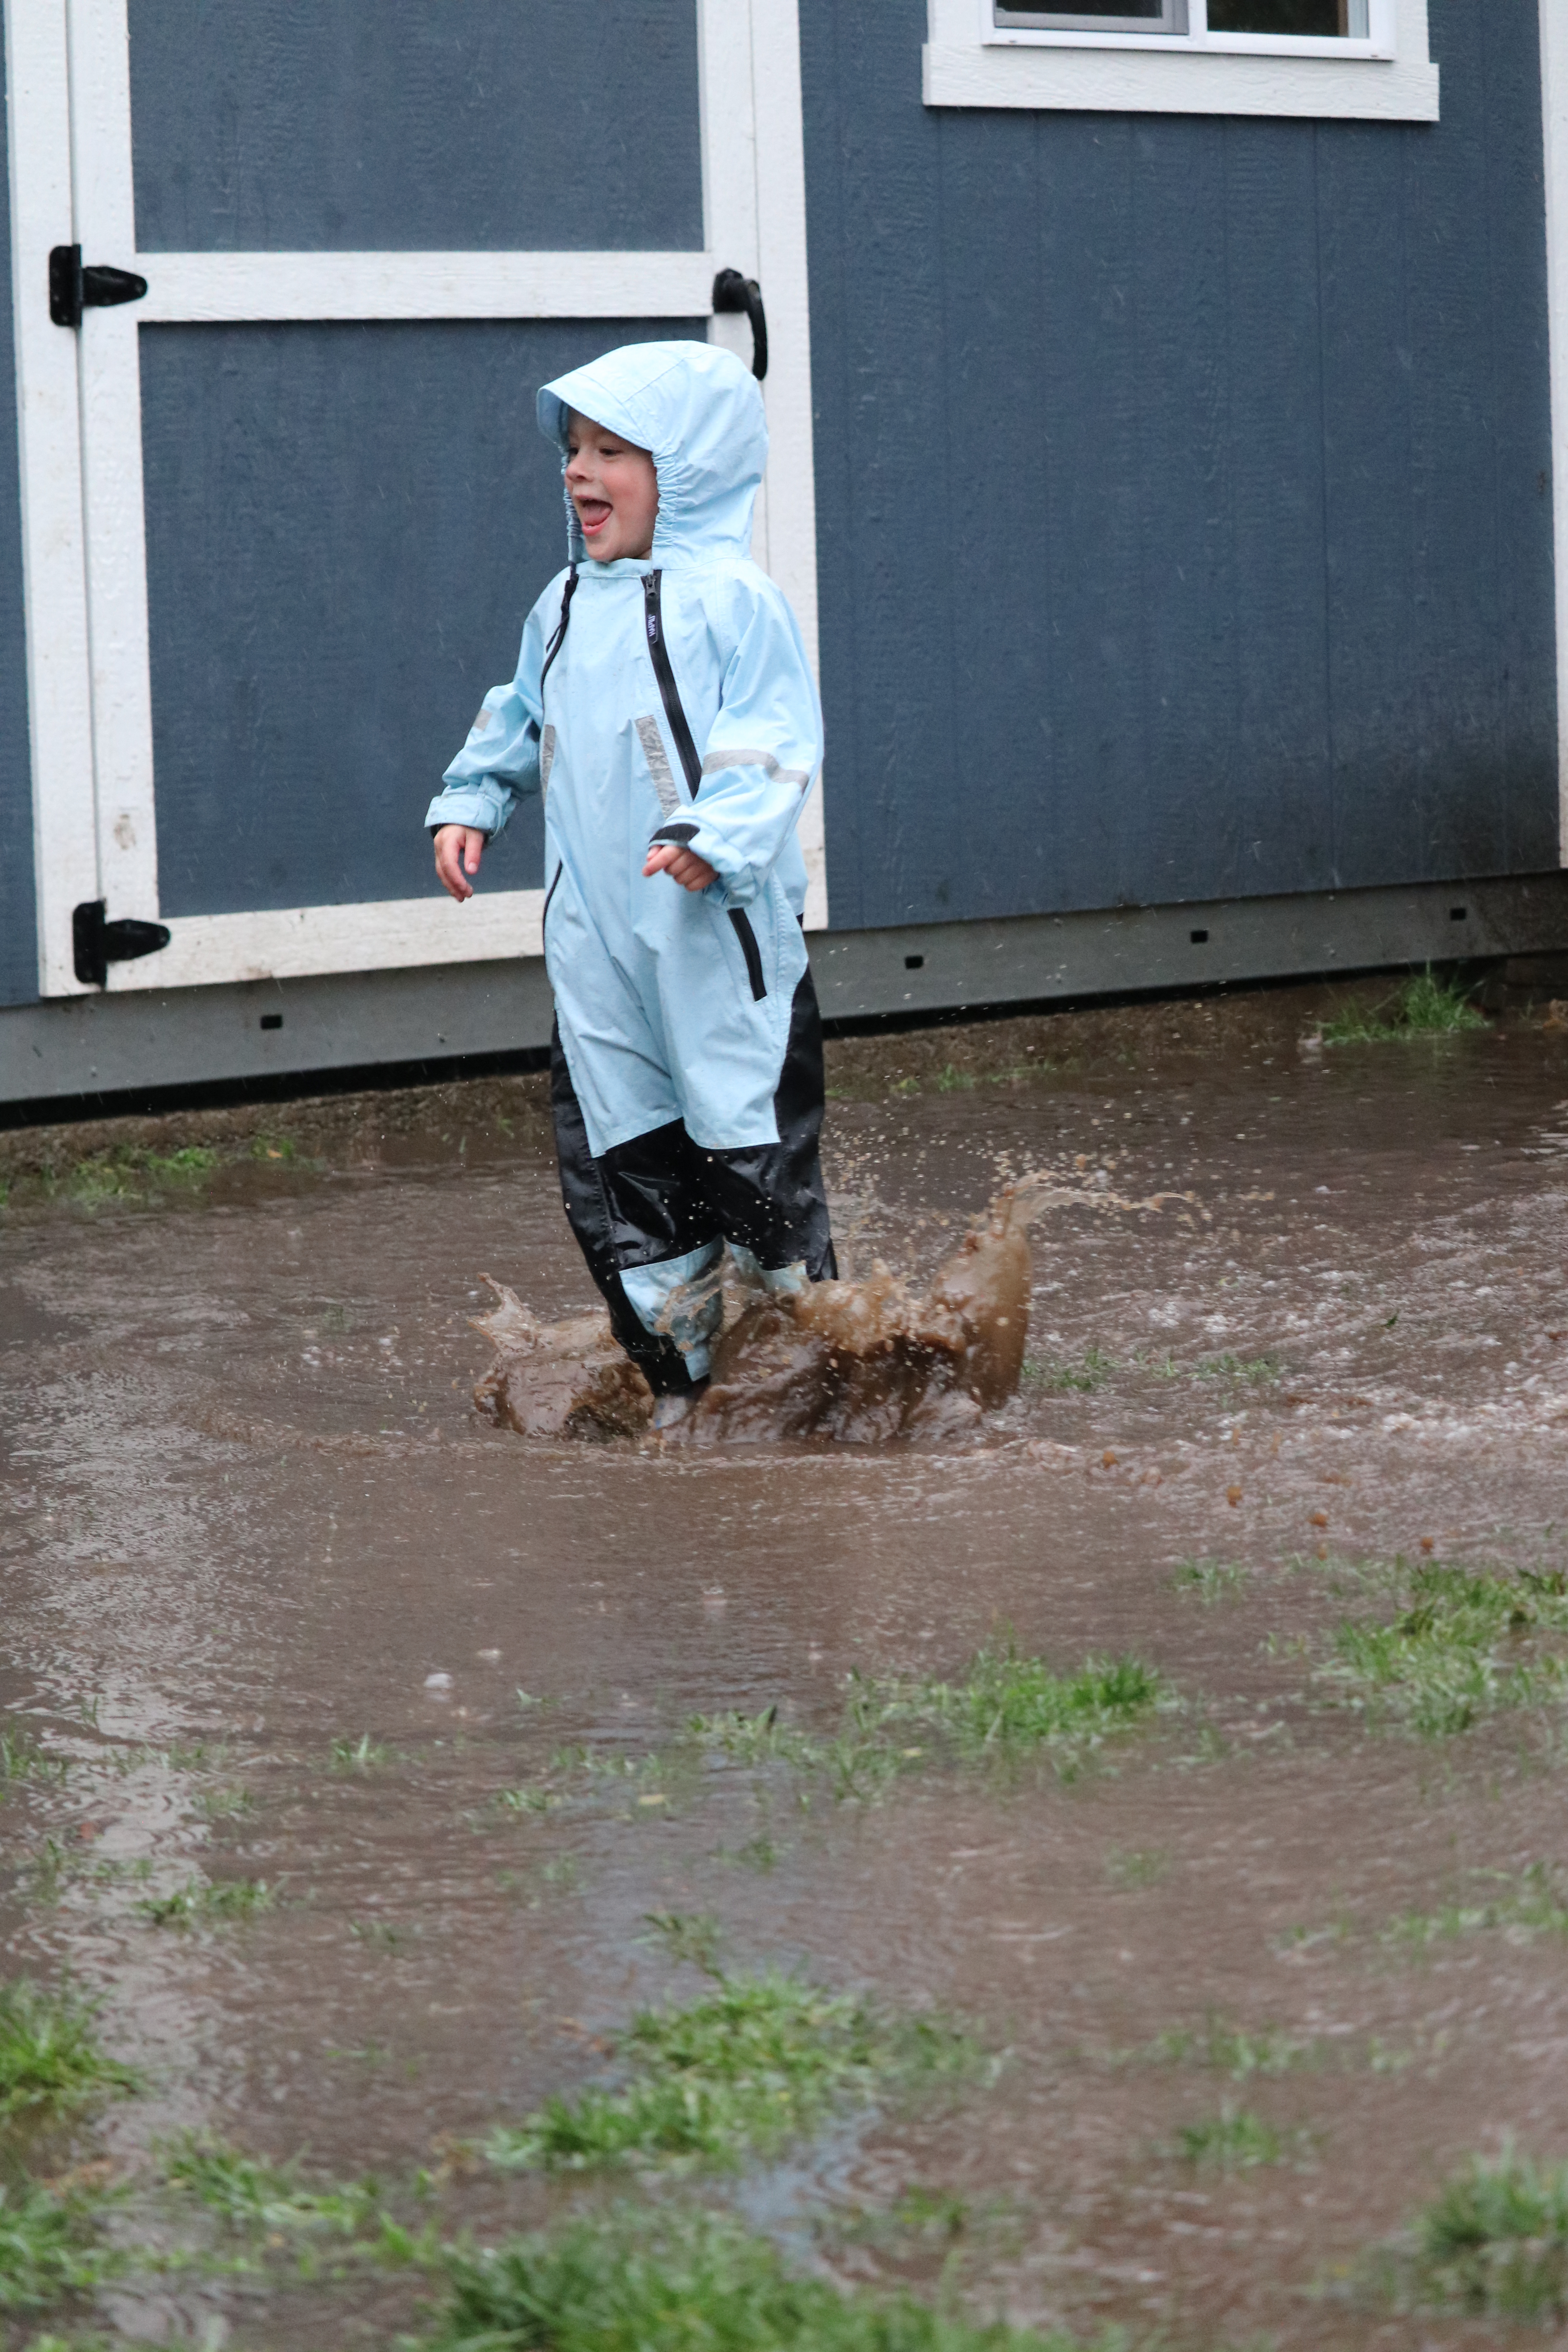
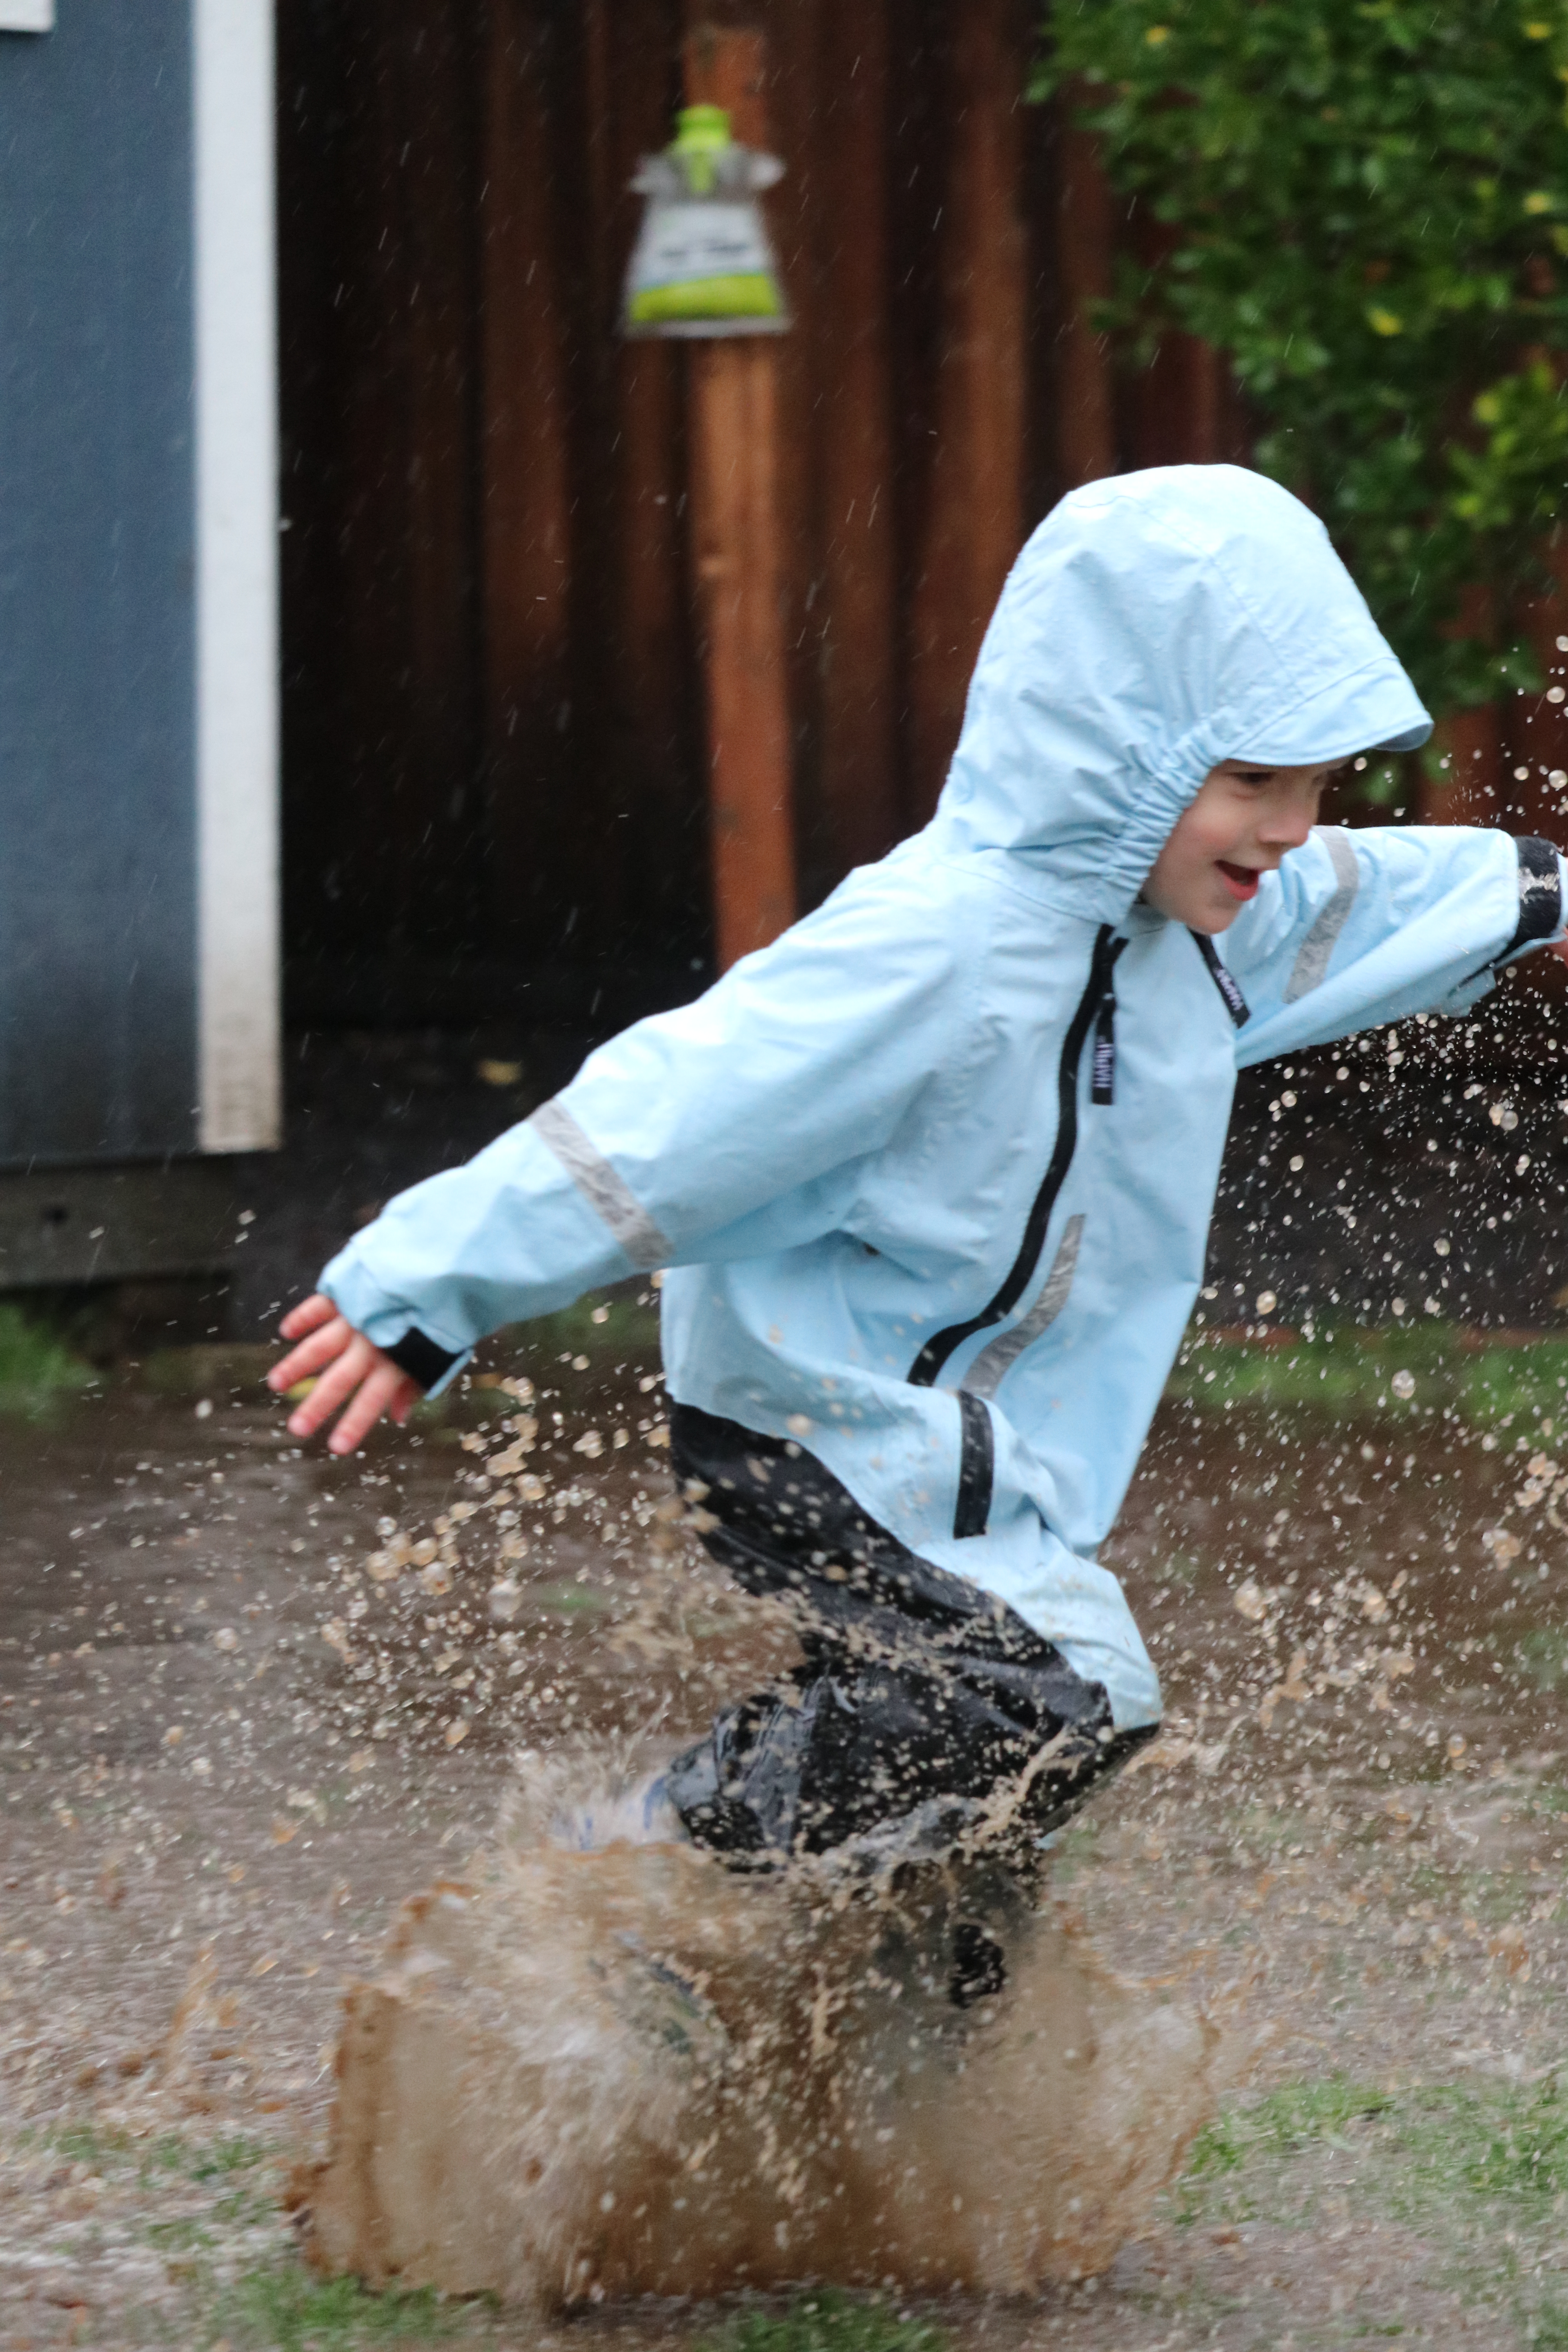
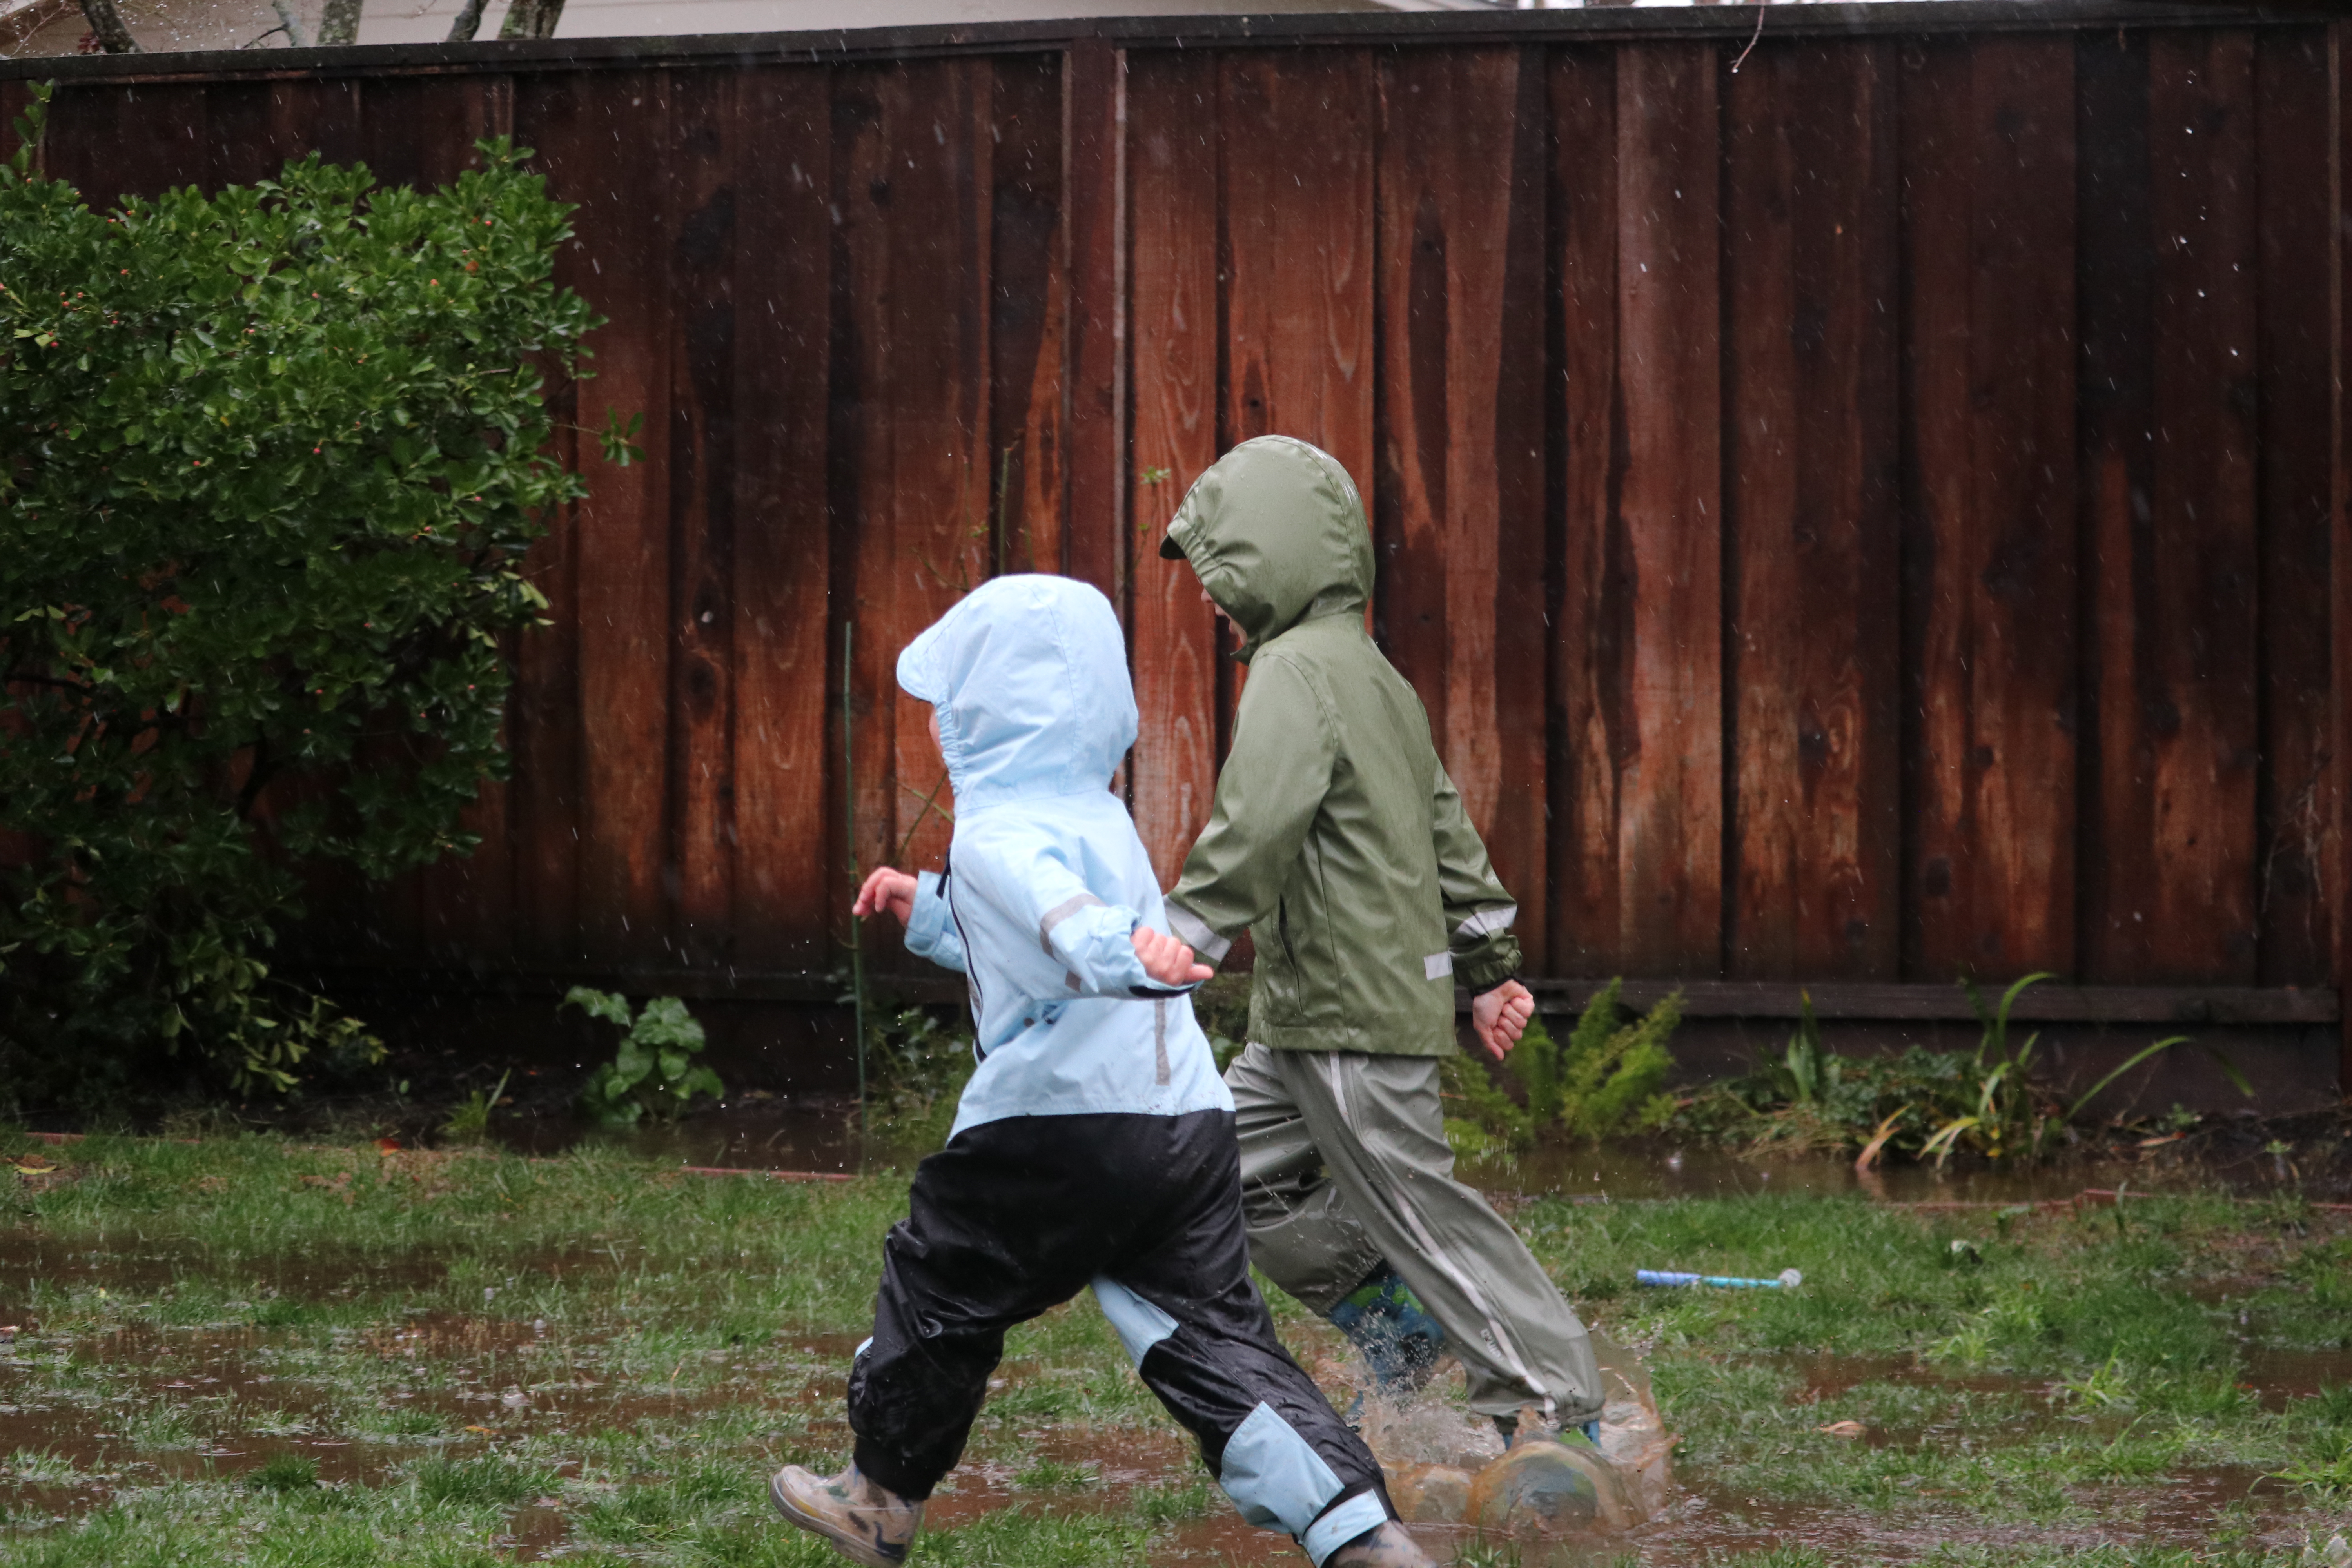

The month might be shorter than most but it always feels jam packed! February meant the start of baseball practices for the boys, a trip to Tahoe (see our trip here), celebrating Valentines Day & my birthday at the end of the month. We had some pretty big rain storms at the beginning of the month which lead to lots of throwing our rainsuits on and jumping in puddles. Here’s a little glimpse into what we got into this month, recipes I loved this month, books I read, where we’re at on our 1K hours outside and my decluttering challenge! I also posted an essay on the phase of motherhood you can read it here: Legos in the Laundry
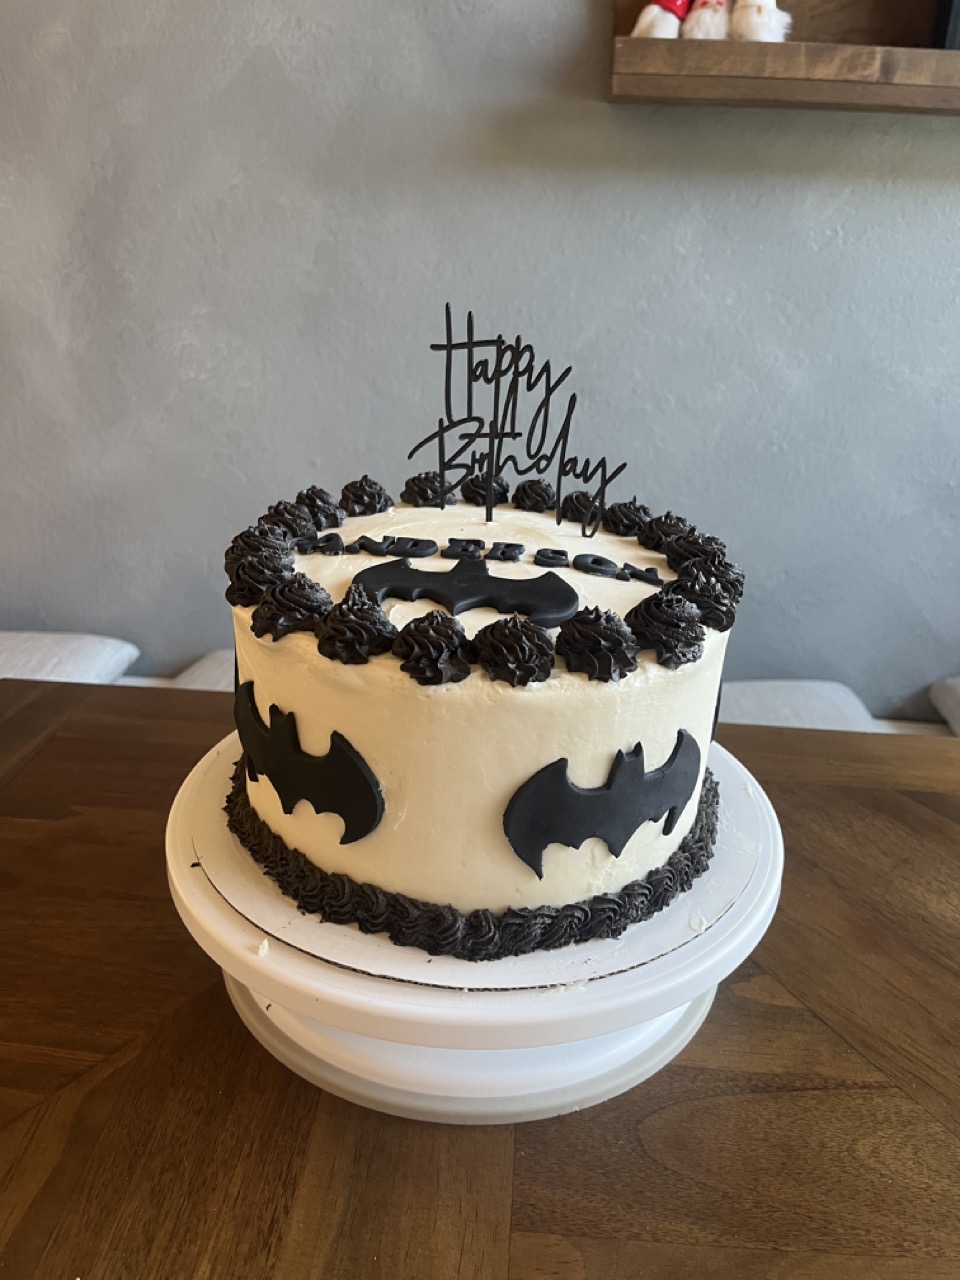
This month I joined a volunteer organization that bakes birthday kids for Foster kids who otherwise may not get a cake. I baked my first cake for the organization this month. It was a batman themed cake for a 15 year old. I have loved baking my boys cakes and the idea that there are kids out there that won’t be made to feel special or celebrated on their birthday, pulls at my heart. It really felt like the perfect fit as a way to give back to my community, spread joy & use skills I already have. I joined the bay area chapter face book group and I’m so impressed with all the amazing bakers. Also this brought up so many important conversations with my own kids. We talked about how fortunate we are and how we never know other peoples circumstances. Not to mention just broadening their horizons that there are kids who are only getting a cake because someone like myself is making it. Before we can even think about teaching our children gratitude we first have to teach them awareness and noticing. So exposing them to truths in age appropriate ways can foster gratitude! Here’s pic of the cake I did, I love the way it turned out and I loved the recipe the organization had in their resource center for black frosting that won’t stain teeth.
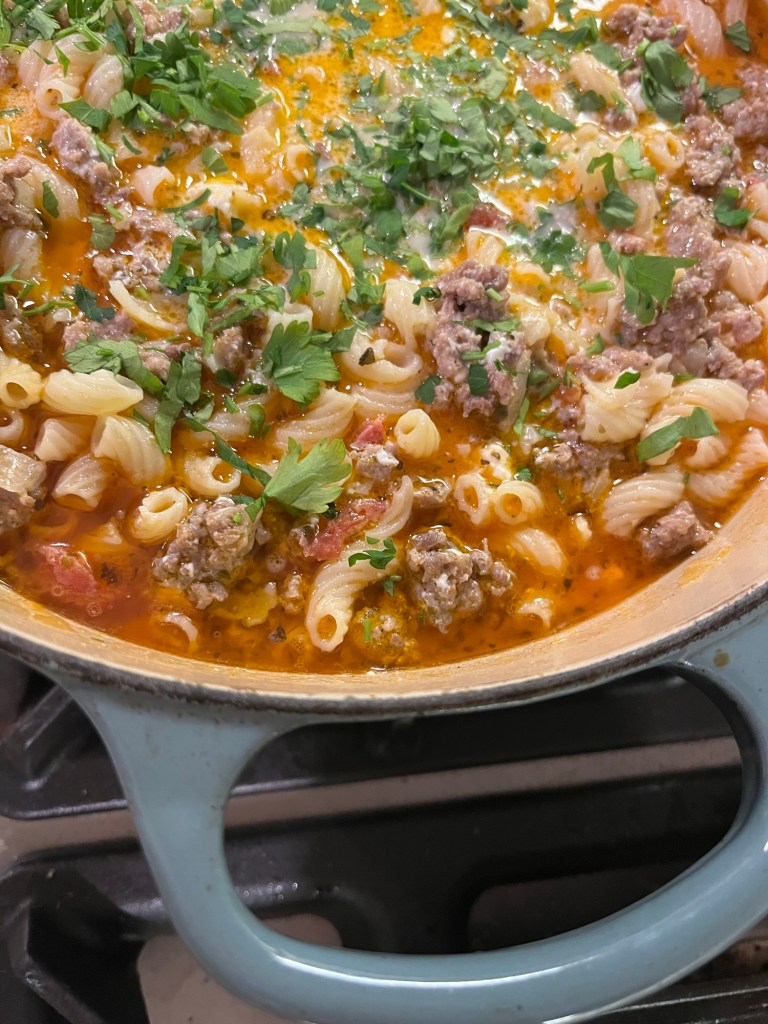
Recipes I’ve been loving:
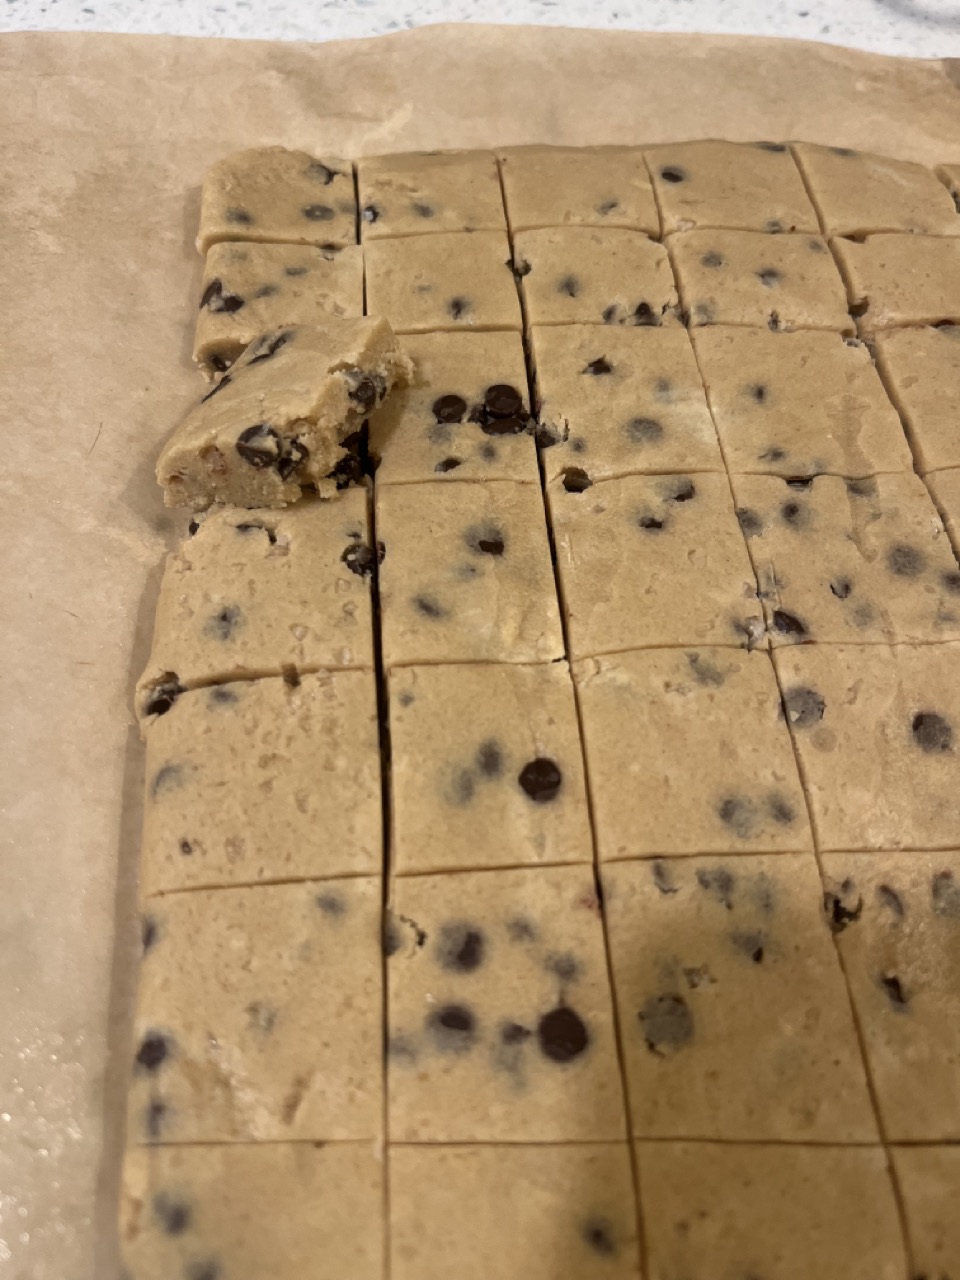
Protein cookie dough: I’m usually underwhelmed by high protein desserts because they never really taste as good as I’d like. but this cookie dough legit tastes like you’re eating cookie dough. I’ve been making it on repeat all month long. Just combine 1/2 cup almond flour, 1/2 vanilla protein powder (I’ve been using this one), 1/4 maple syrup, 3 tbsp melted coconut oil and 1/3 cup mini chocolate chips. I combine in a bowl until all mixed up and then spread out onto parchment paper. I usually place another parchment paper over it and flatten to desired thickness. Then chill in the fridge or freezer and cut into squares. This has been my go to snack when I’m craving something sweet.
kimchi fried rice – I made it with chicken but honestly you could put any protein in it. I’m making it again this week. 10/10 I used this recipe . I think next time I make it I’m gonna use shrimp.
Shrimp spring rolls. I’ve also been making these ahead of time for easy lunches. I bought a pack of rice paper wraps off amazon and have been trying different additions to my spring rolls. Right now I’m loving a mix of shrimp, mint, cilantro and bean sprouts with a spicy peanut sauce. It’s so crunchy and good.
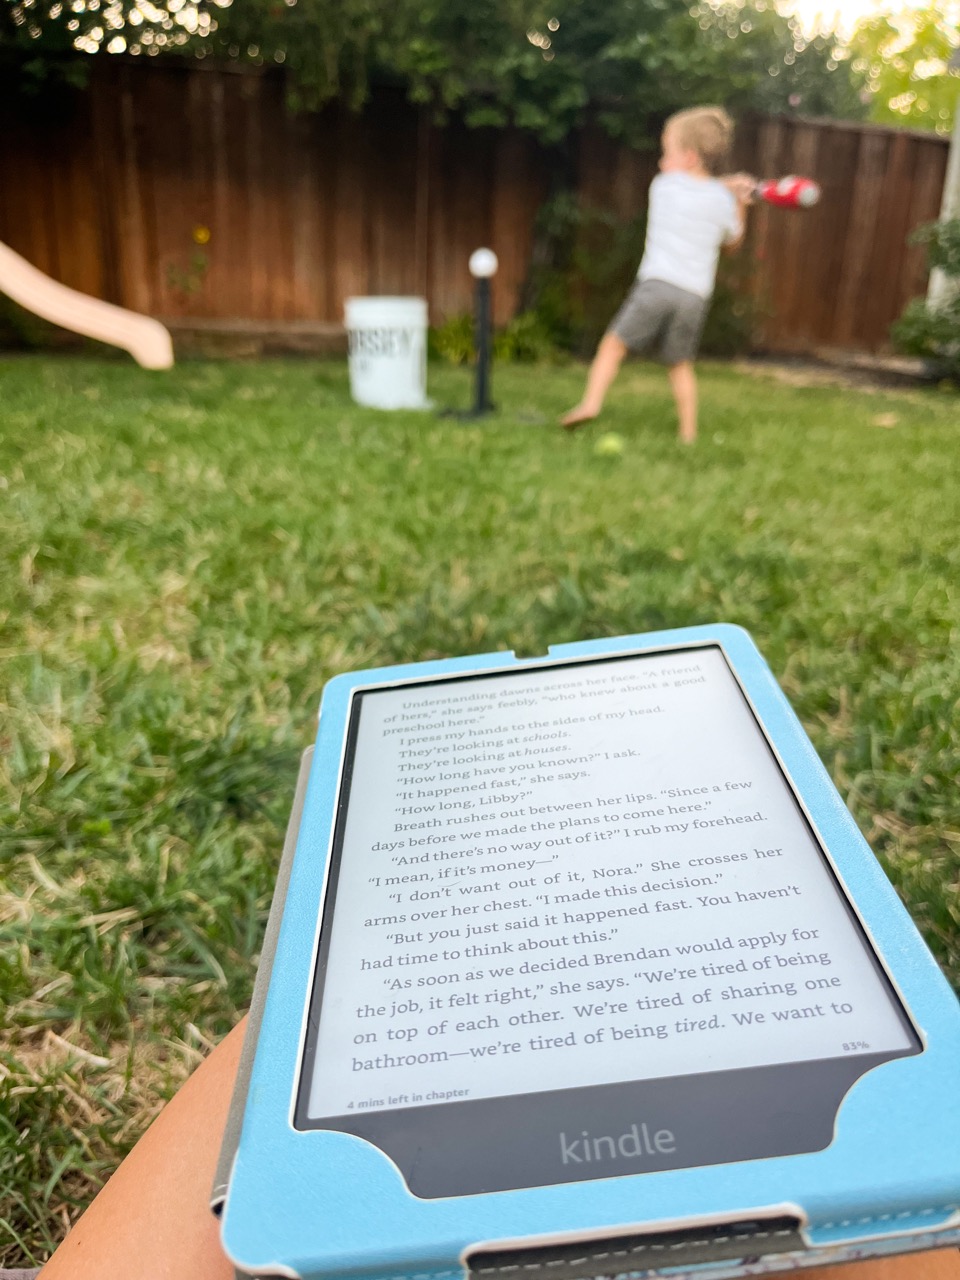
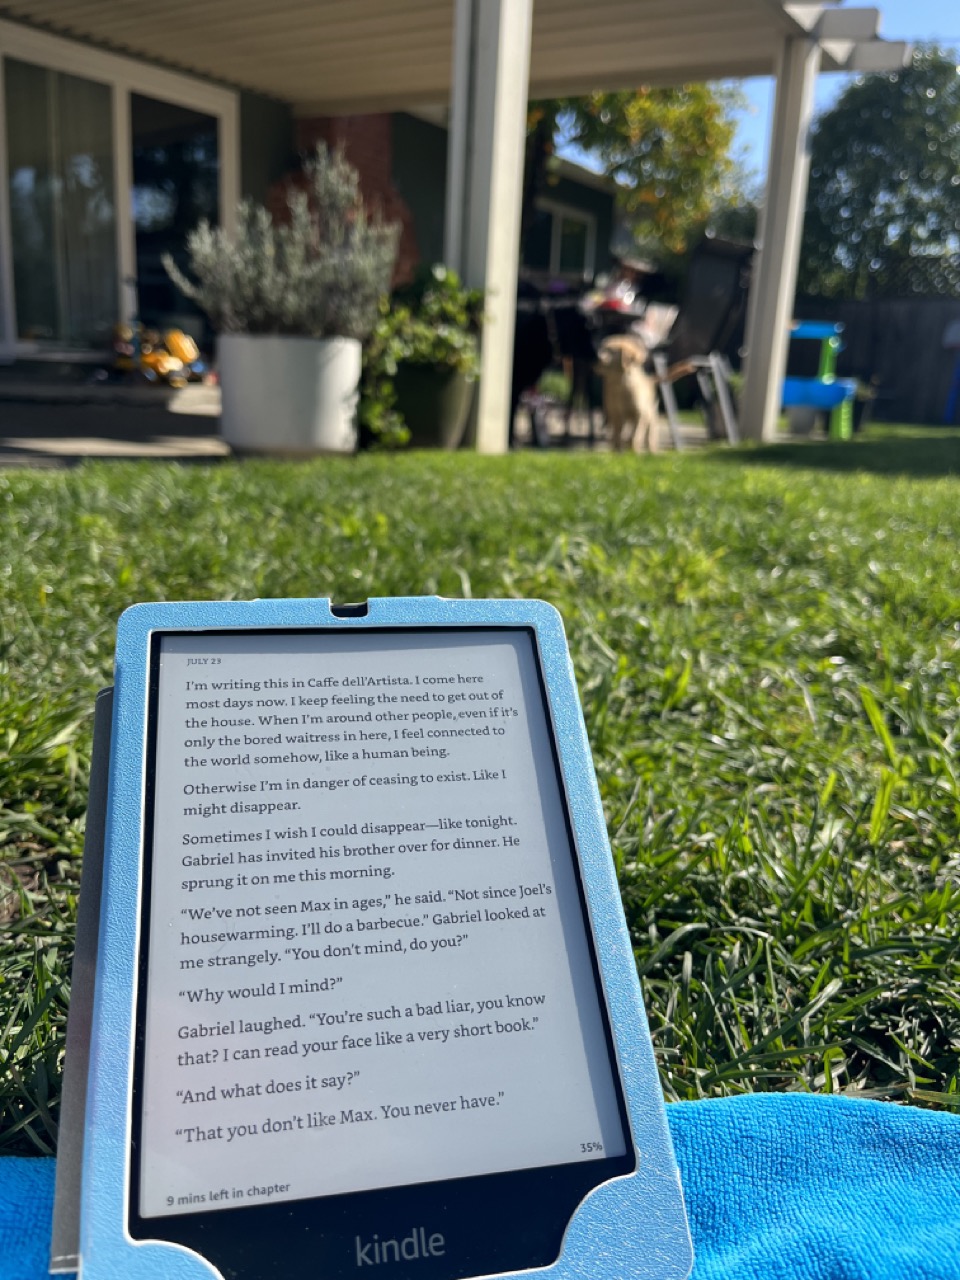
Books I read this month:
The Great Alone – my favorite book this month. I love Kristen Hannah. I love her writing style and her stories are always so emotional.
Small Things Everywhere – This was our bookclub book. It was super short, a little strange. lol. By no means a bad book, but just hard to understand what would actually be important in the book since it was literally only 100 pages.
Jesus and John Wayne – This was a political non-fiction book about how the evangelicals and their impact in american politics. It was as dense as it sounds lol.
After I do – quick romance read. My second Taylor Jenkins Reid book of the year and this one didn’t disappoint!
Slow read of War & Peace – I’m still chugging along. This month I kinda fell behind and was having to read multiple chapters a sitting. In March my goal is to really try to stick to the one chapter a day plan!
podcast that I loved: Dr. Becky – how to not raise an asshole. – I love Dr. Becky her podcast and book is such a powerful resource for parents. And this podcast episode seriously knocked it out of the park with talking to our kids about gratitude and our ideas behind raising entitled children. I listened to this episode twice taking notes to pass on to my husband! 10/10.
As Far as:
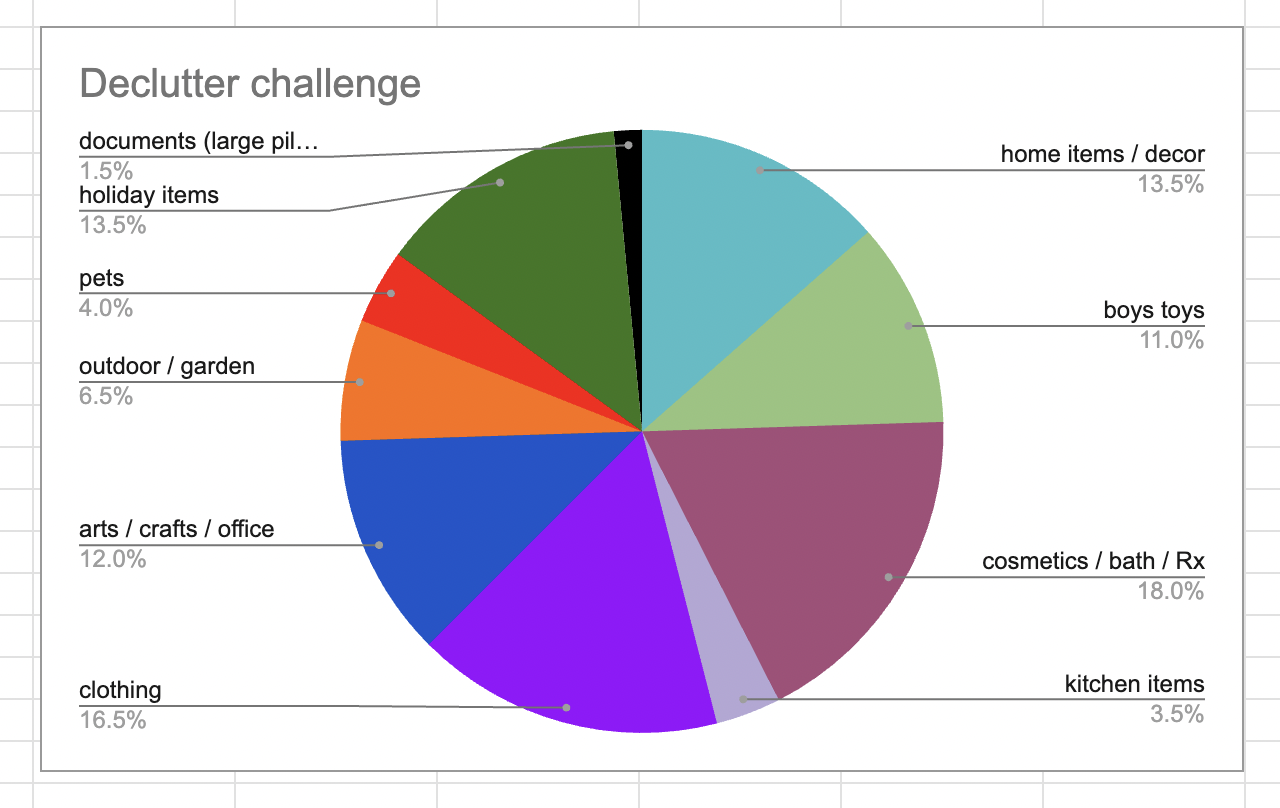
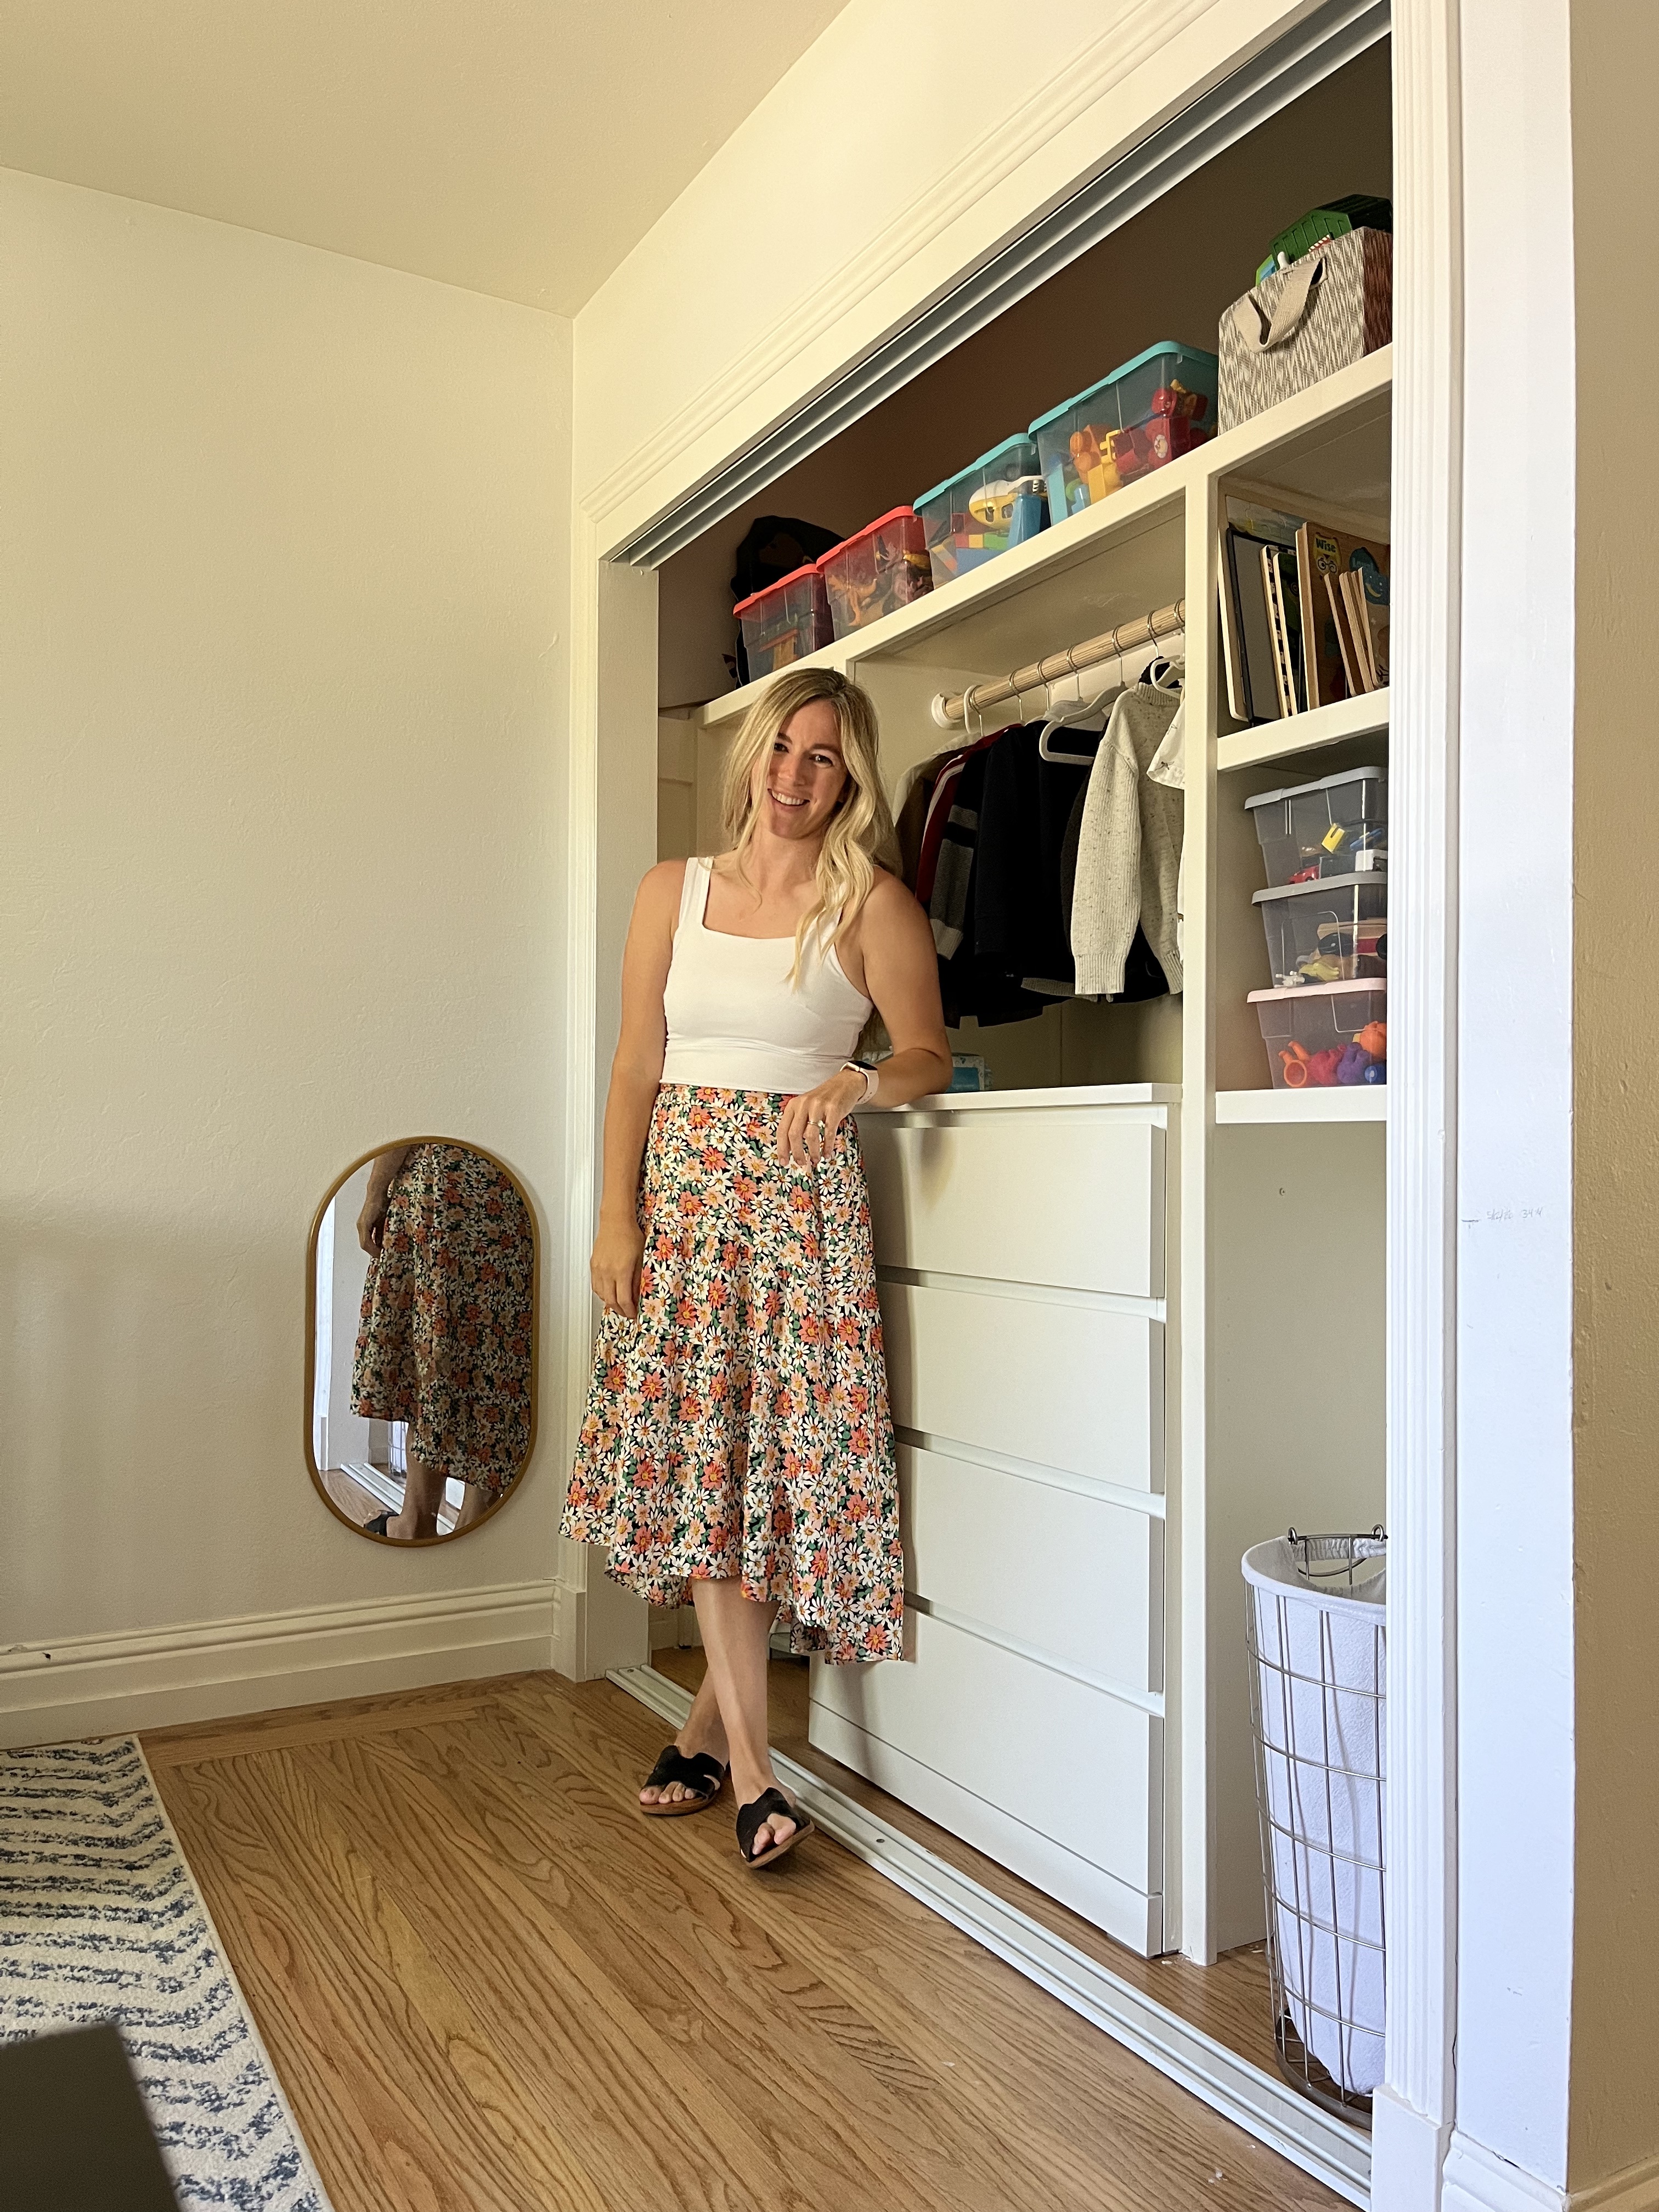
Decluttering Challenge: I have a decluttering goal of purging 2025 items from our home this year. So in February I purged a little over 300 items total. This is definitely a hard challenge but it’s been fun to track.
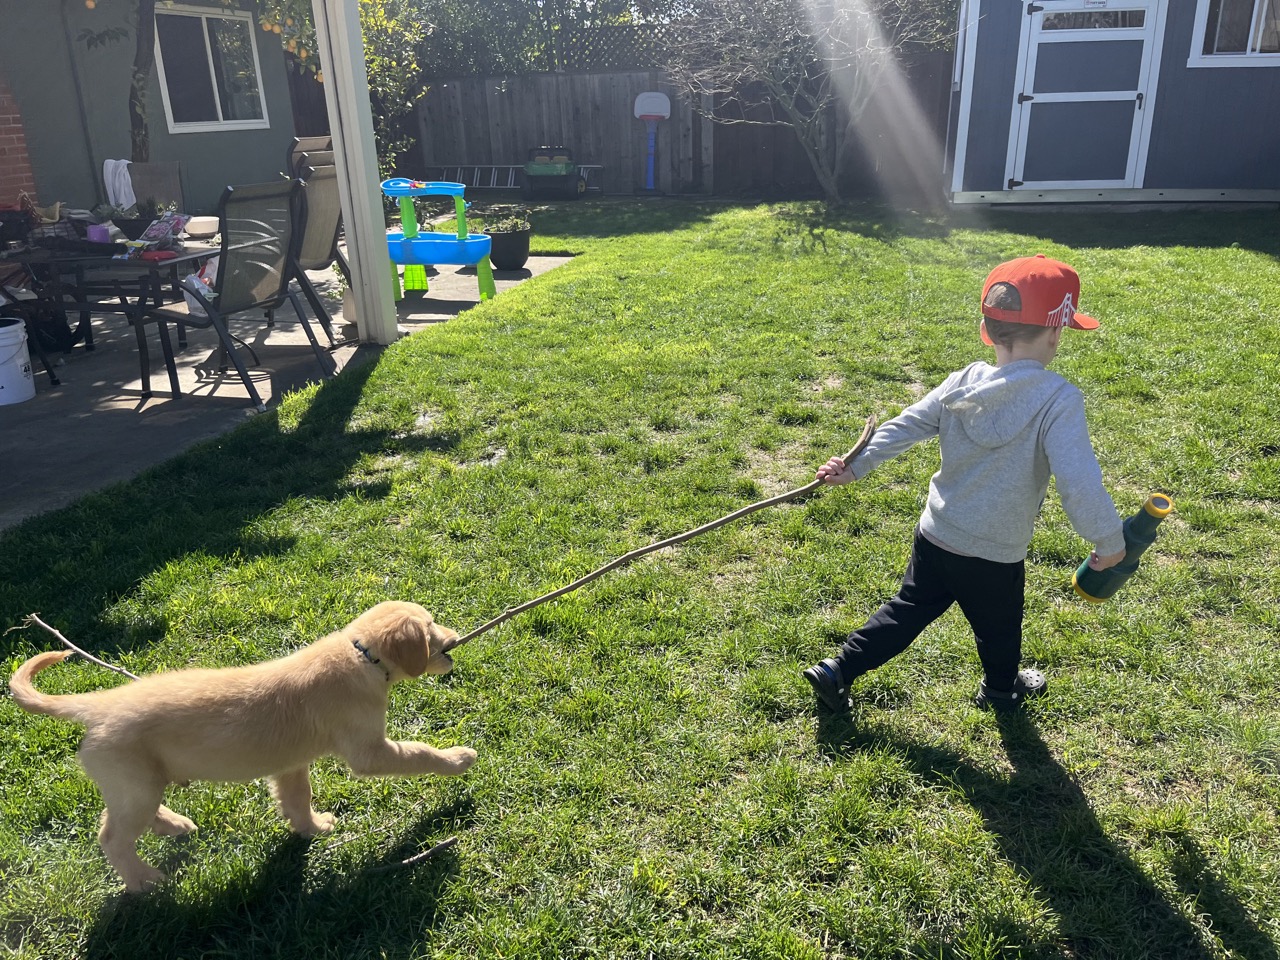
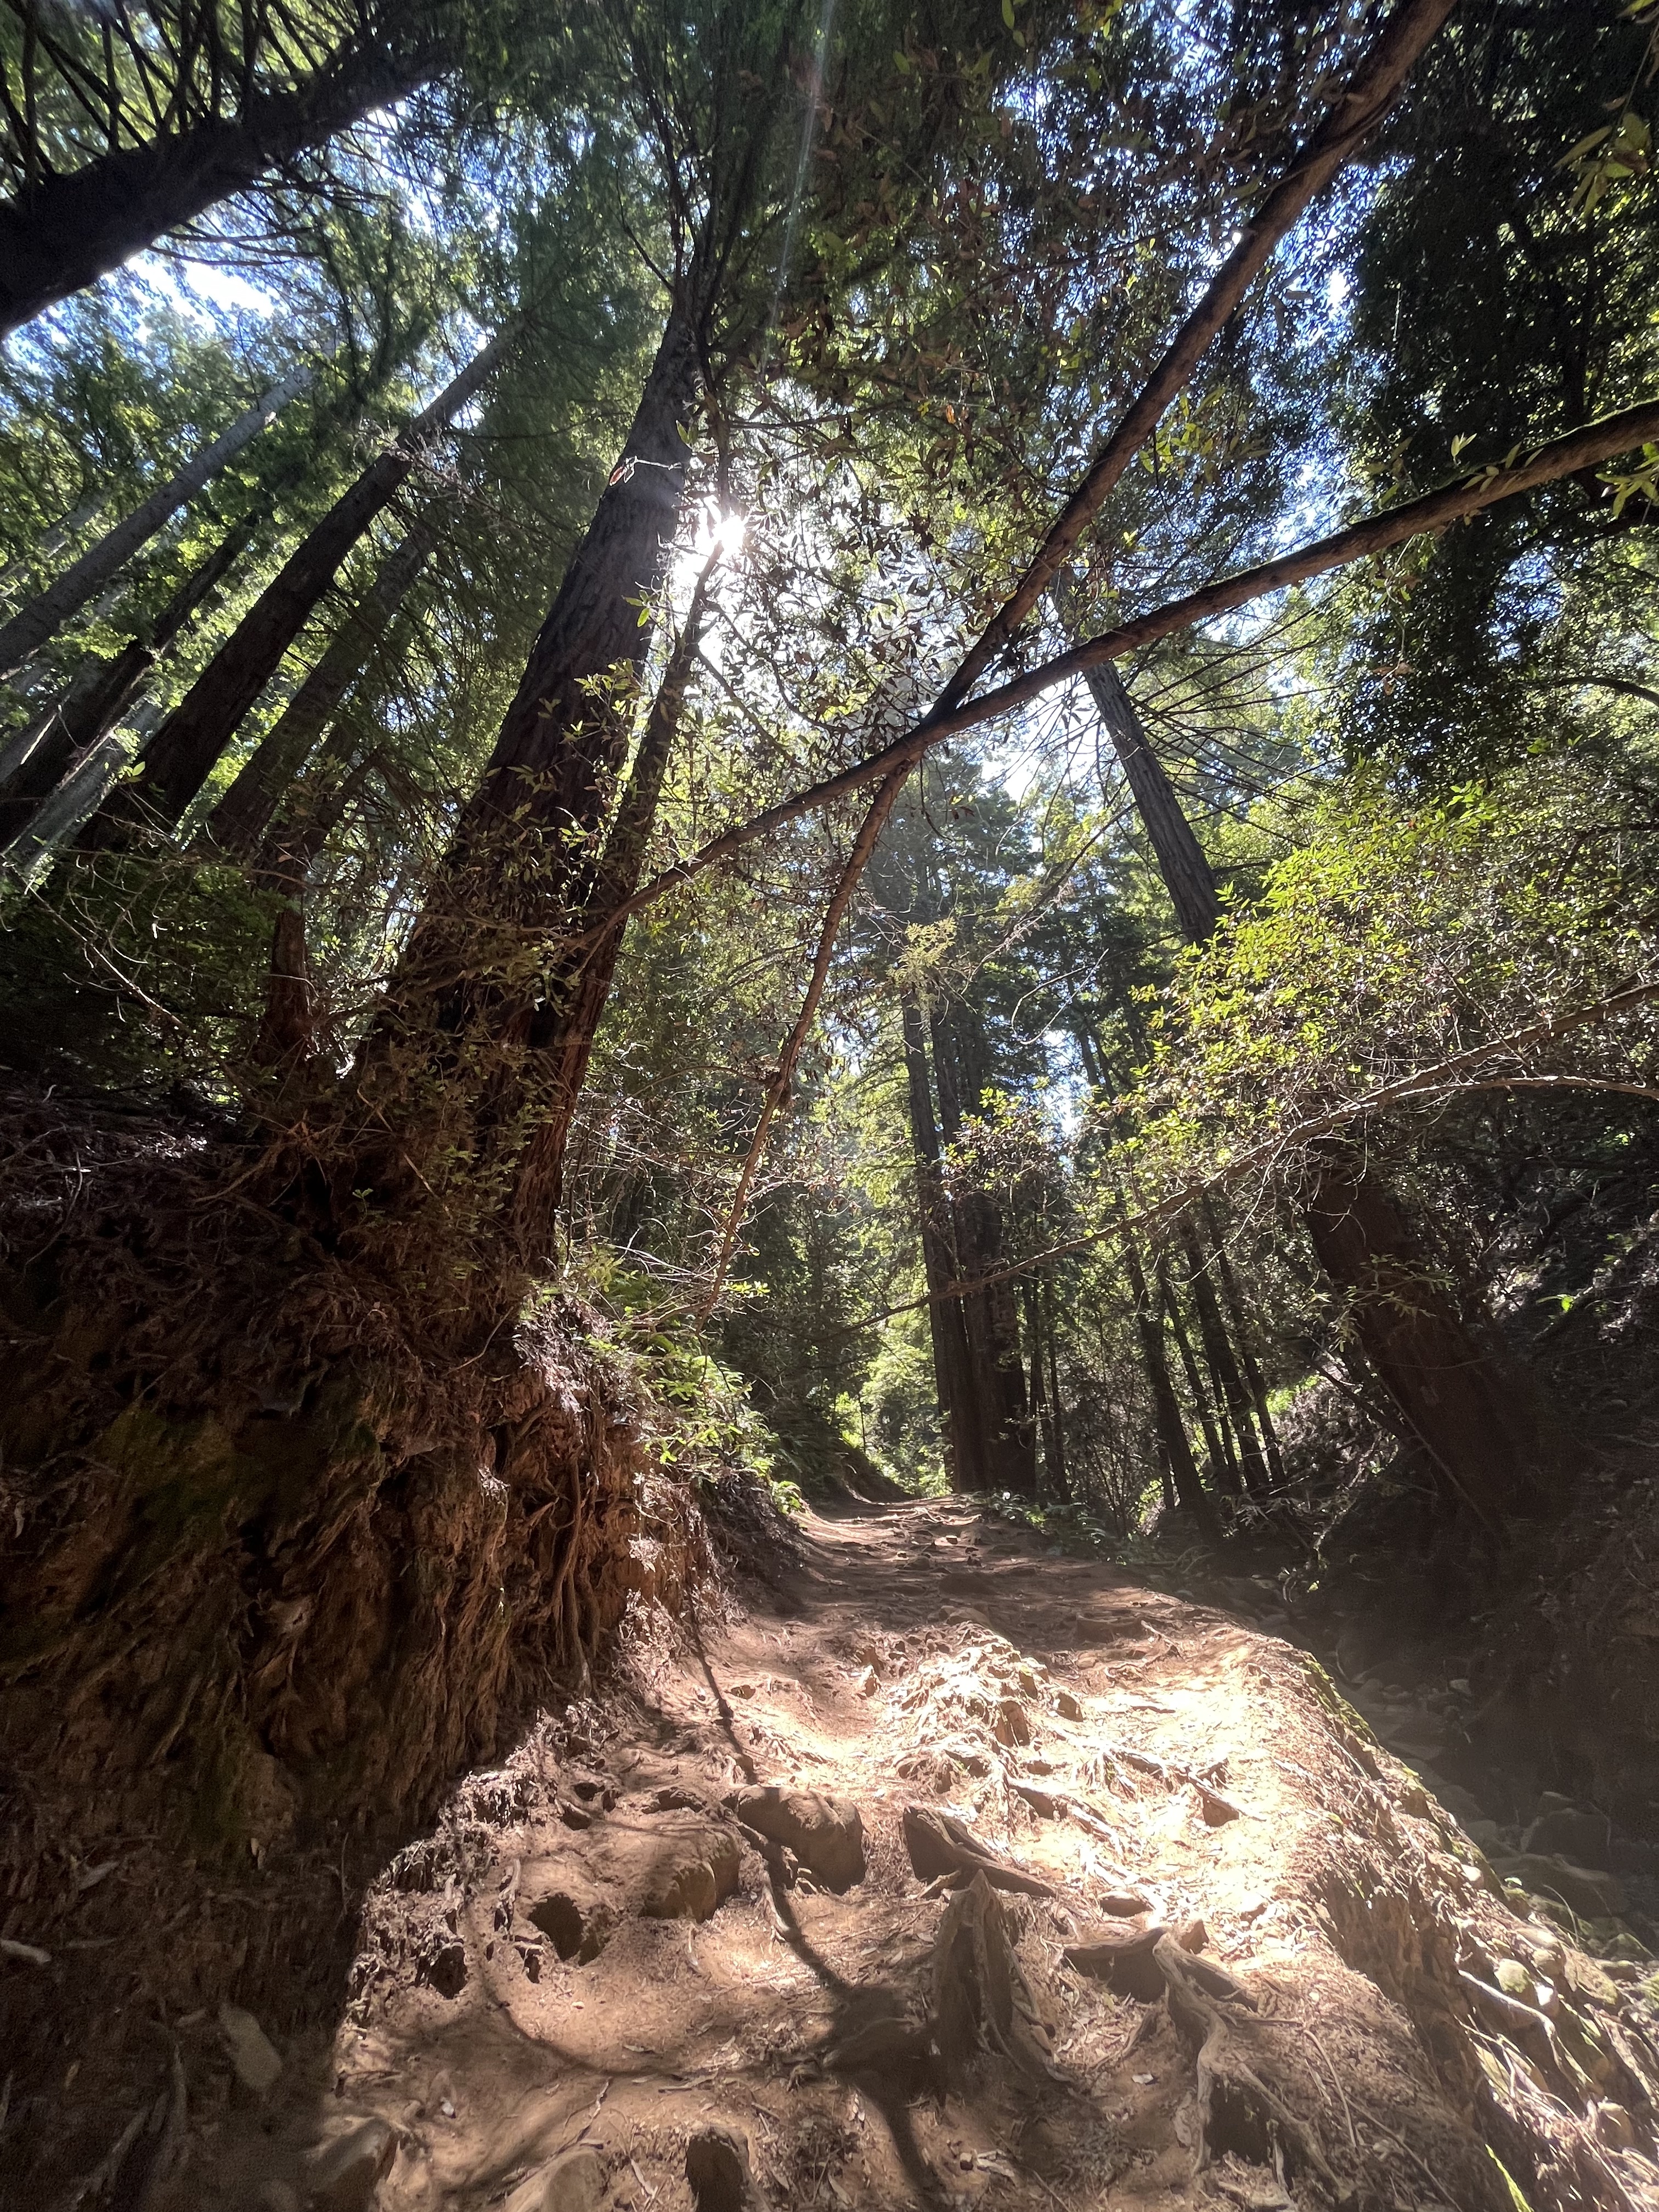
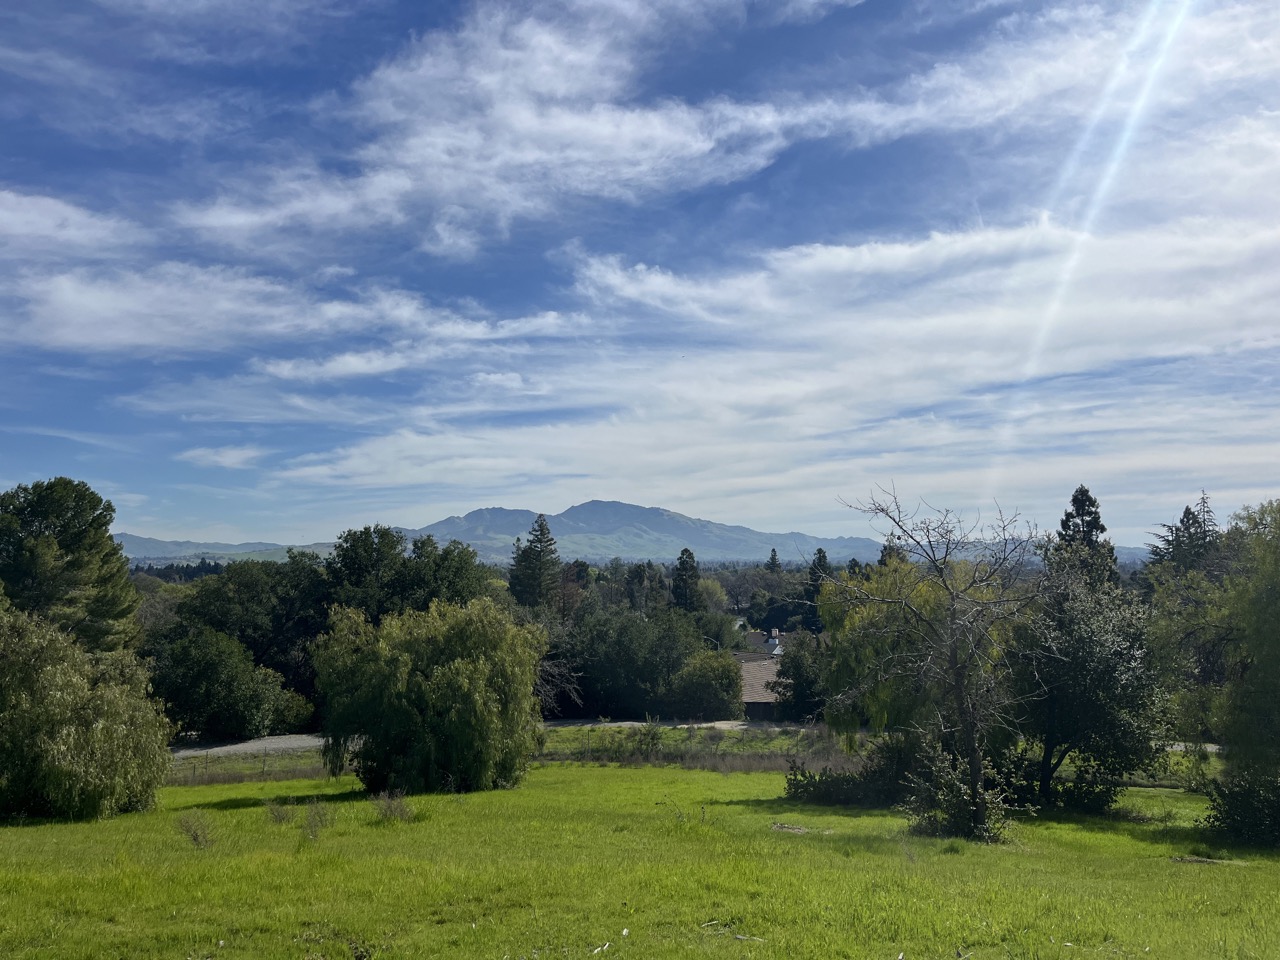
1000 hours outside: in February we logged 51 hours outside, bringing our total to 122 hours for the year. Like I mentioned earlier in the post the weather was pretty dreary at the beginning of the month. And now we’re in full swing when it comes to baseball so I’m sure those hours will tick up as the weather continues to get better.
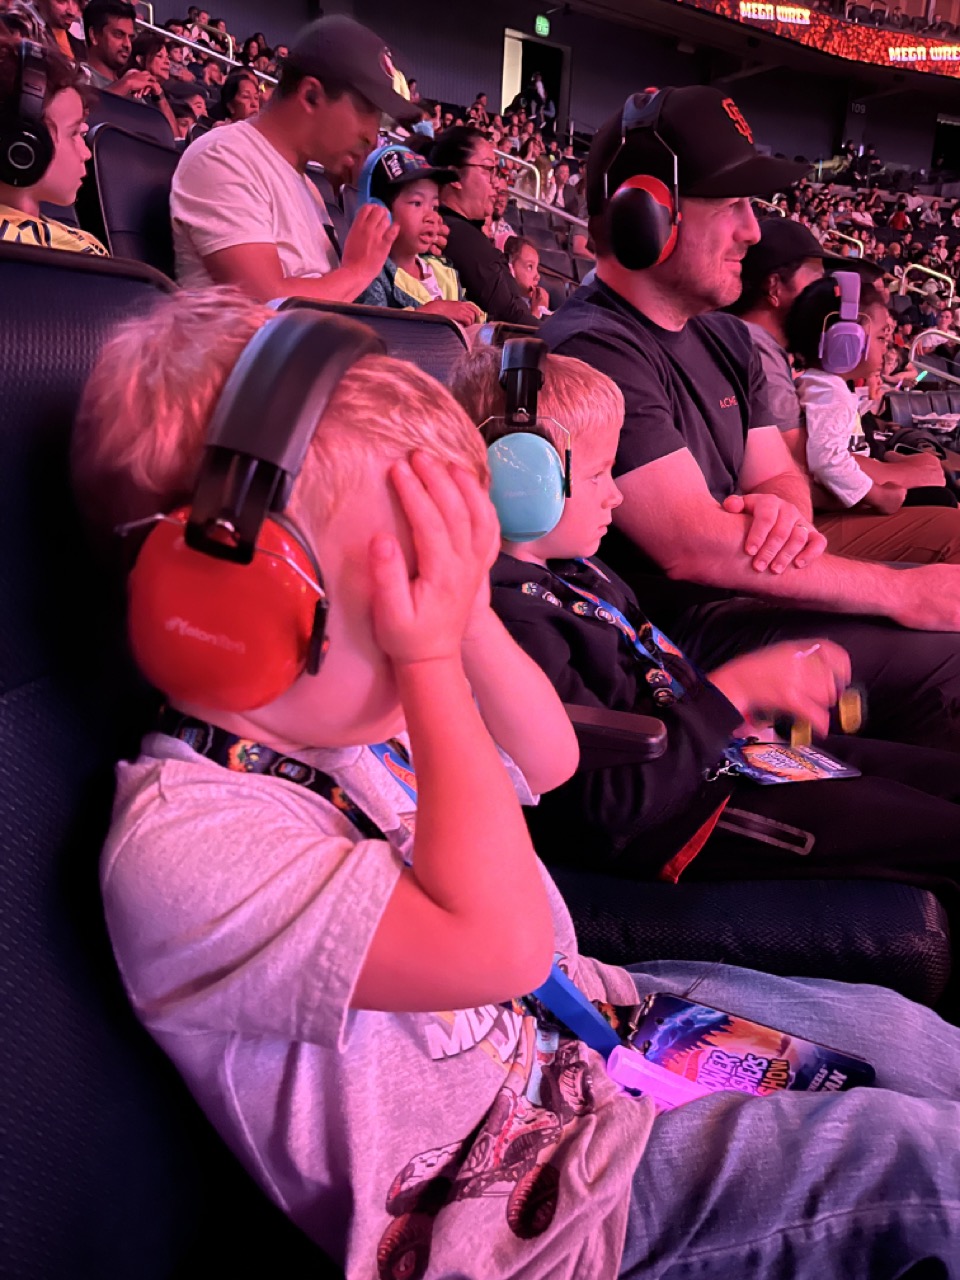
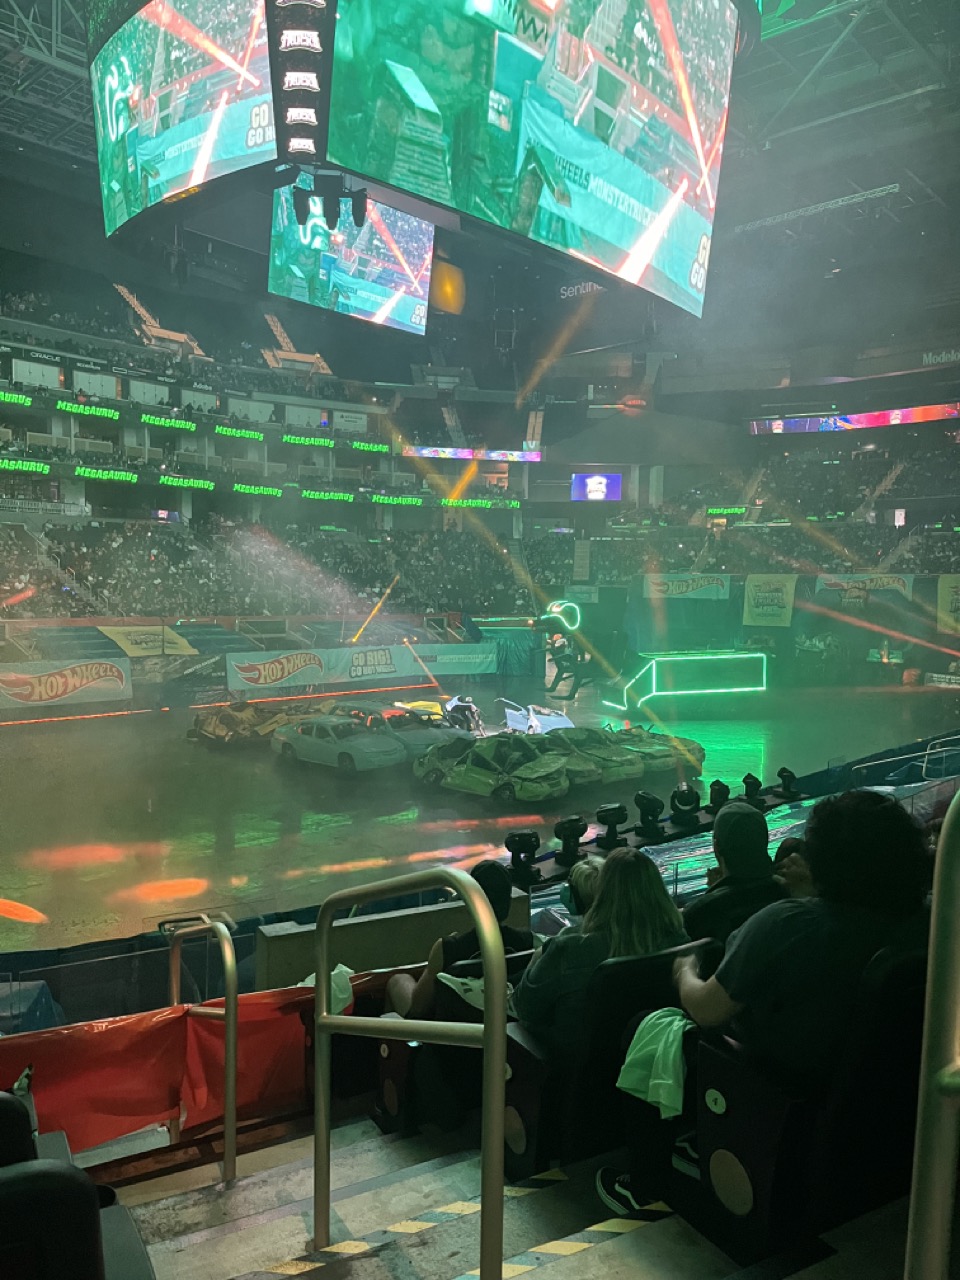
Looking forward – we are taking the boys to Monster Jam in March and have some fun things planned around Spring break including a glamping trip with friends and of course loads of baseball as well as some little projects I’m working on at our house.
xoxo