Whether you’re making them as gifts or you’re like me & can’t bring yourself to buy a $30 candle from Anthropologie, this tutorial will show you candles are a super easy project to take on!
What you’ll need:
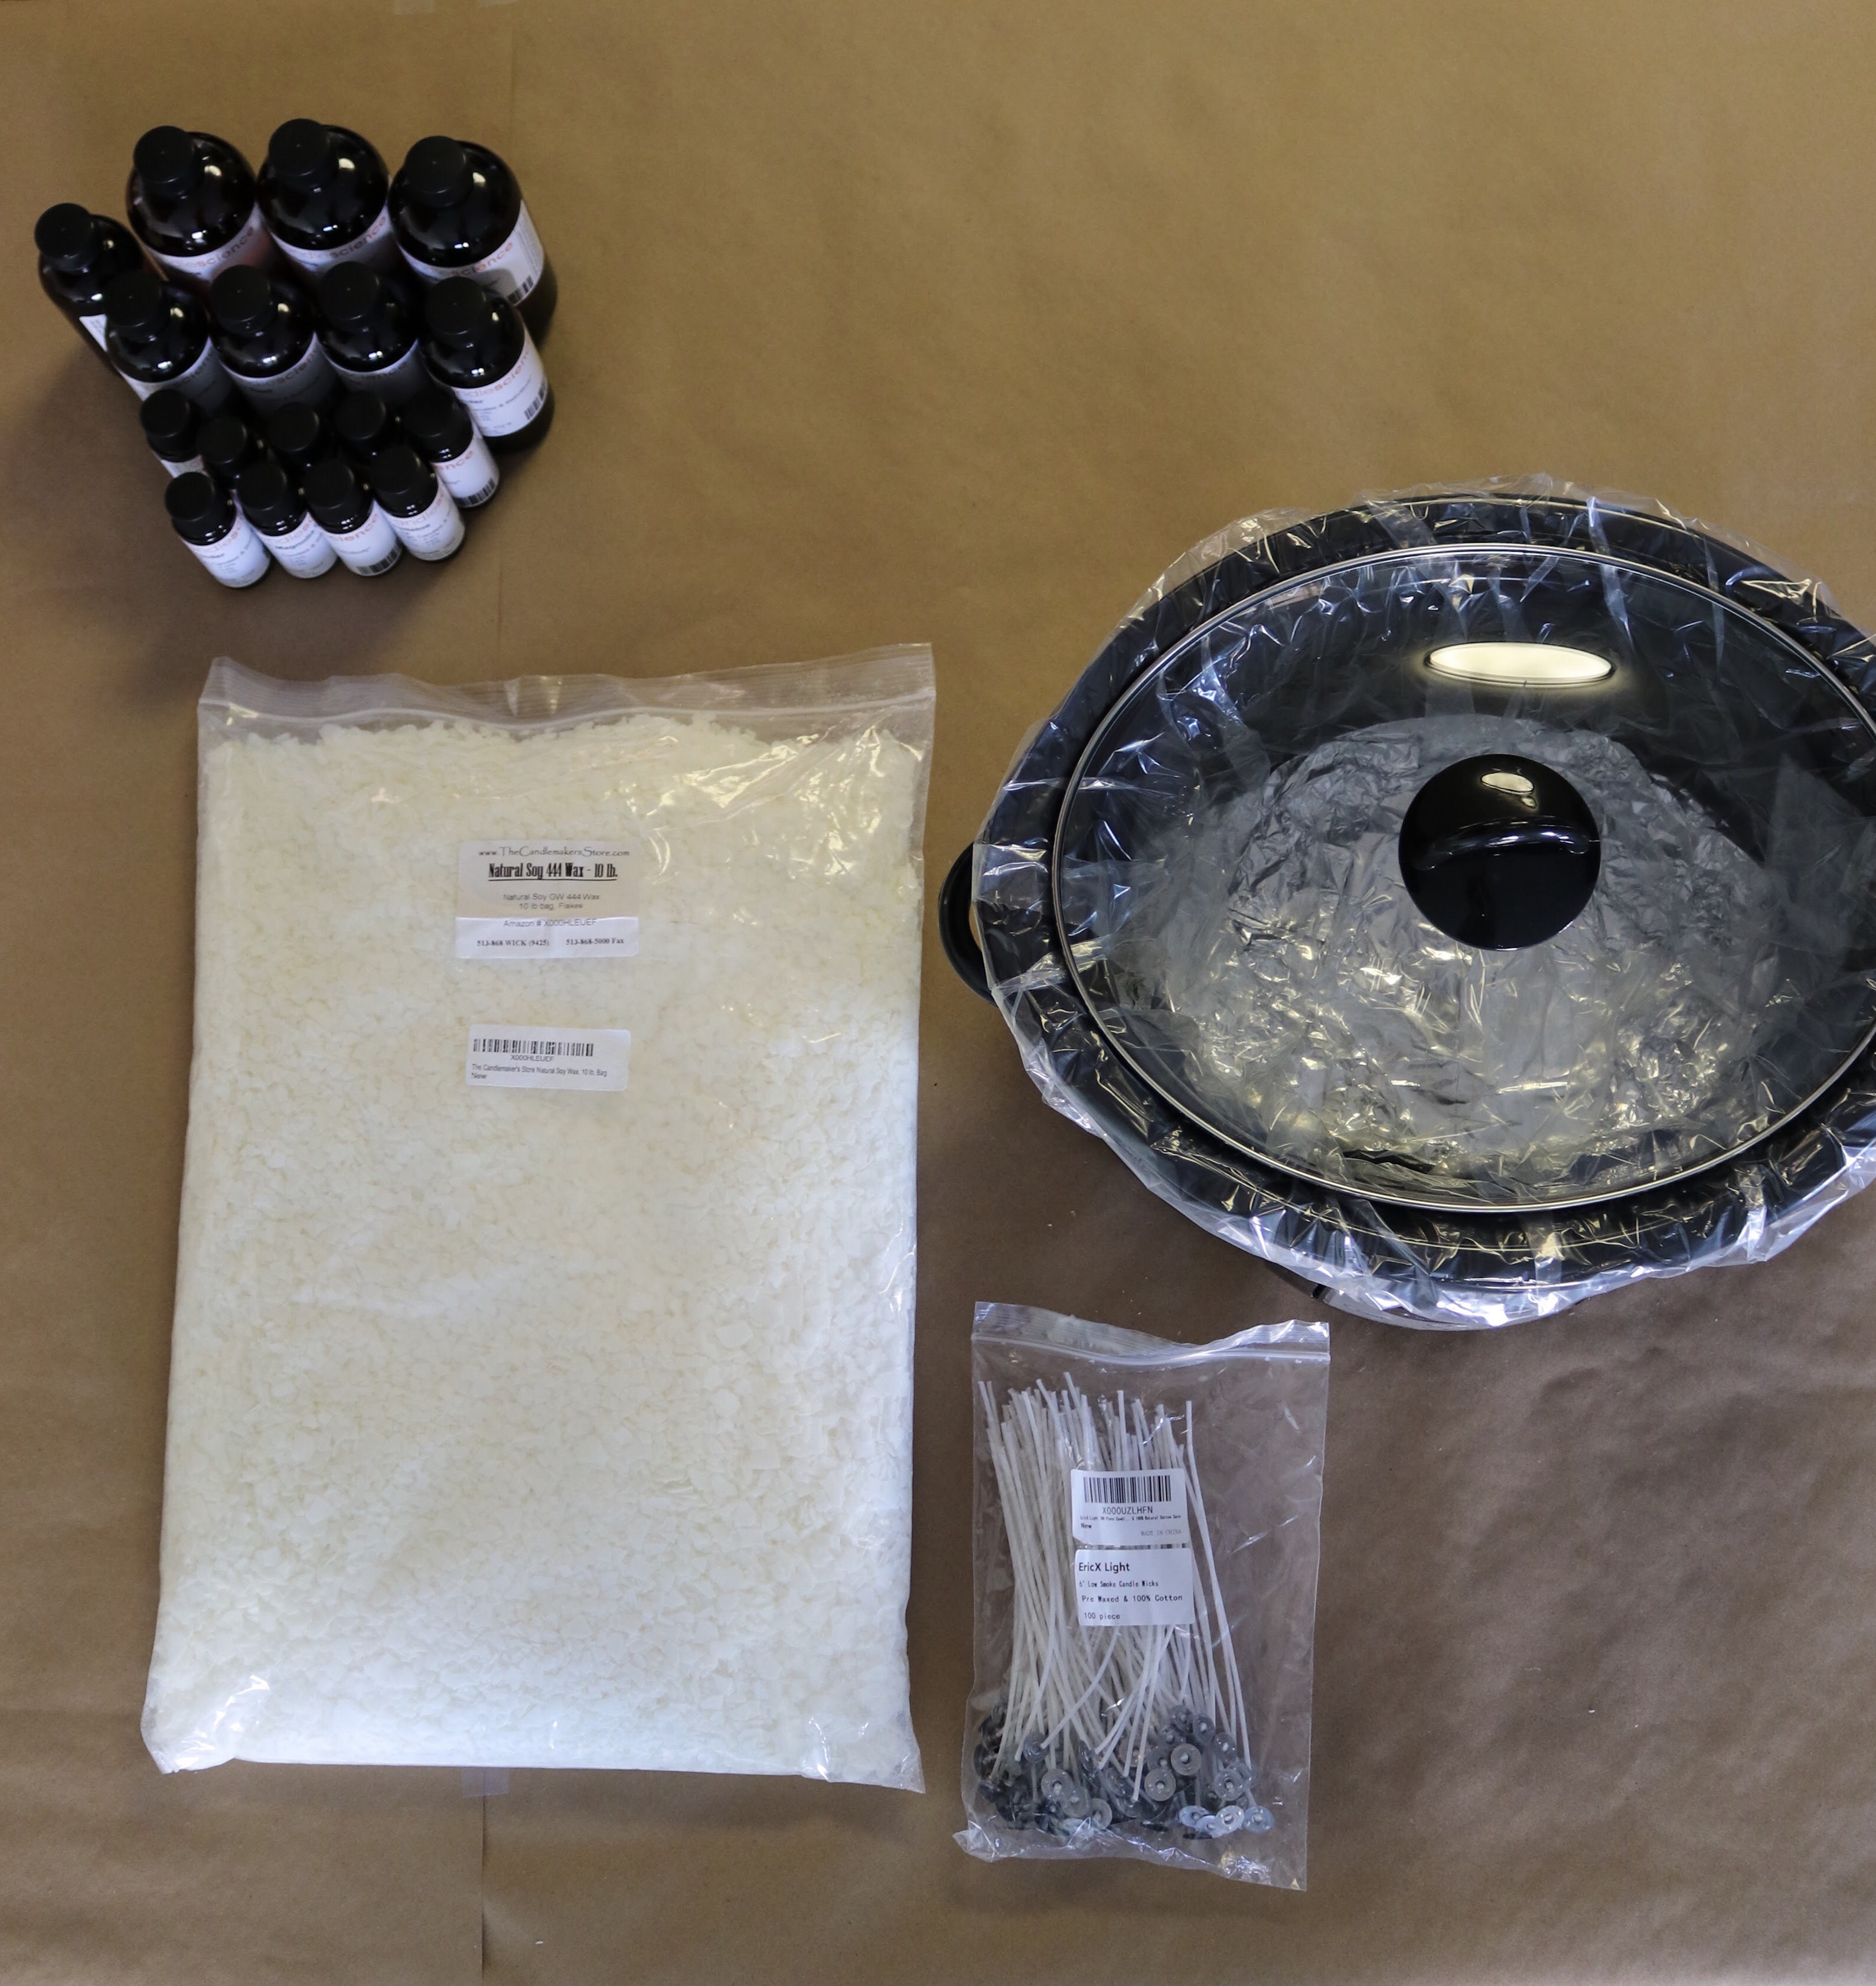
- Soy candle wax
- Crock pot
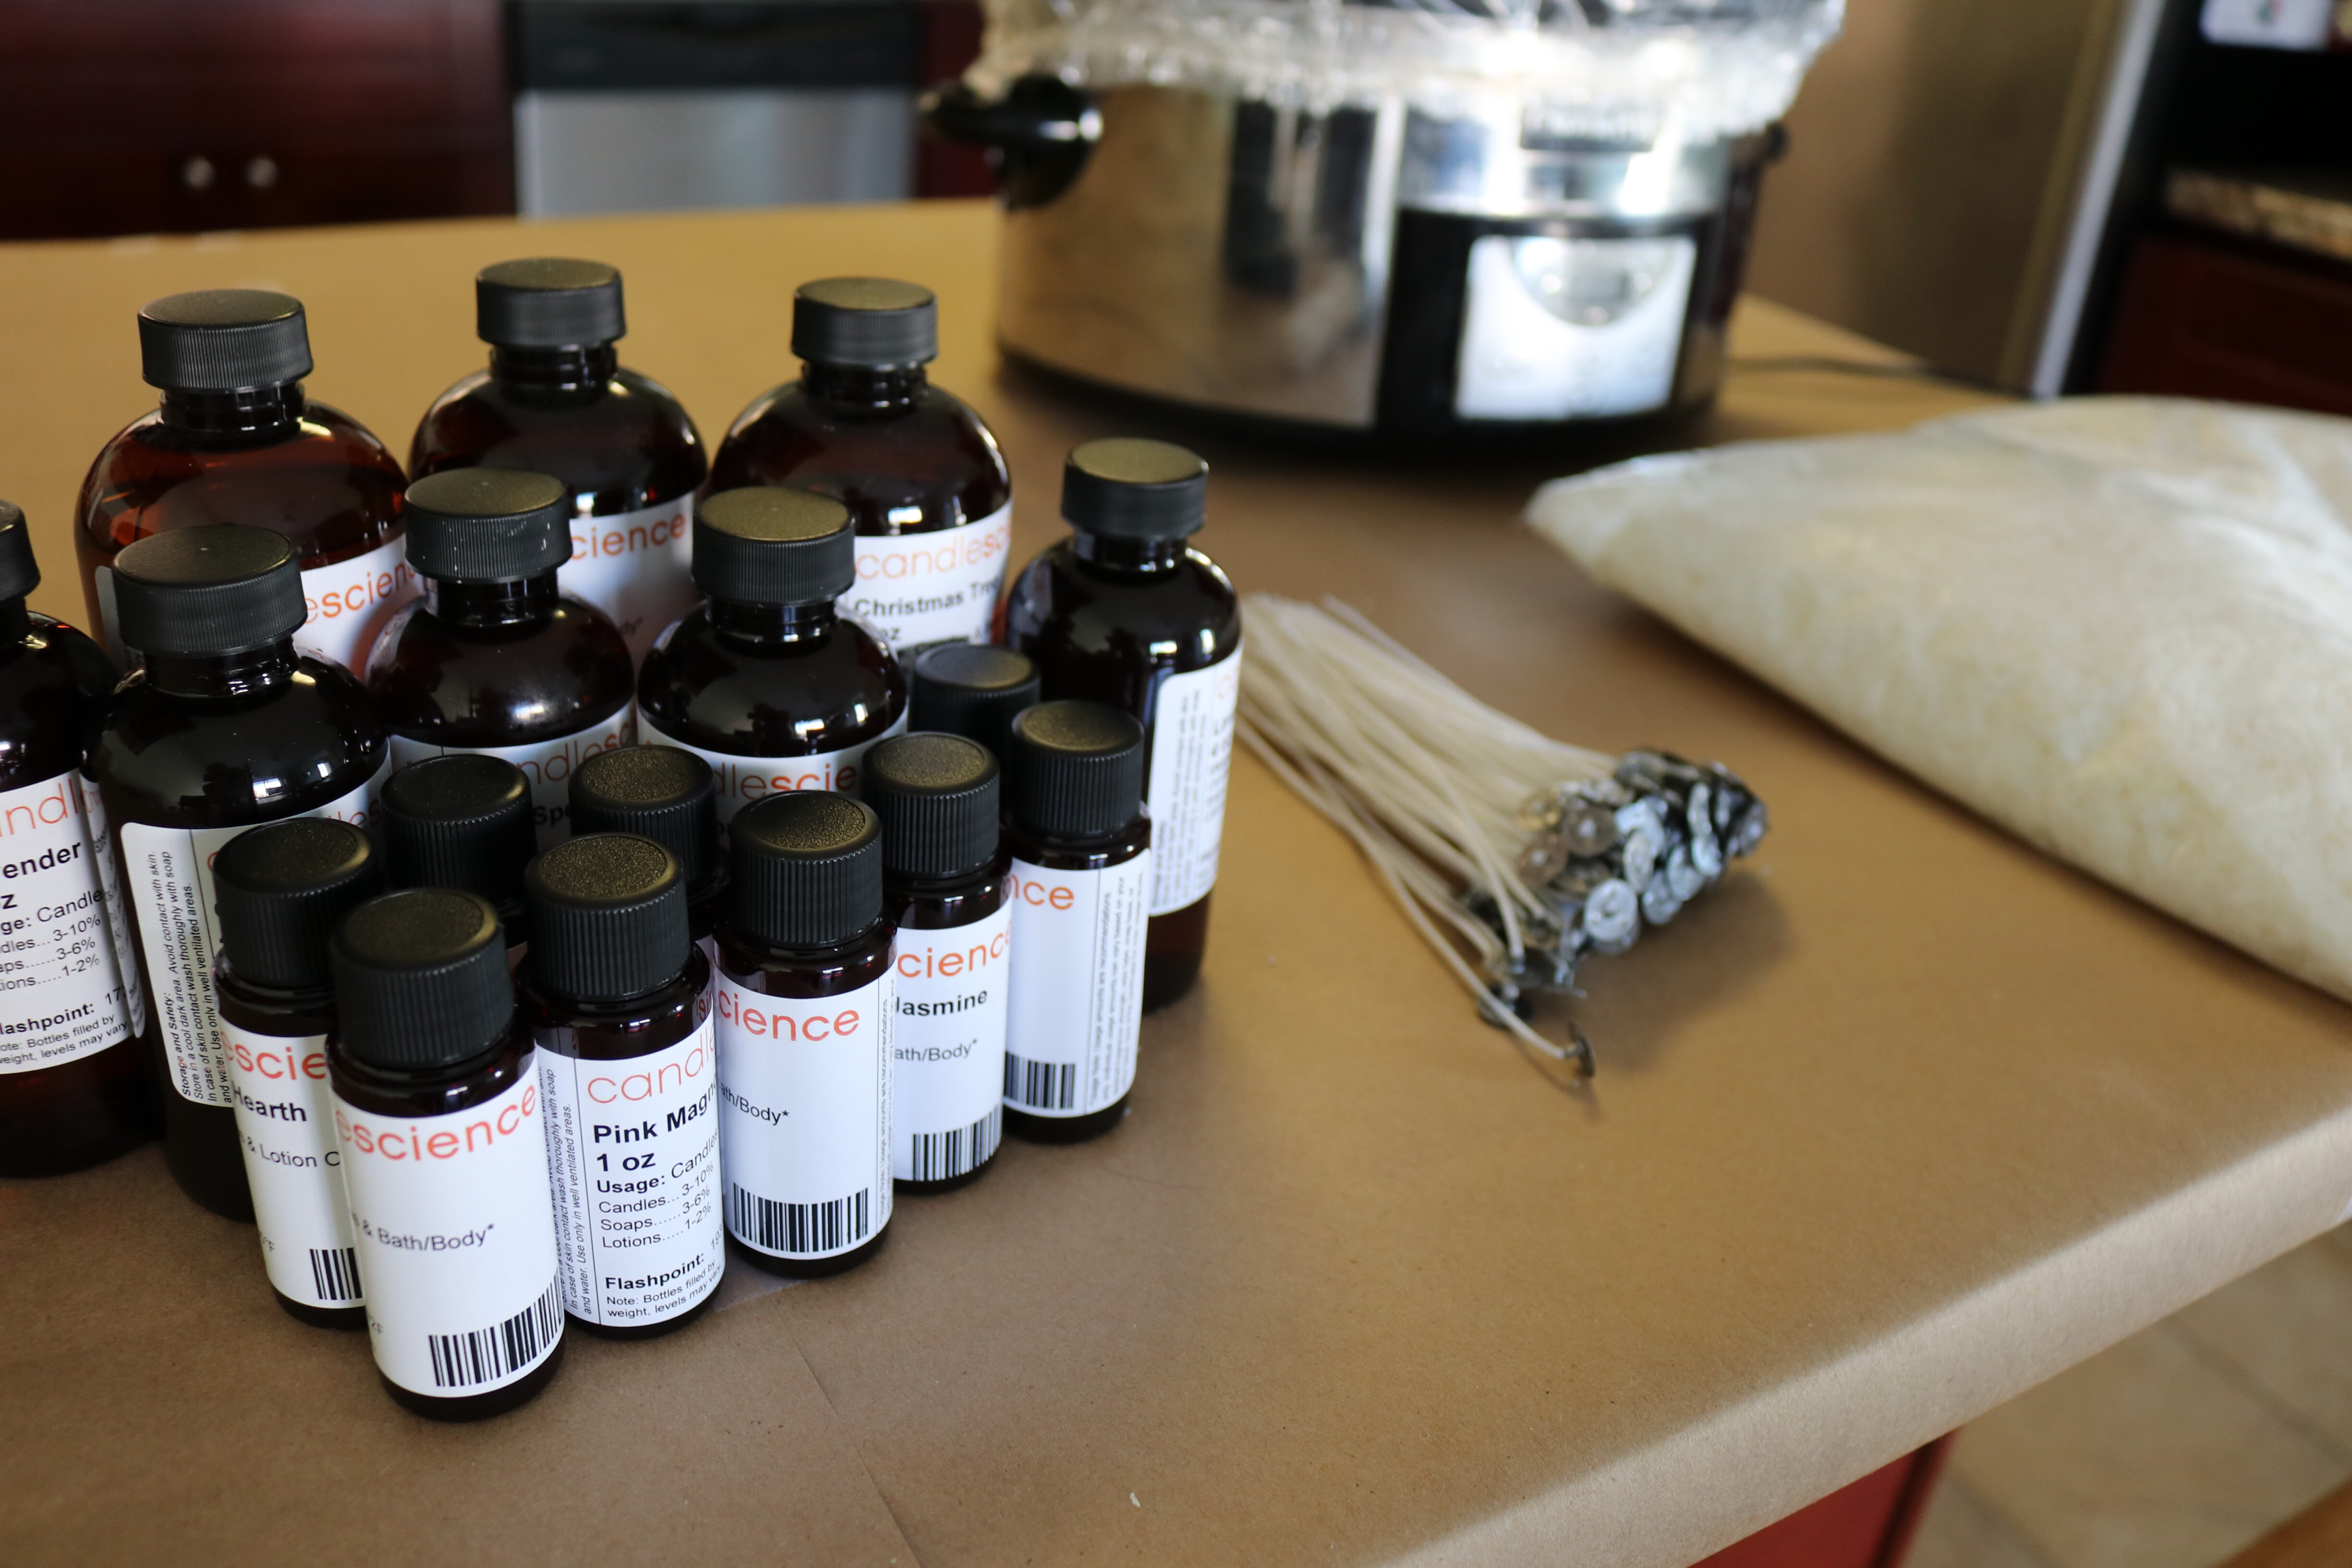
- Essential oils (I use this brand)
- Wicks
- Jars or bowls
- Tape
Optional items:
- Paper to line countertops for easier clean up
- Crock pot liners – easier clean up
I’ve been making candles for about 3-4 years now. Usually around the holidays I invite some girls over & we have a little holiday crafting day & everyone makes some candles either for themselves or to give as gifts over the holiday season! Over the years I’ve come up with some tips / tricks for easier candle making & easier clean up!
Probably my biggest tip is to line your counter-tops with paper. I usually get some plain paper in the dollar aisle at target or you could even use heavy duty tinfoil. Just something to keep the counter-tops protected from any wax spills.
Along the same line of lining your counters I recommend buying crock pot liners. Unless you plan to dedicate a specific crock pot to candle making. I usually line the bottom of the crock pot with tin foil & then use the liner. It makes clean up so simple. I just allow the crock pot to cool completely and then lift the liner out & toss away. Then I just need to run some soapy water over the crock pot & it’s good to go.
I get all my supplies from amazon. But I know they sell candle wax / candle scents at craft stores like Micheals, so if you finder cheaper deals than what I’ve linked to, go for it!
The first step is to line your counter-tops for easy clean up.

Next, pour the soy wax into the preferably lined crock pot and allow the wax to melt completely. I find it usually takes about 40 minutes to melt about 5 pounds of wax on high. I usually just start that process while I’m getting the rest of my supplies in order.

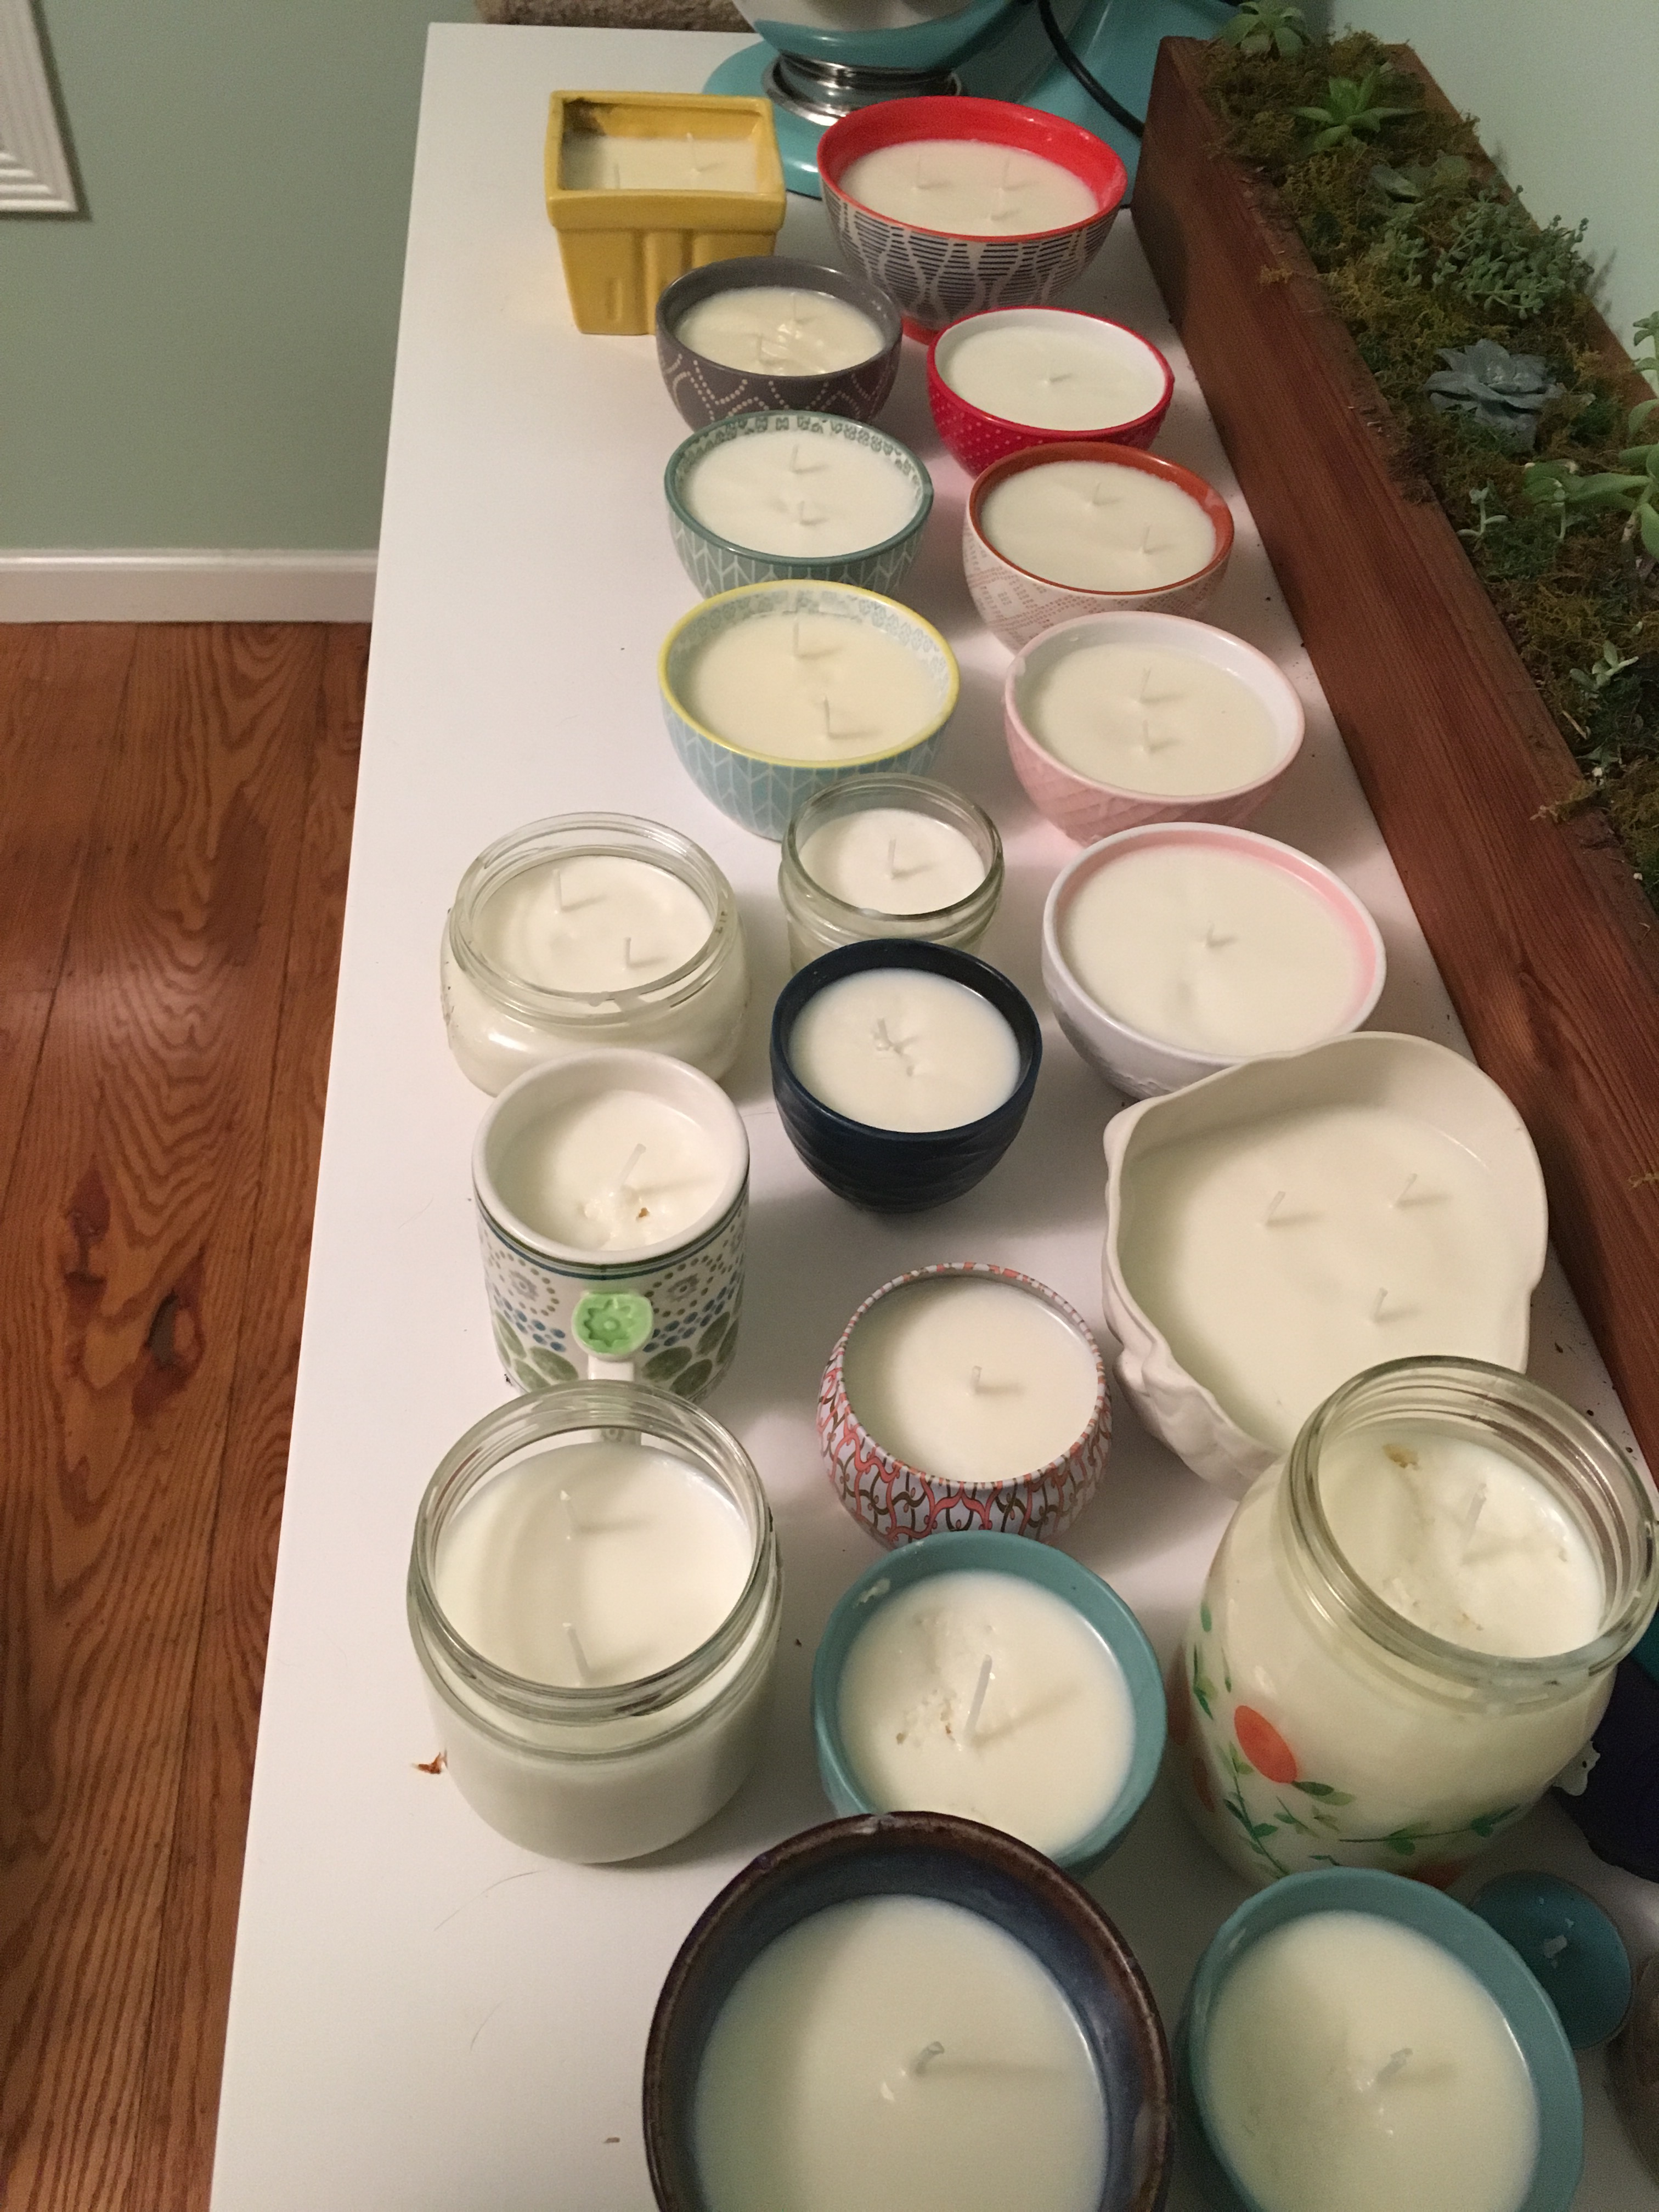
Once the wax has completely melted you can begin filling your containers. I try to do all the containers that will have the same scent at once. When it comes to adding the essential oils, go big! Especially if you’re trying to get a candle to be as fragrant as store bought. I think I’ve only made one candle that was wayyyy to scented & honestly I think it had more to do with the actual scent than with the amount I added. once you’ve added the desired amount of essential oil, place your wick.
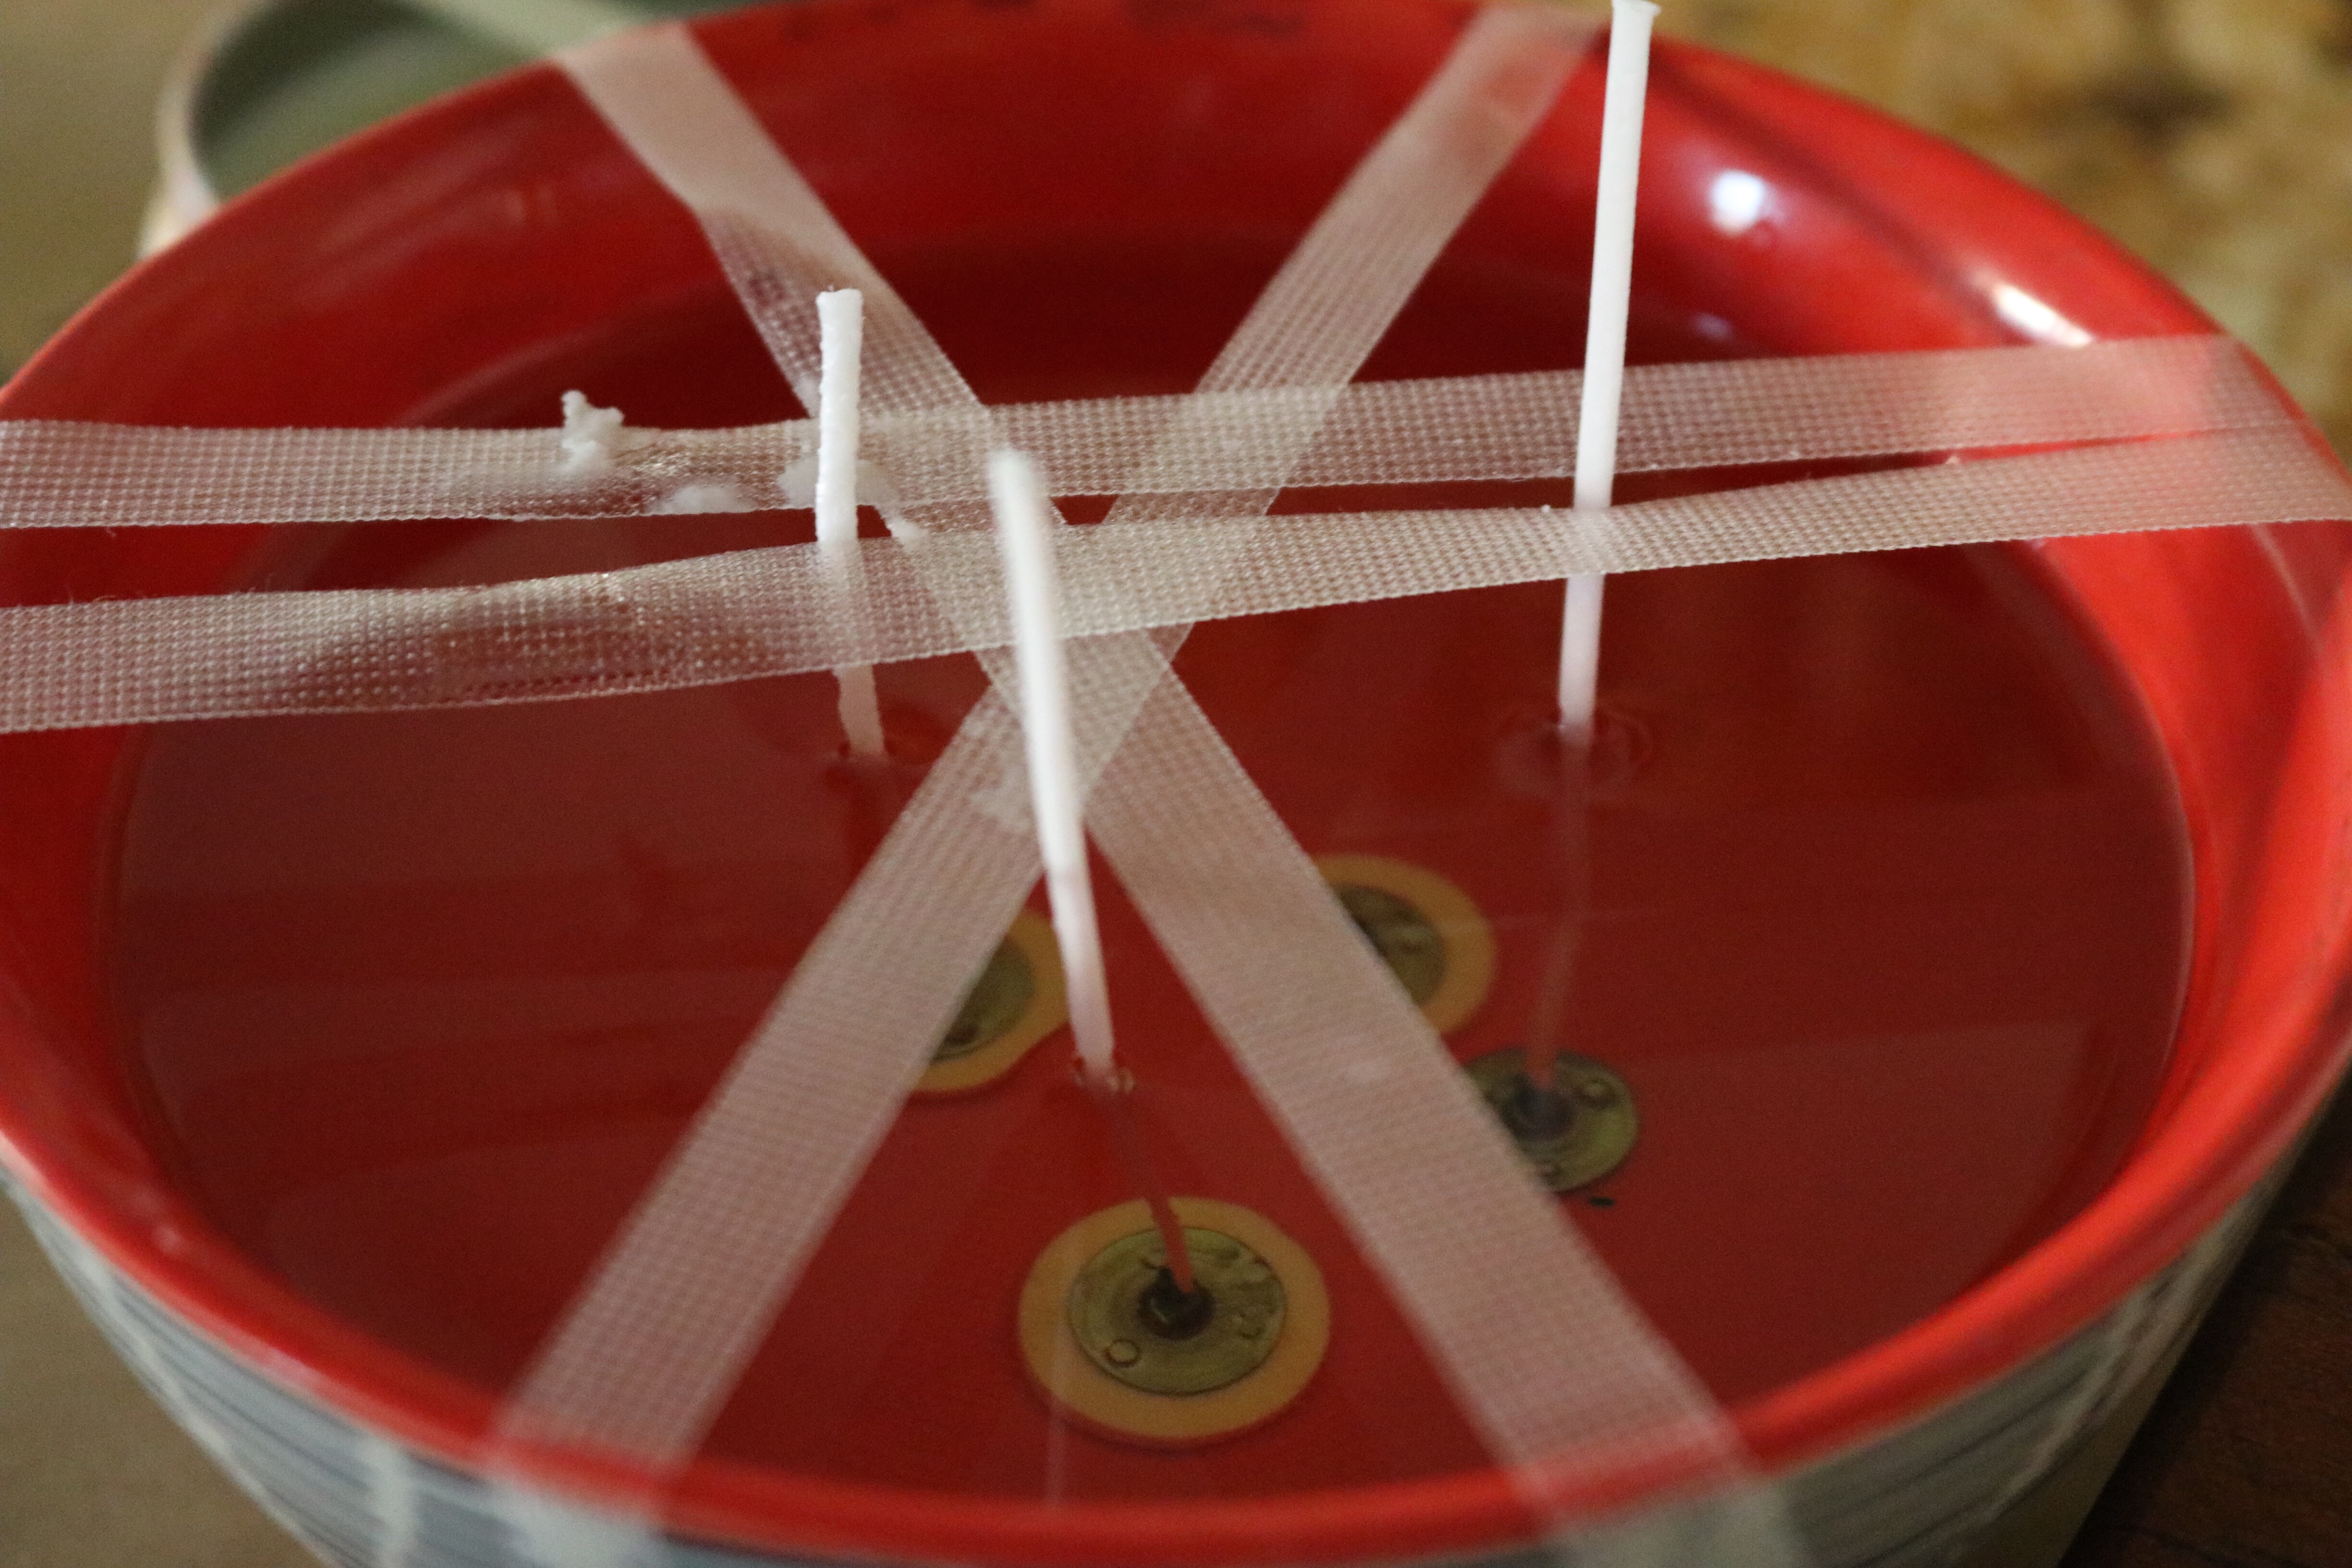
I’ve experimented briefly with wood wicks and have been disappointed with how quickly they burn out. So if anyone has a good suggestion for a brand of wood wicks please tell me! Otherwise I’ve gone back to use the standard candle wick. I use medical tape across the container to support the wick as the wax melts. It’s important to cut the wick to approximately the height you’ll want it before trying to put the wick in the hot wax. I find the wicks try to collapse or fall over if you don’t cut them ahead of time.

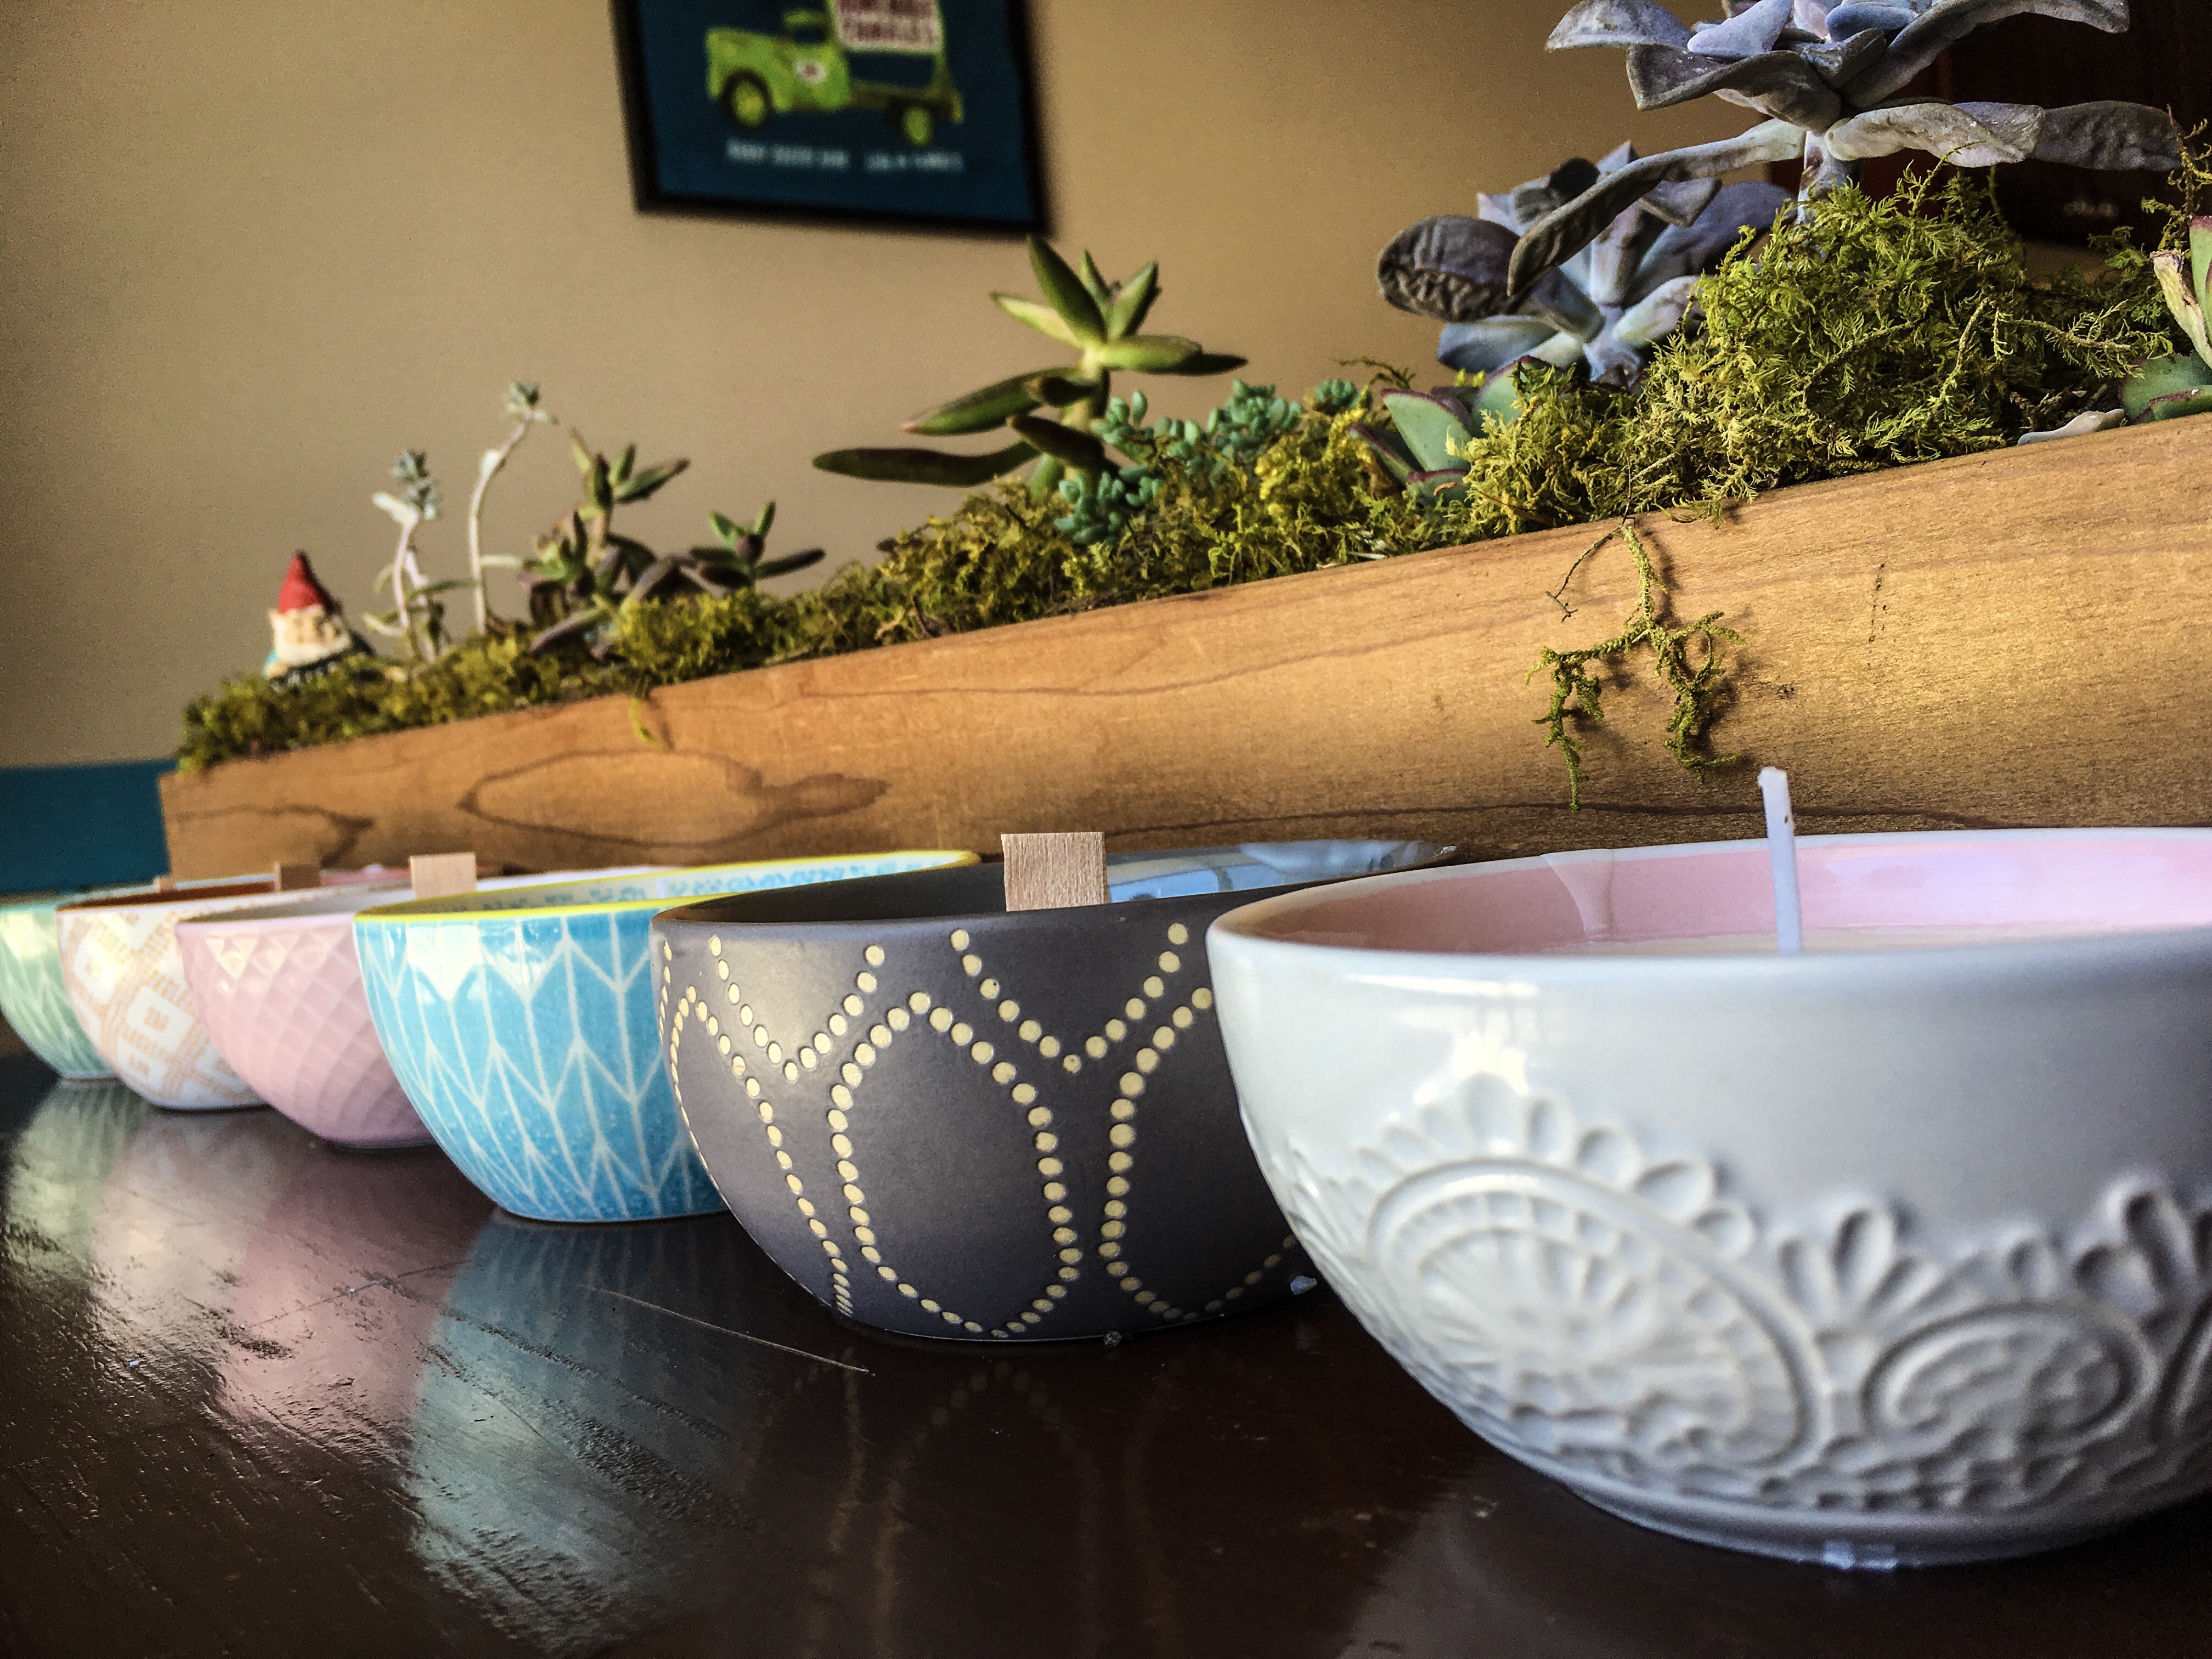
Finally allow the candles plenty of time to harden completely & then that’s it! All in all it usually takes the candles about 60 minutes or so to be done. It depends on the size of the candles you’re making though. I usually make a variety of sizes, scents & styles.

If you use this guide, I’d love to see or hear about any recreations in the comment section below!
Happy Holidays to all!