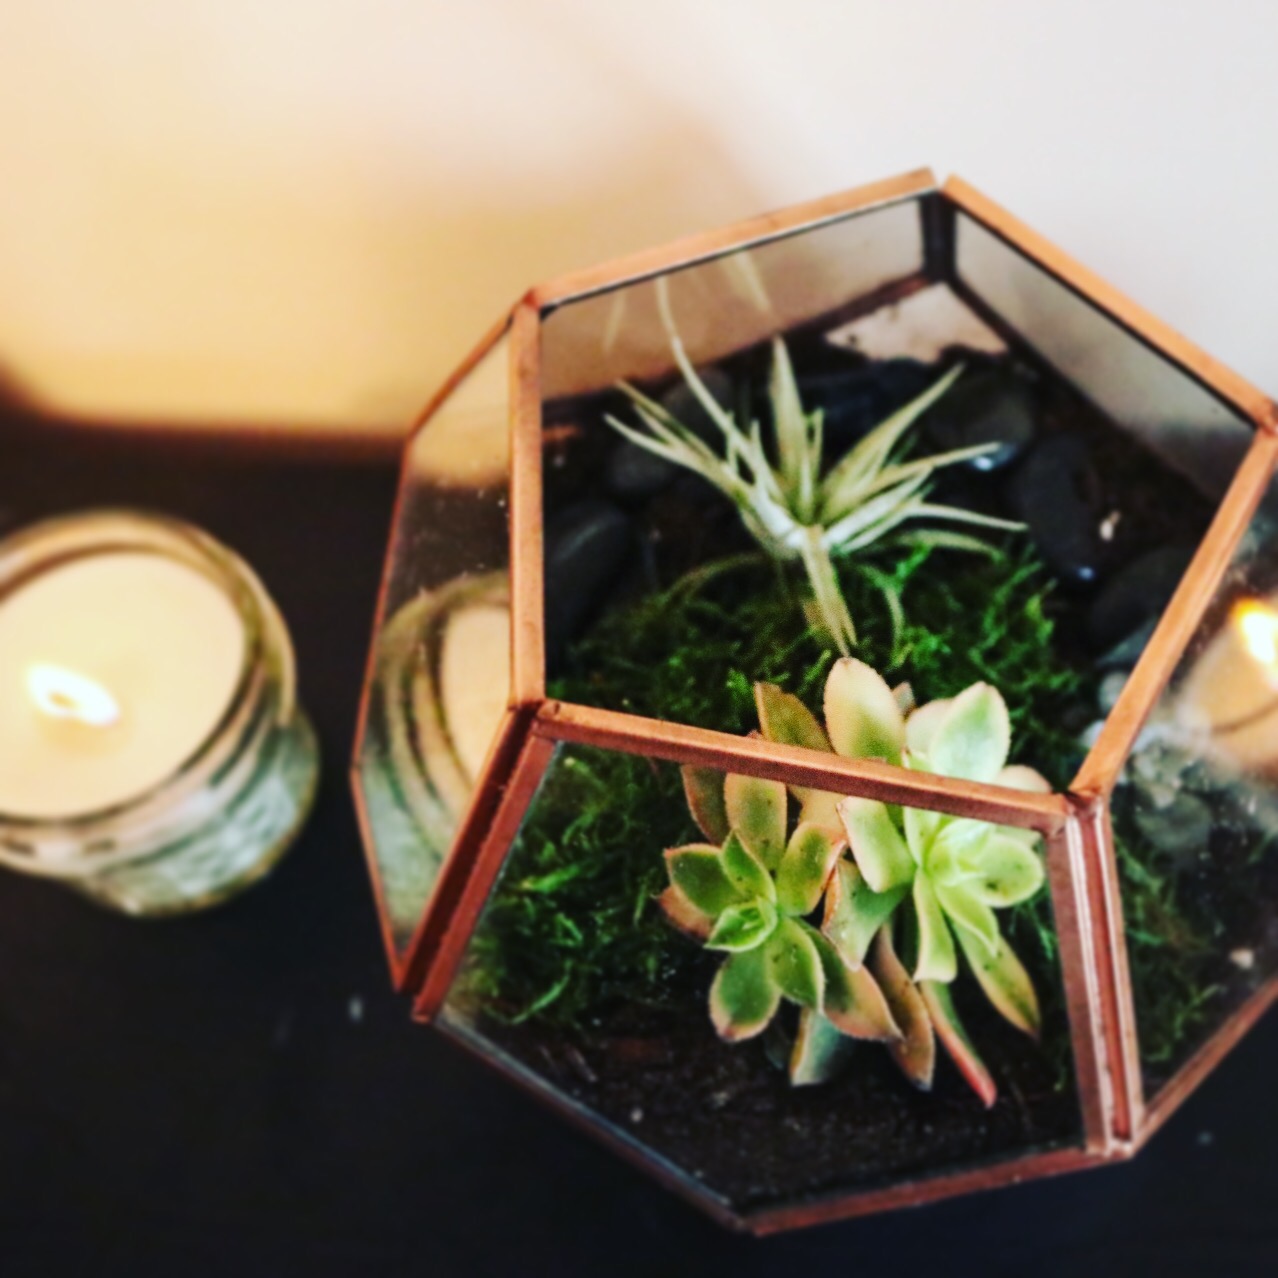

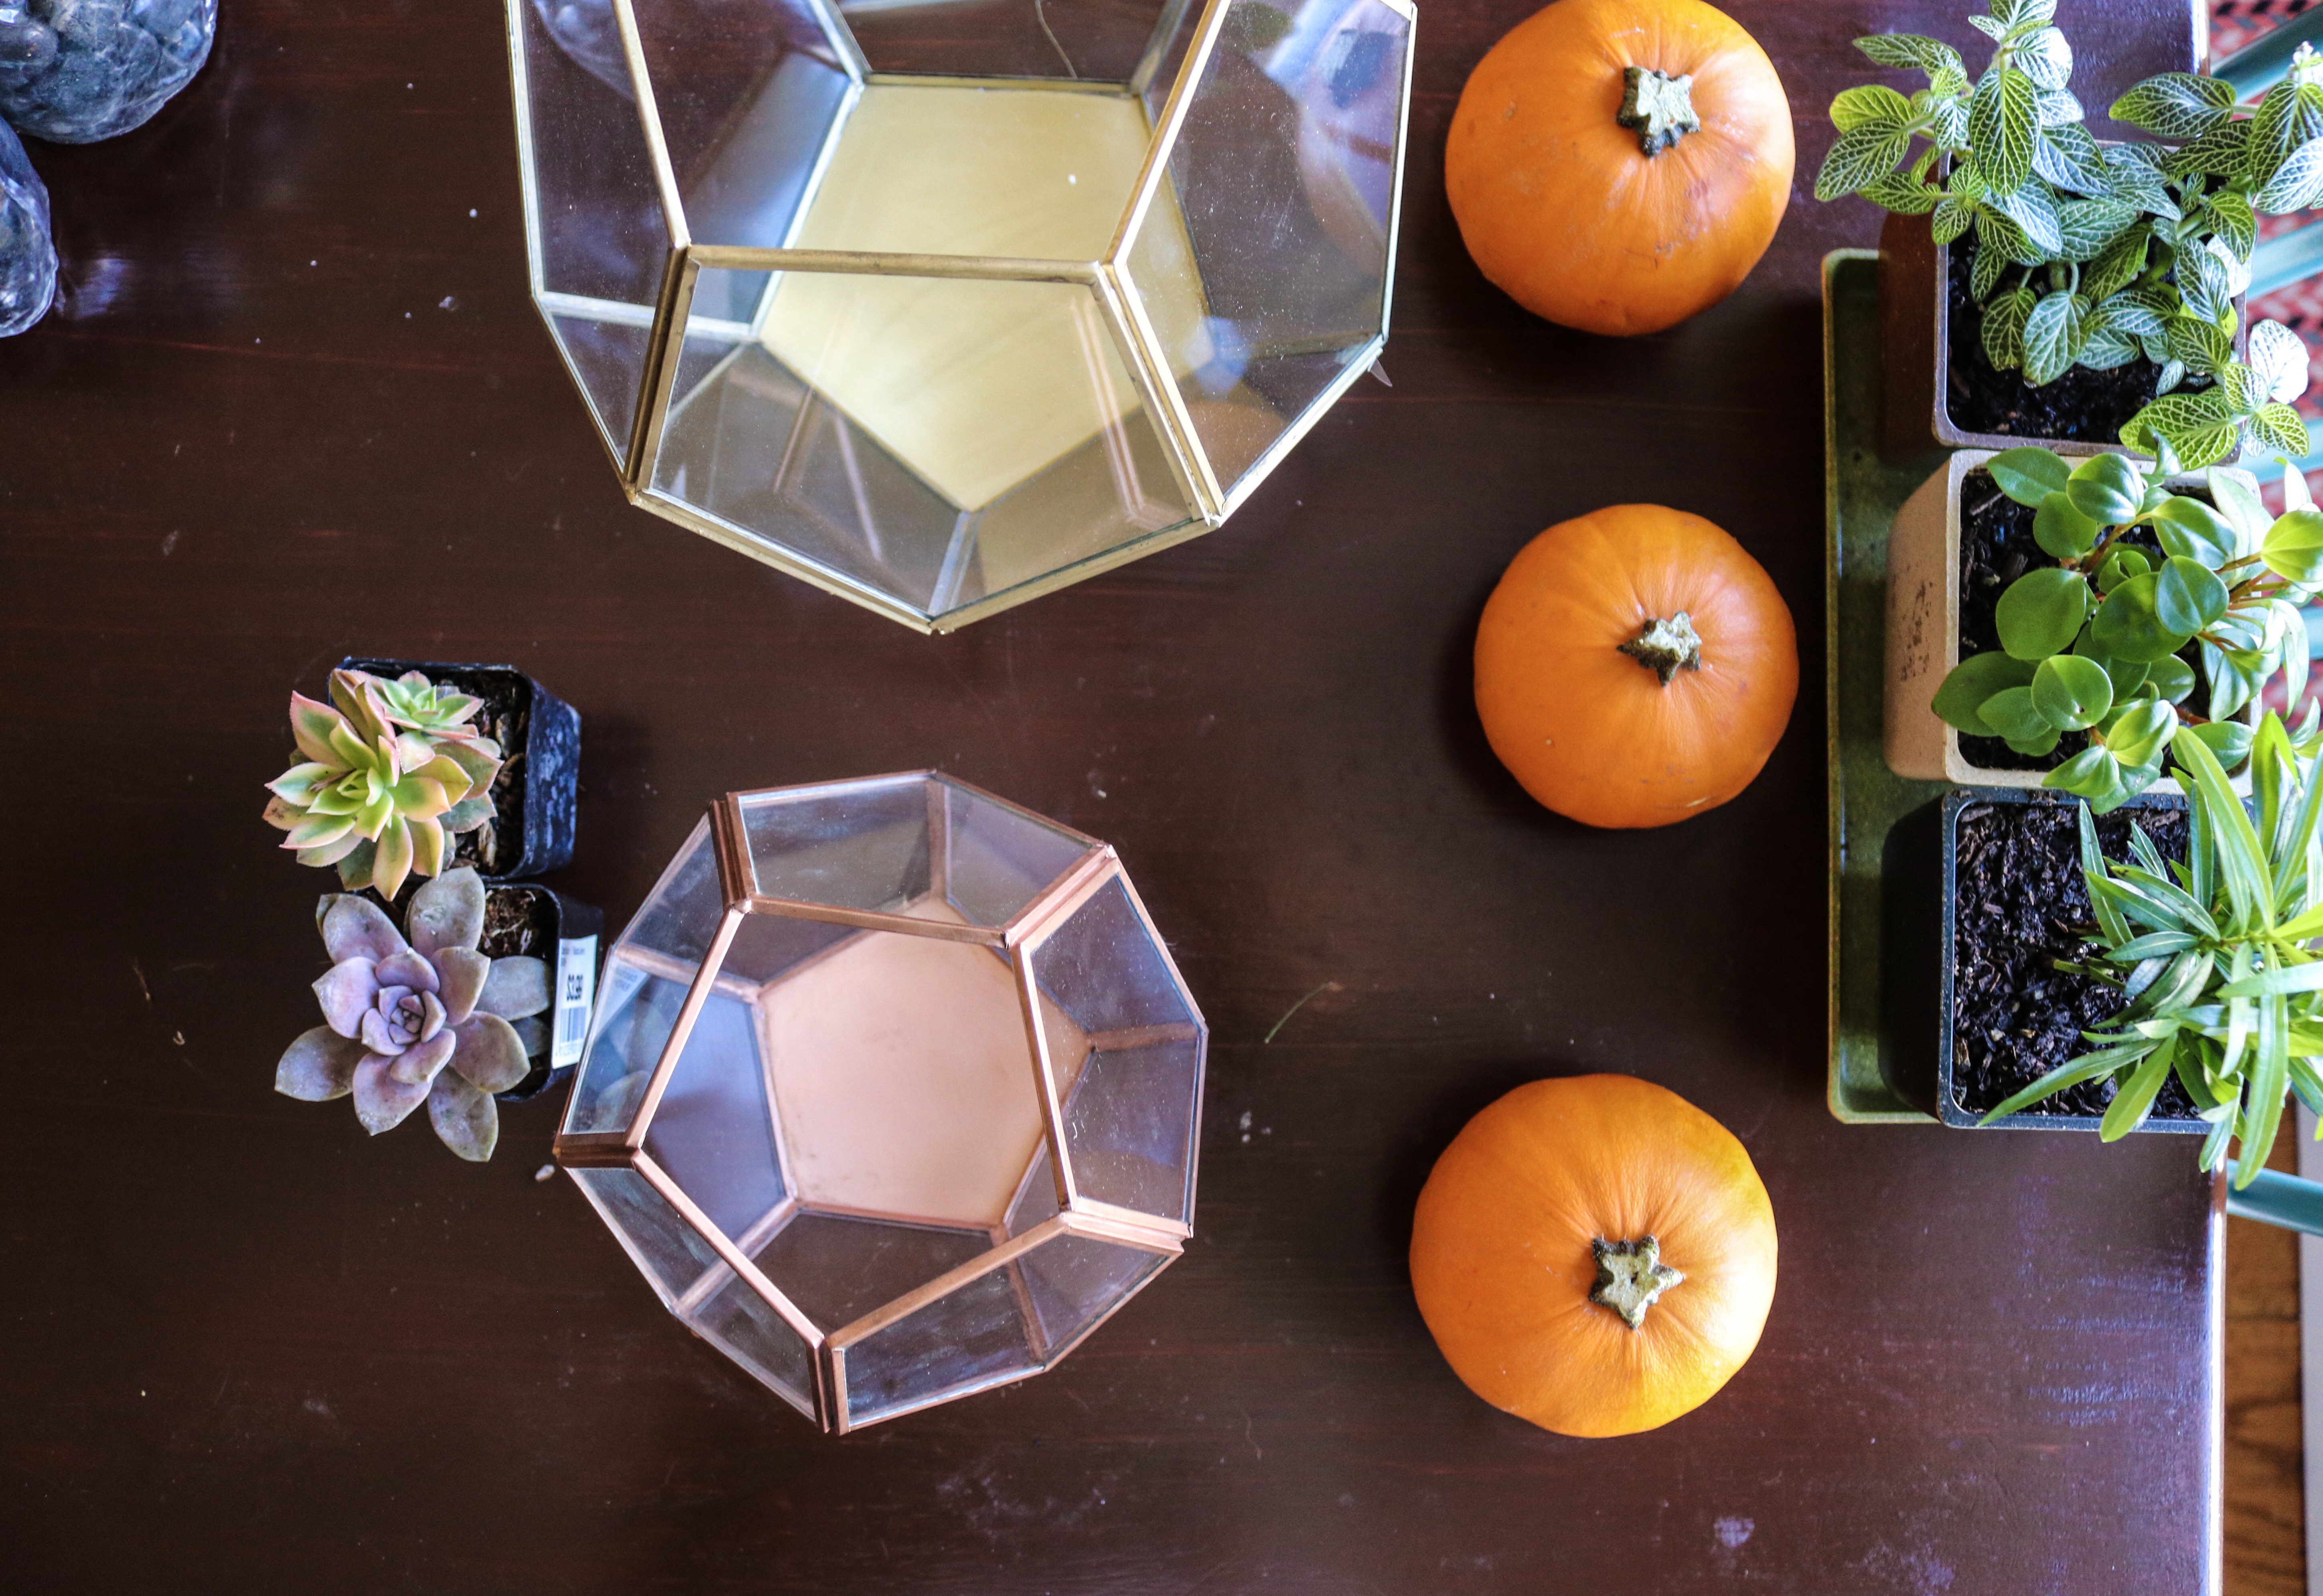

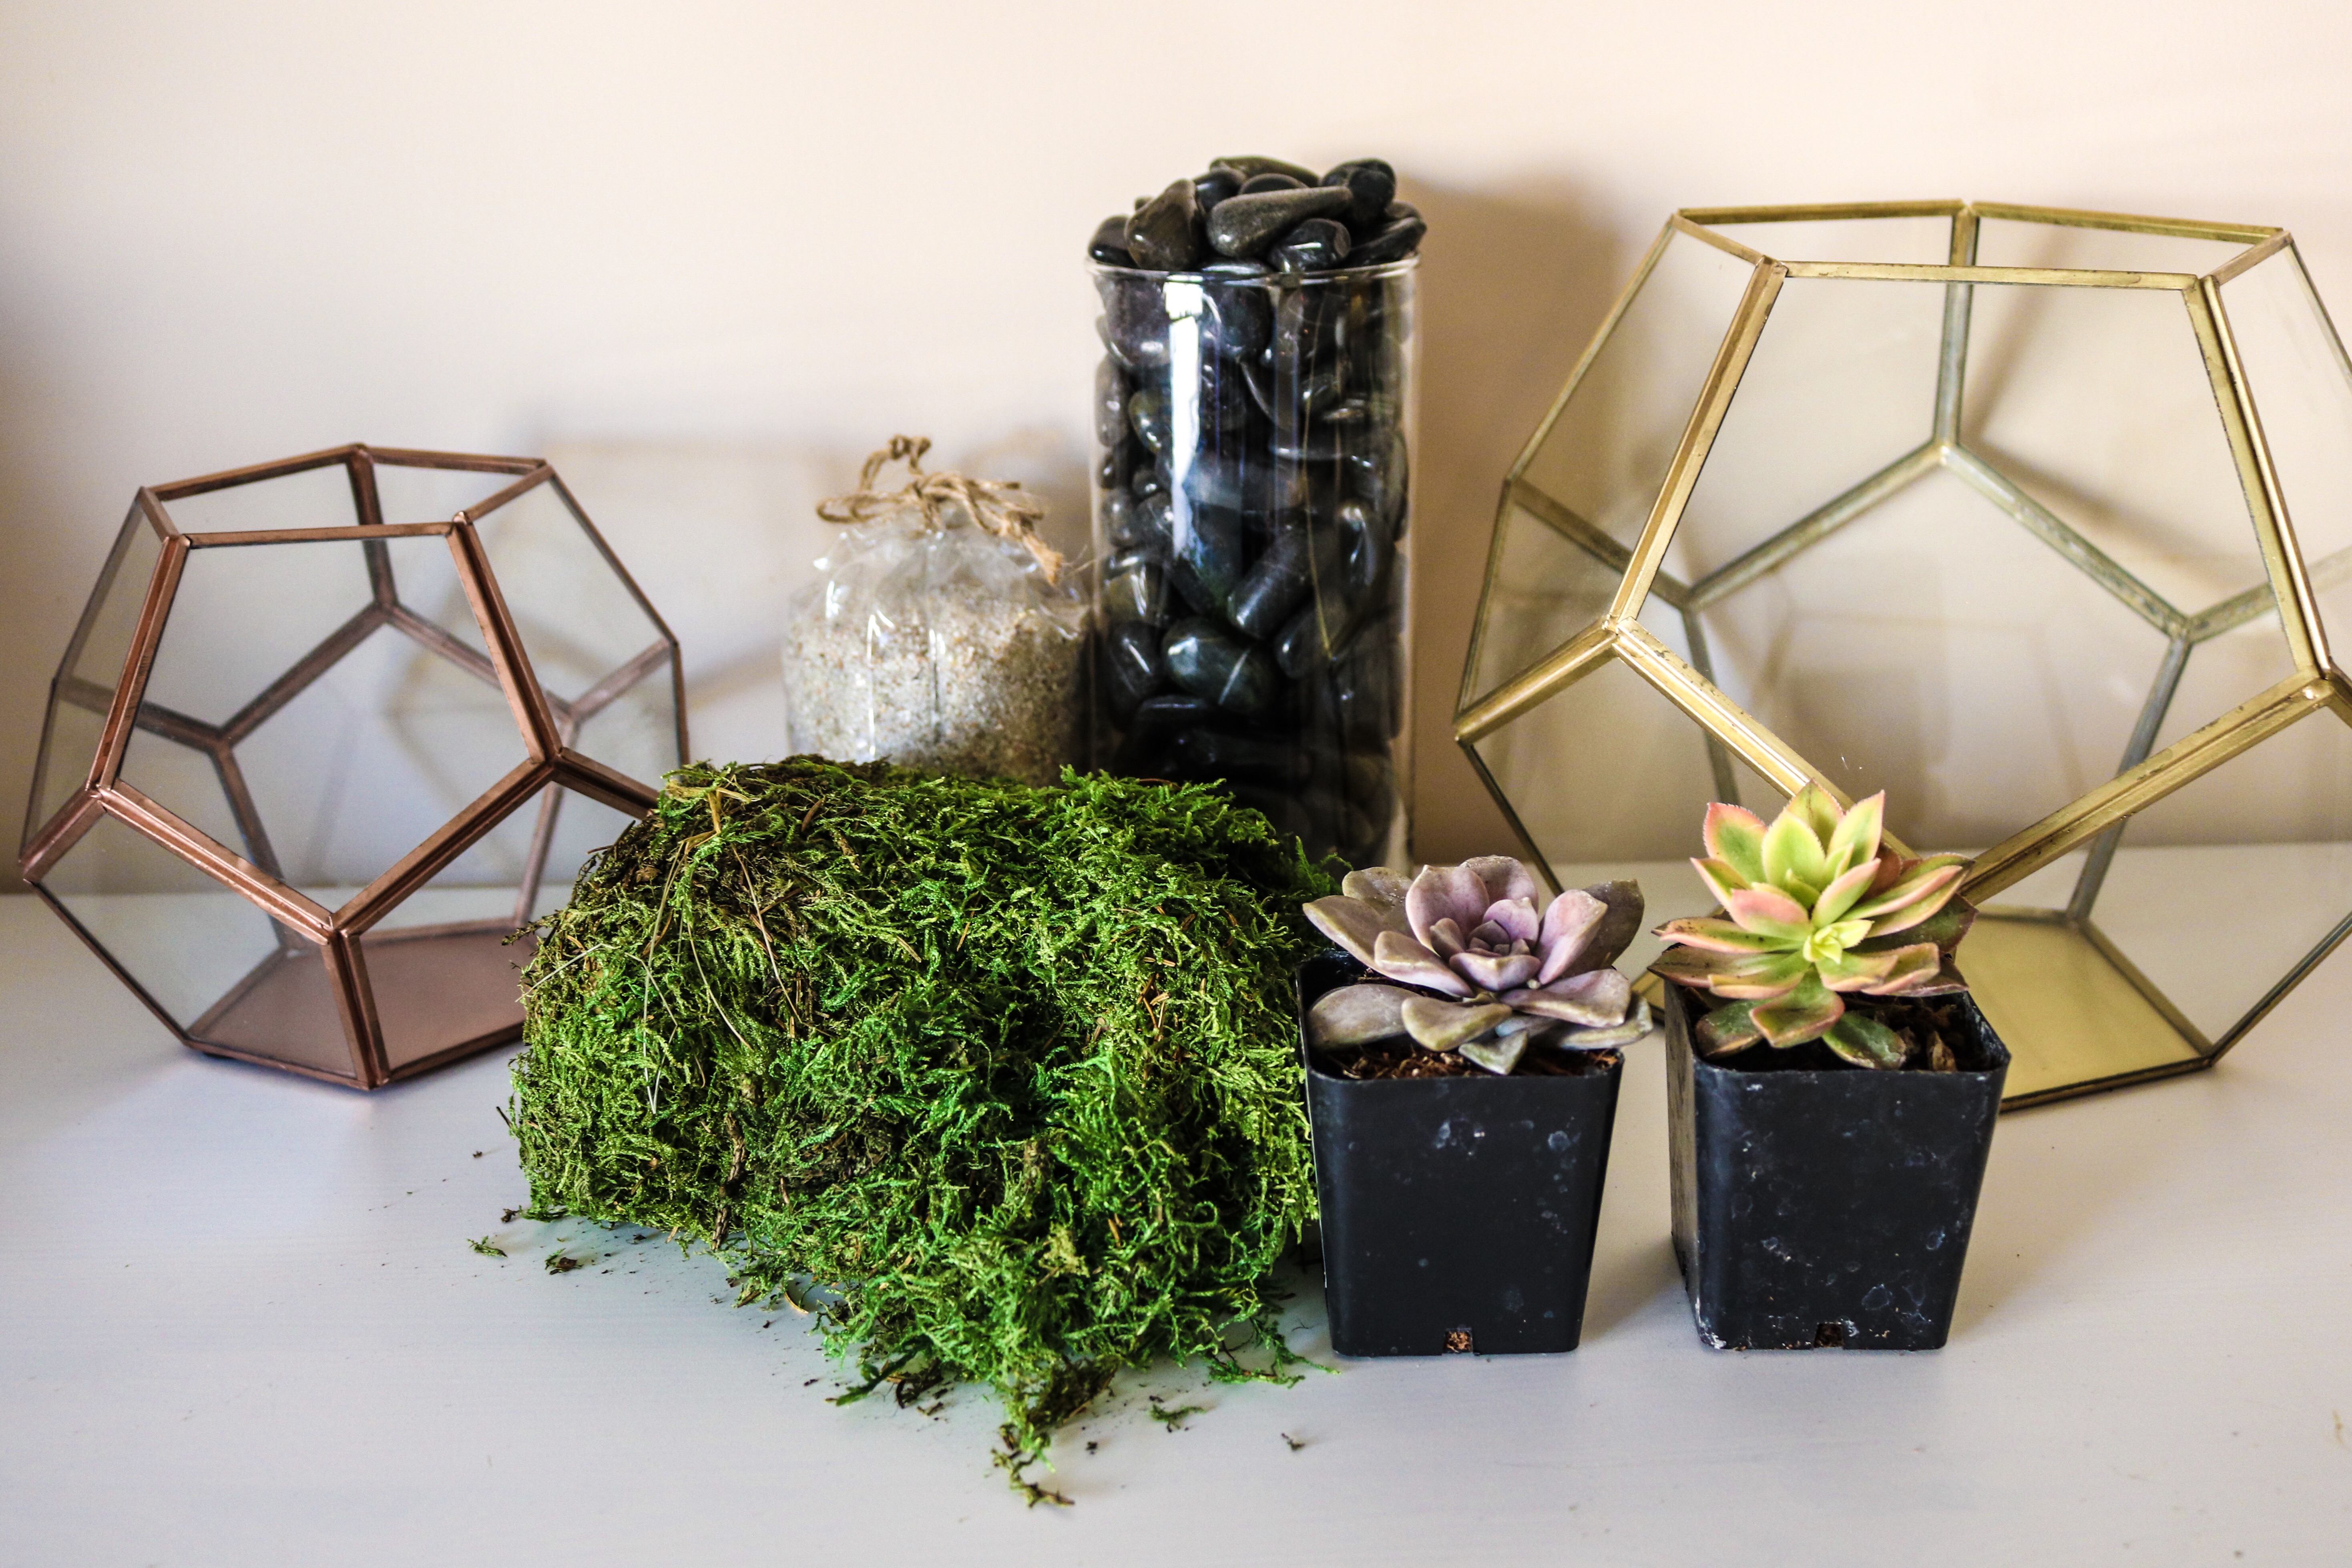

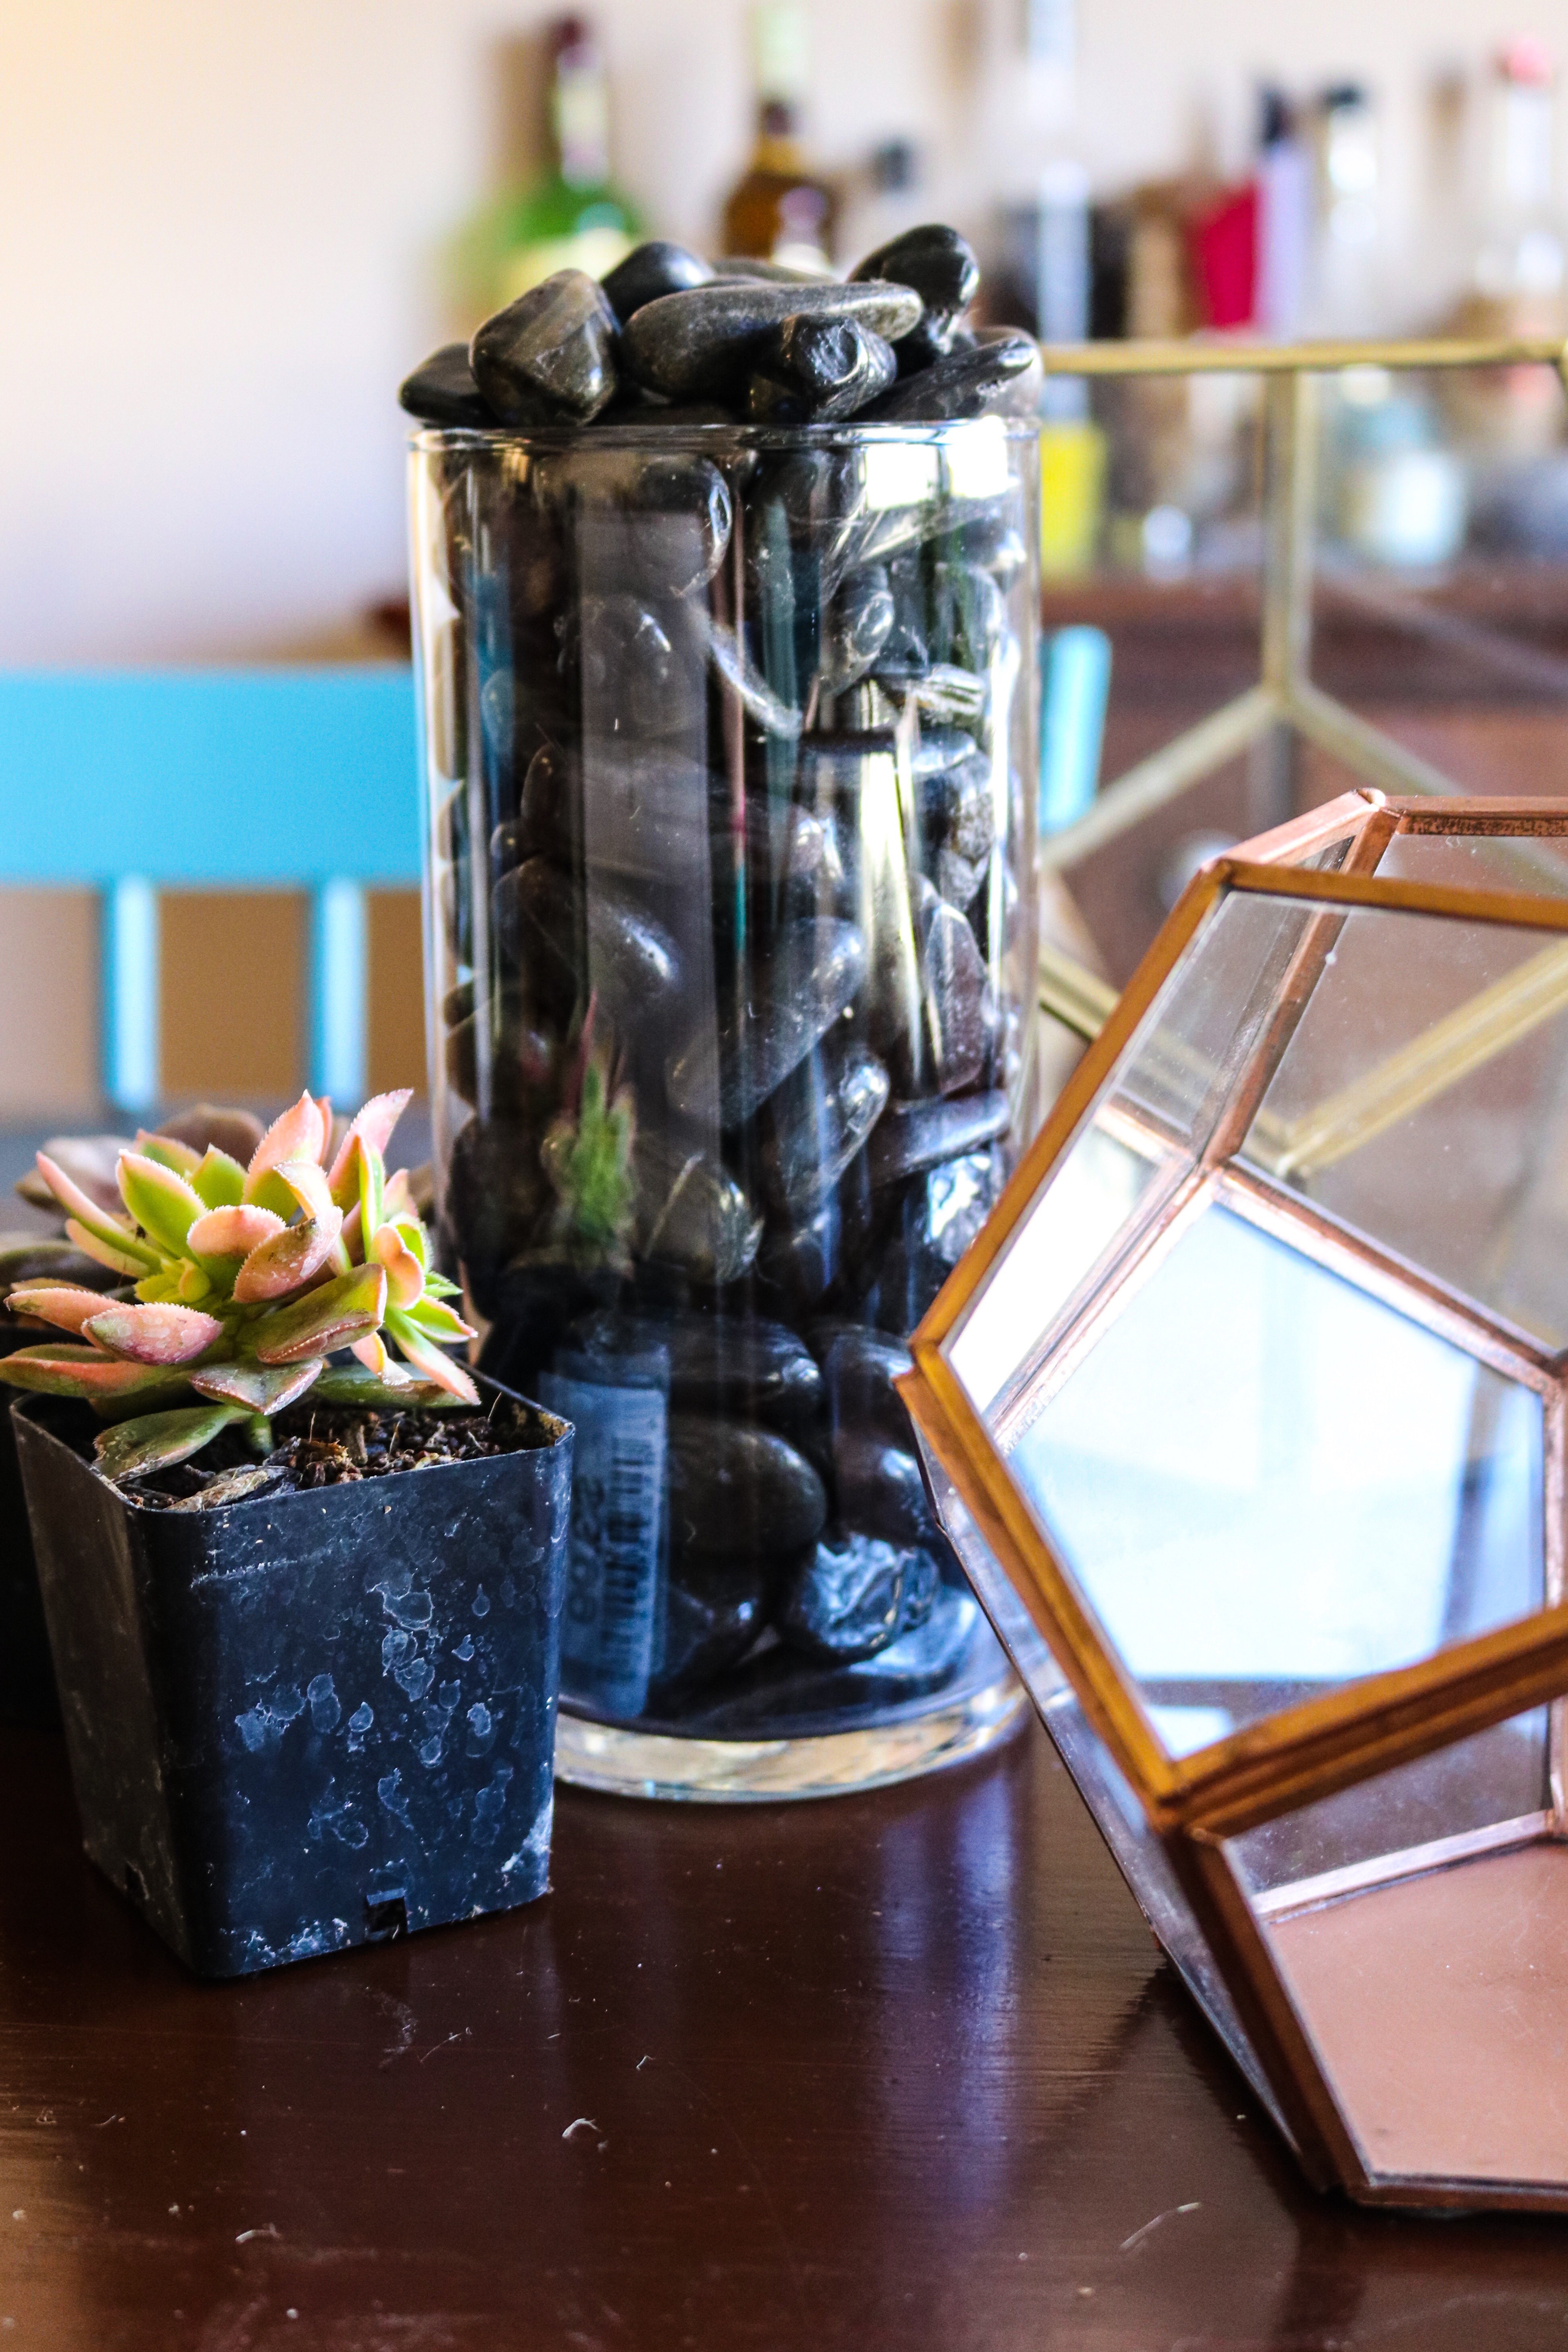
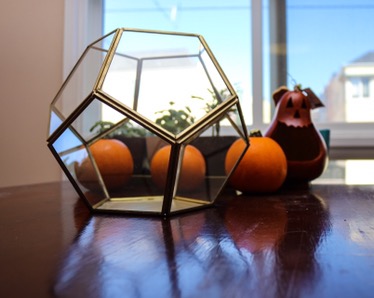
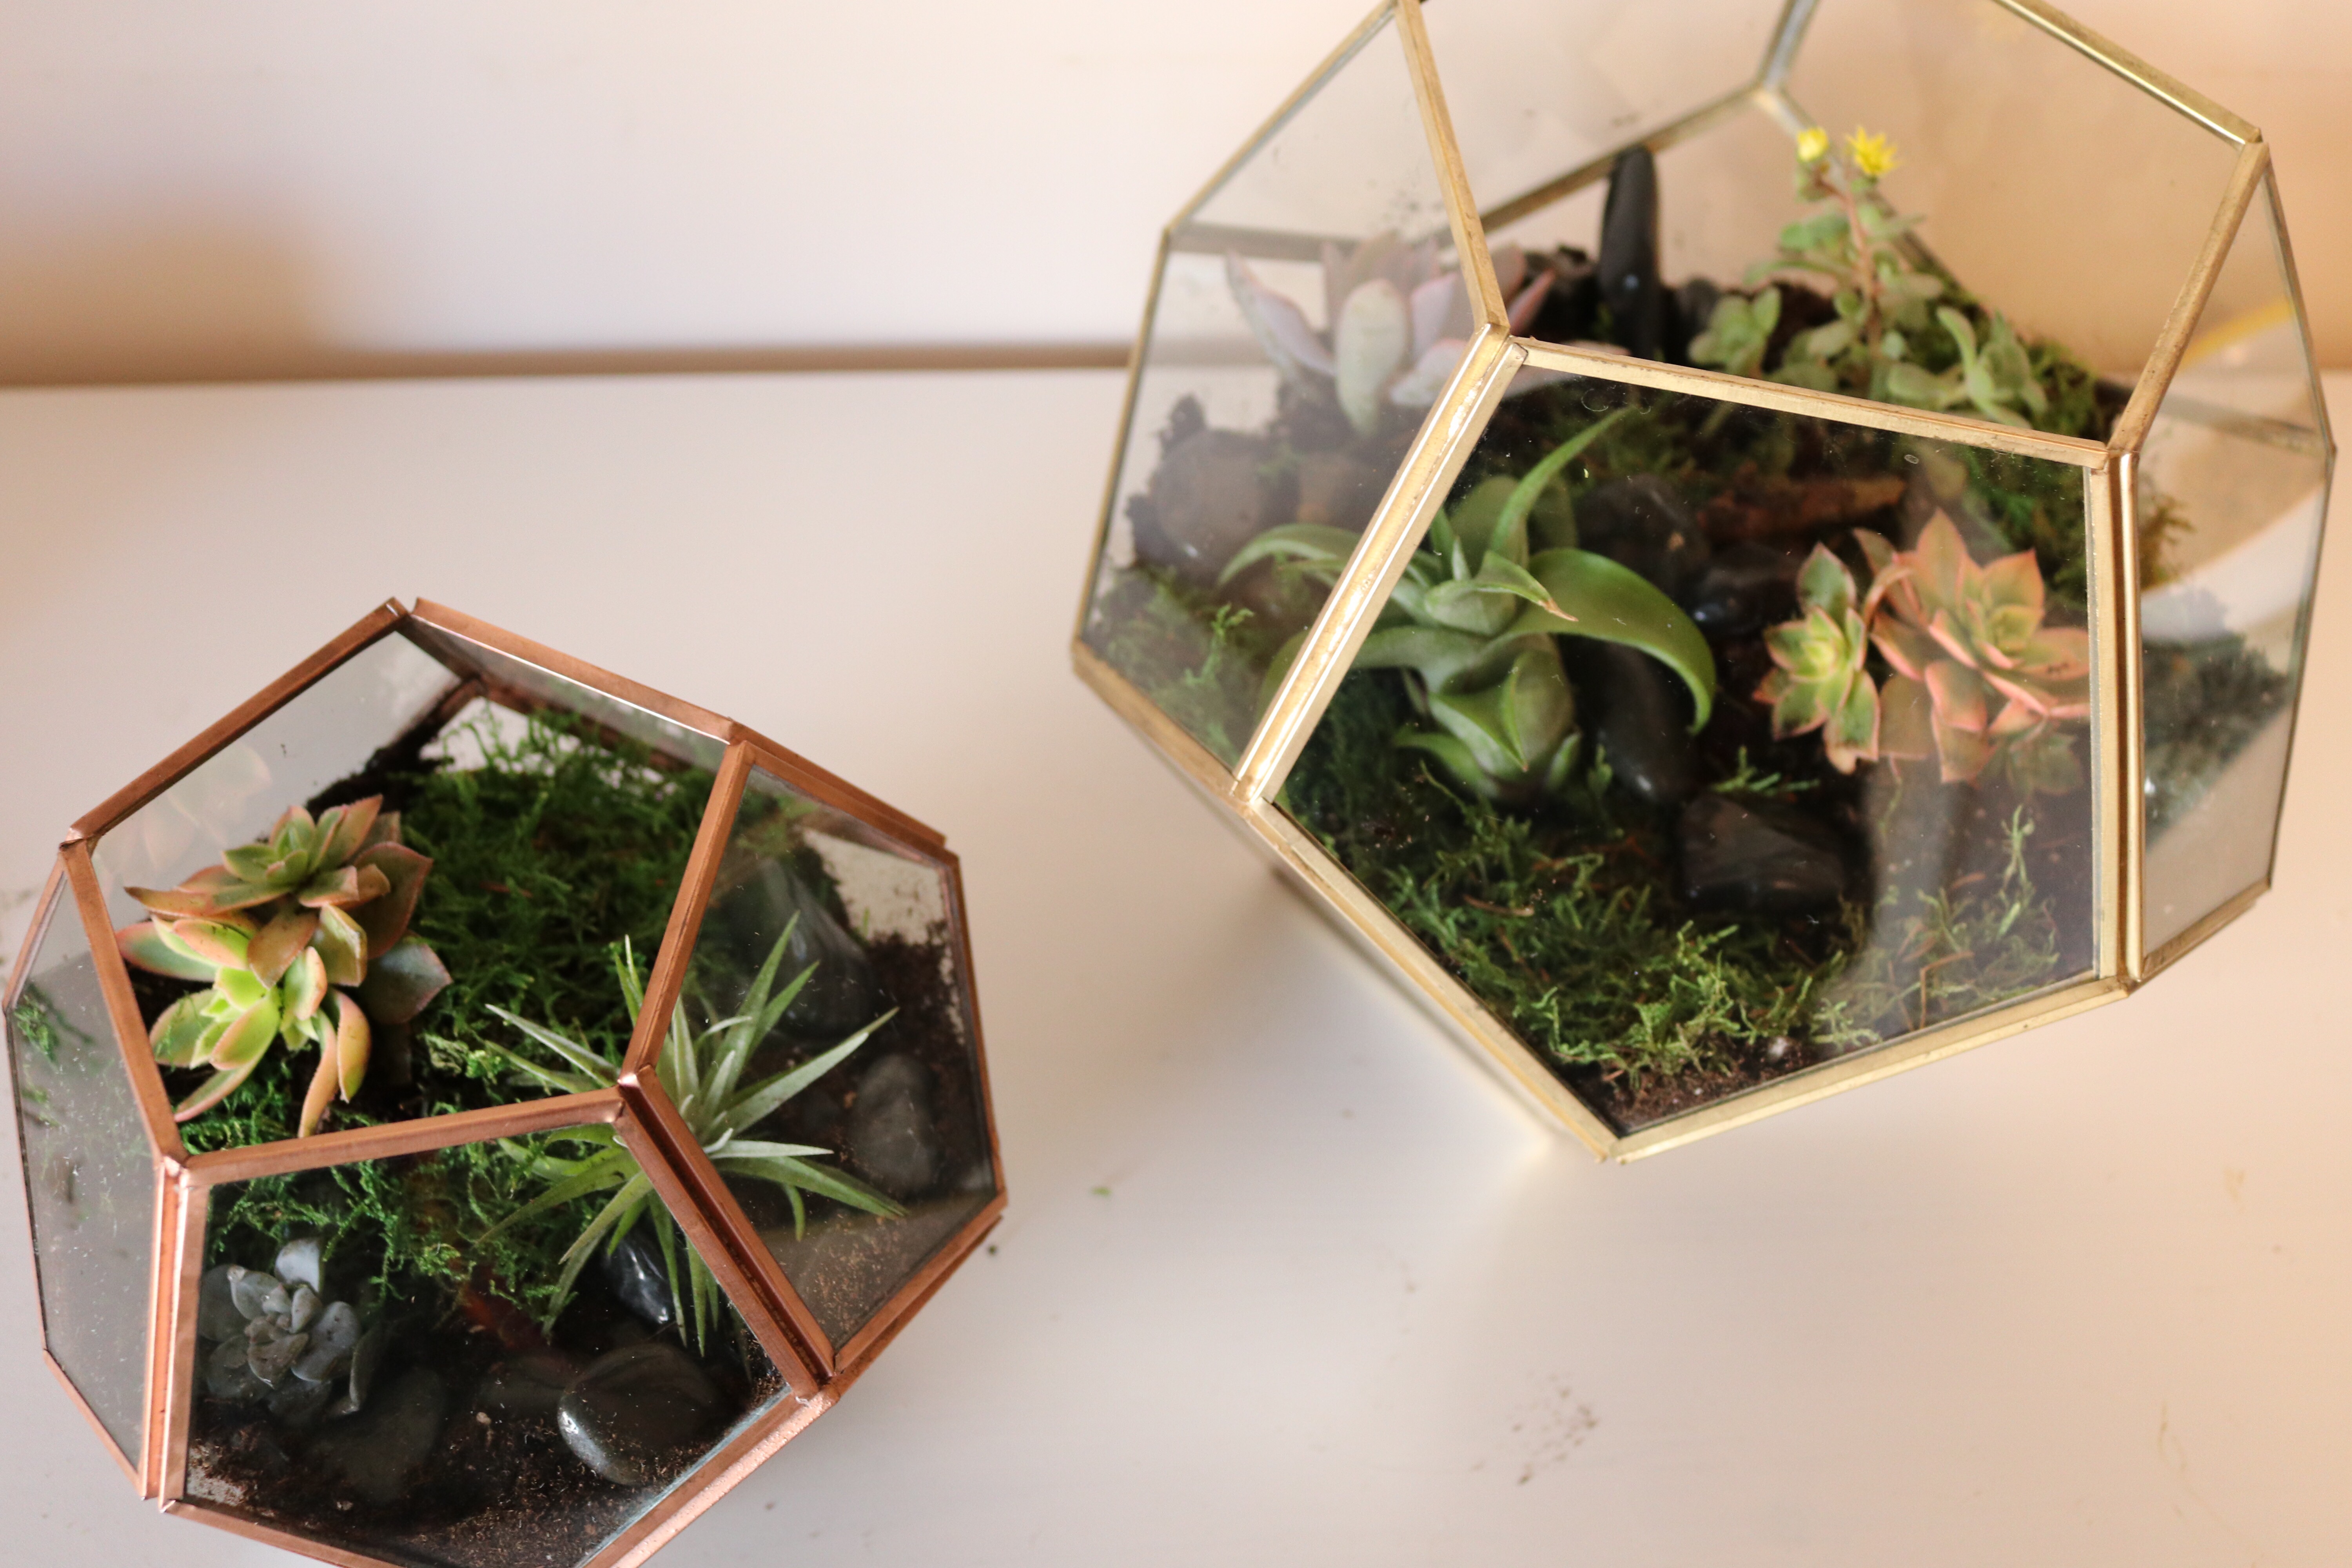
Walk into a boutique or nursery in San Francisco & you’ll see terrariums like these priced upwards of $75-$100 (!!!!). However for about $40 & 30 minutes you can build your own. A few weeks ago I built these two, one I gave to my friend for her birthday & the small one I couldn’t resist keeping for myself. I found these awesome geo terrarium containers at World Market. The containers were the priciest part of this DIY, so if you’re on a budget you can find cheaper options here & here . With the holidays just around the corner this is the perfect DIY gift for anyone on your list!
The items you’ll need:
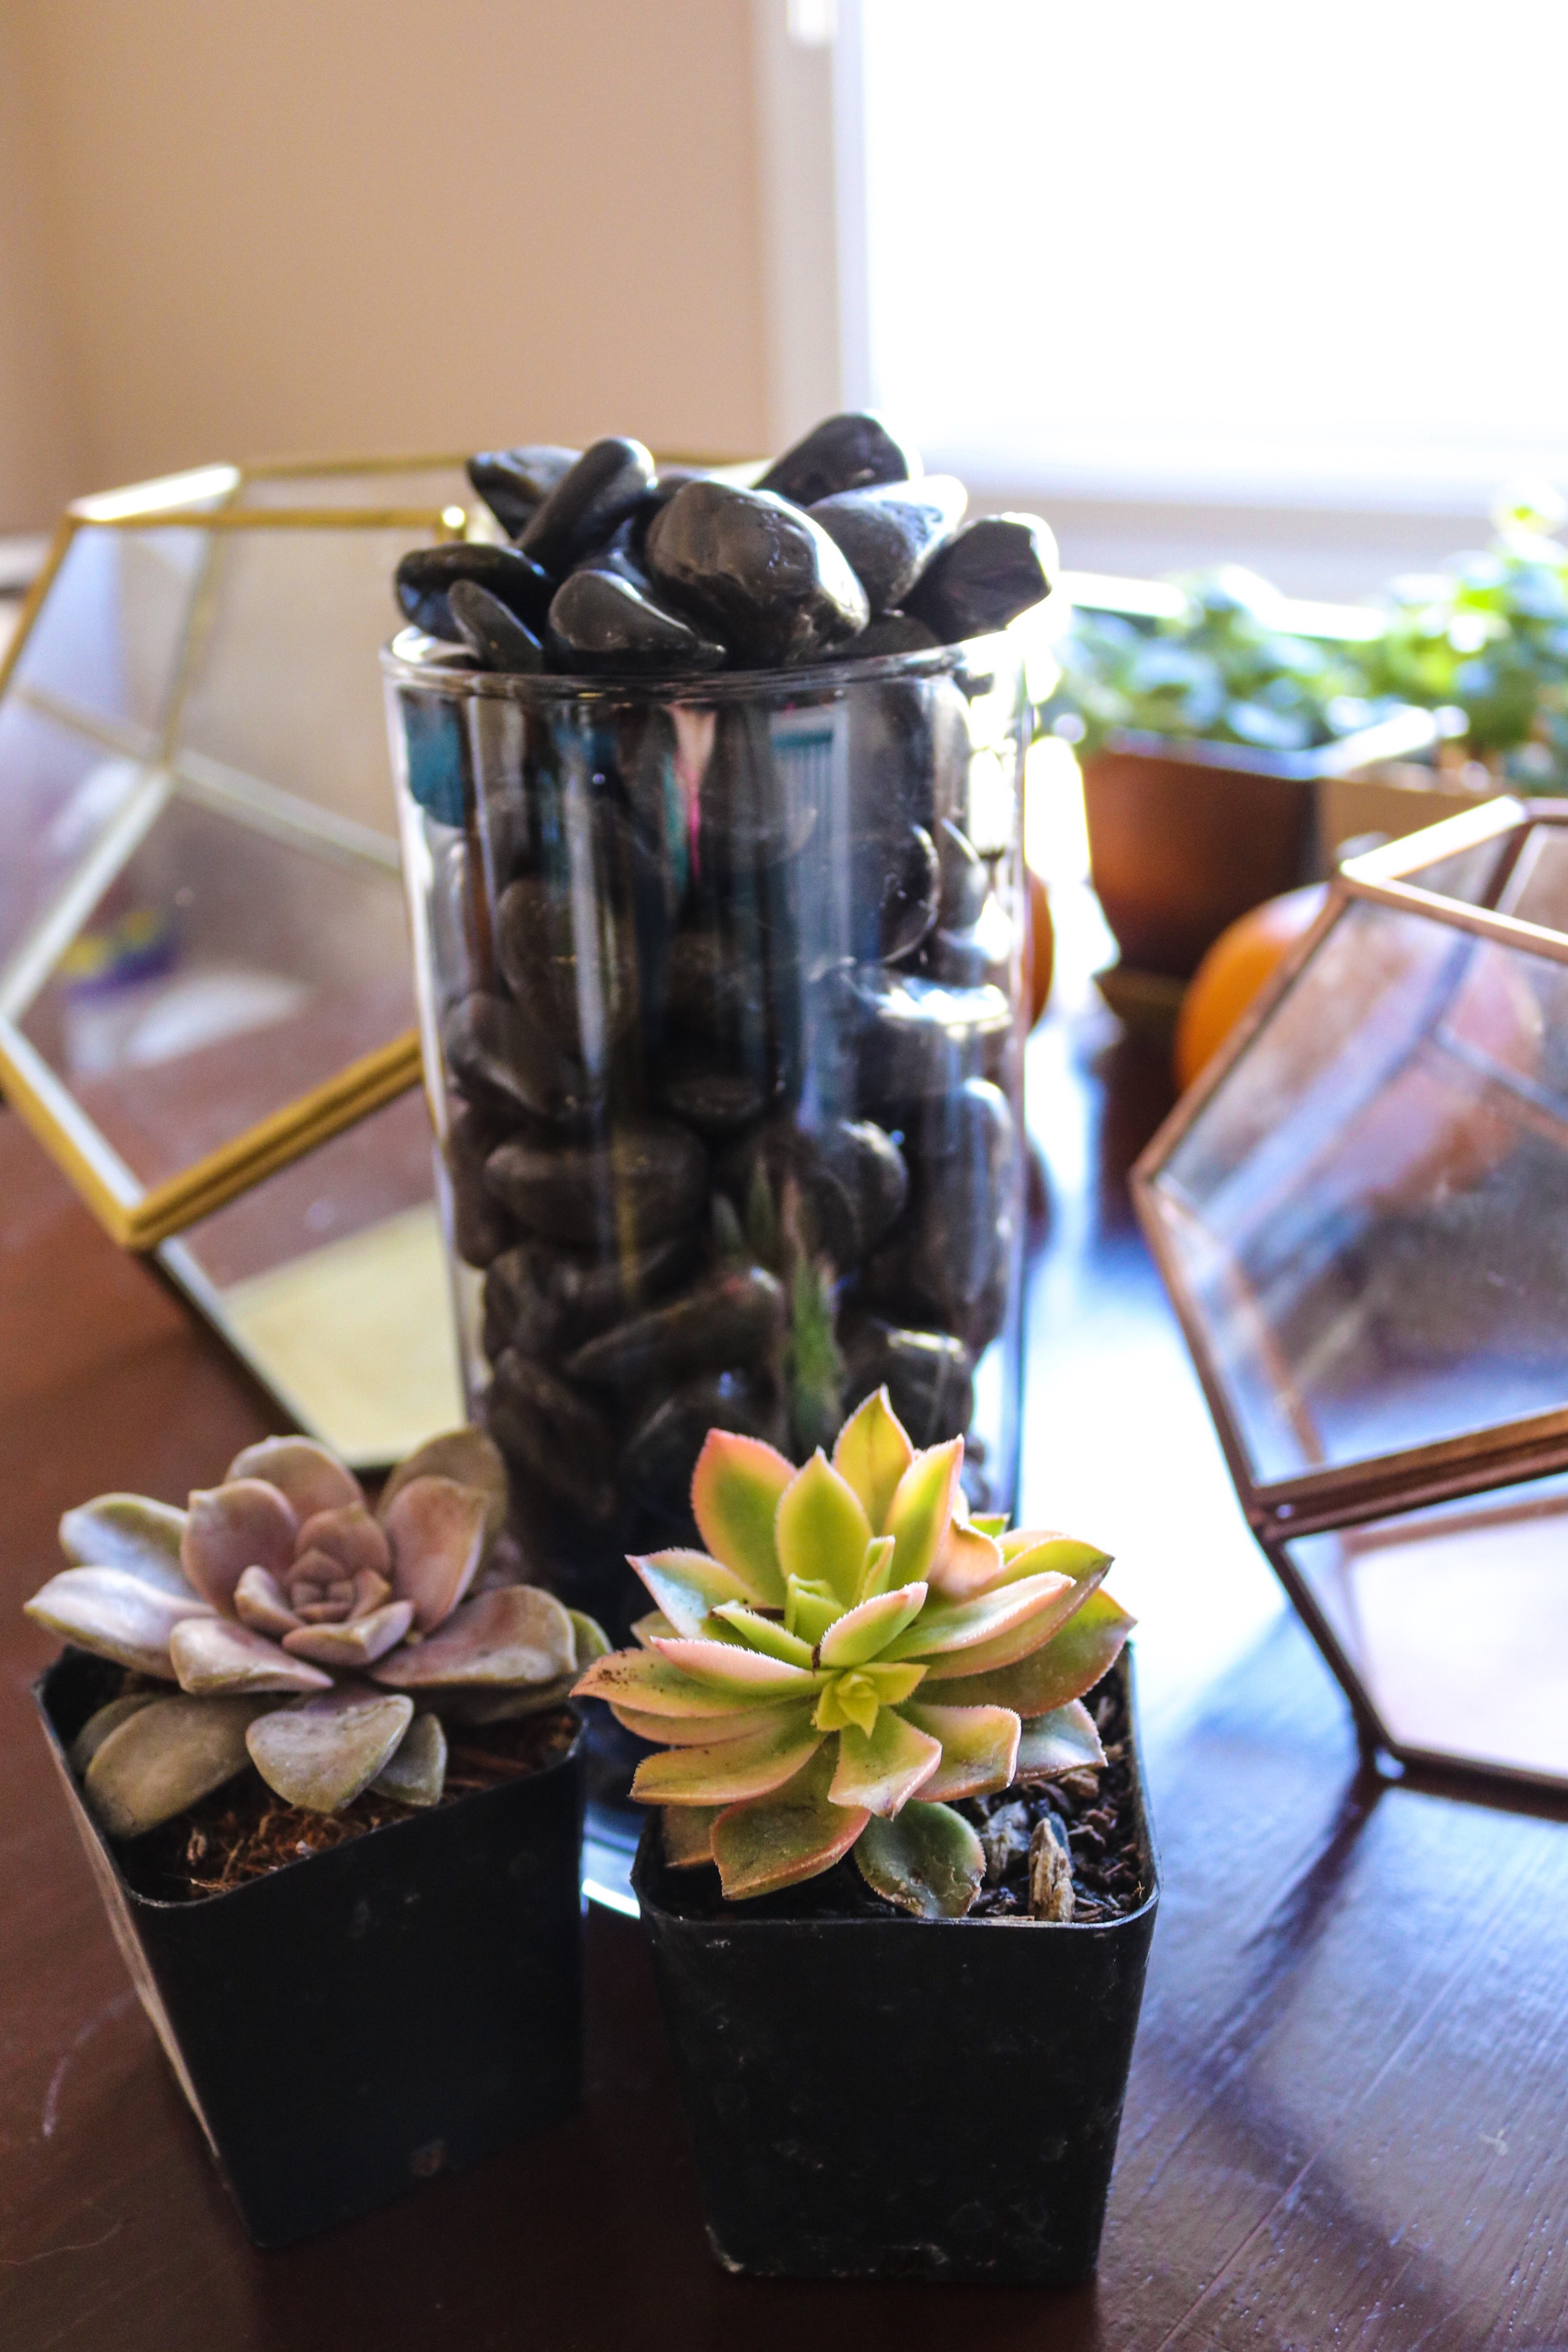
- Glass Container
- Rocks (some large & some small)
- Sand
- Activated Charcoal (you can find this at most nurseries)
- Potting Soil
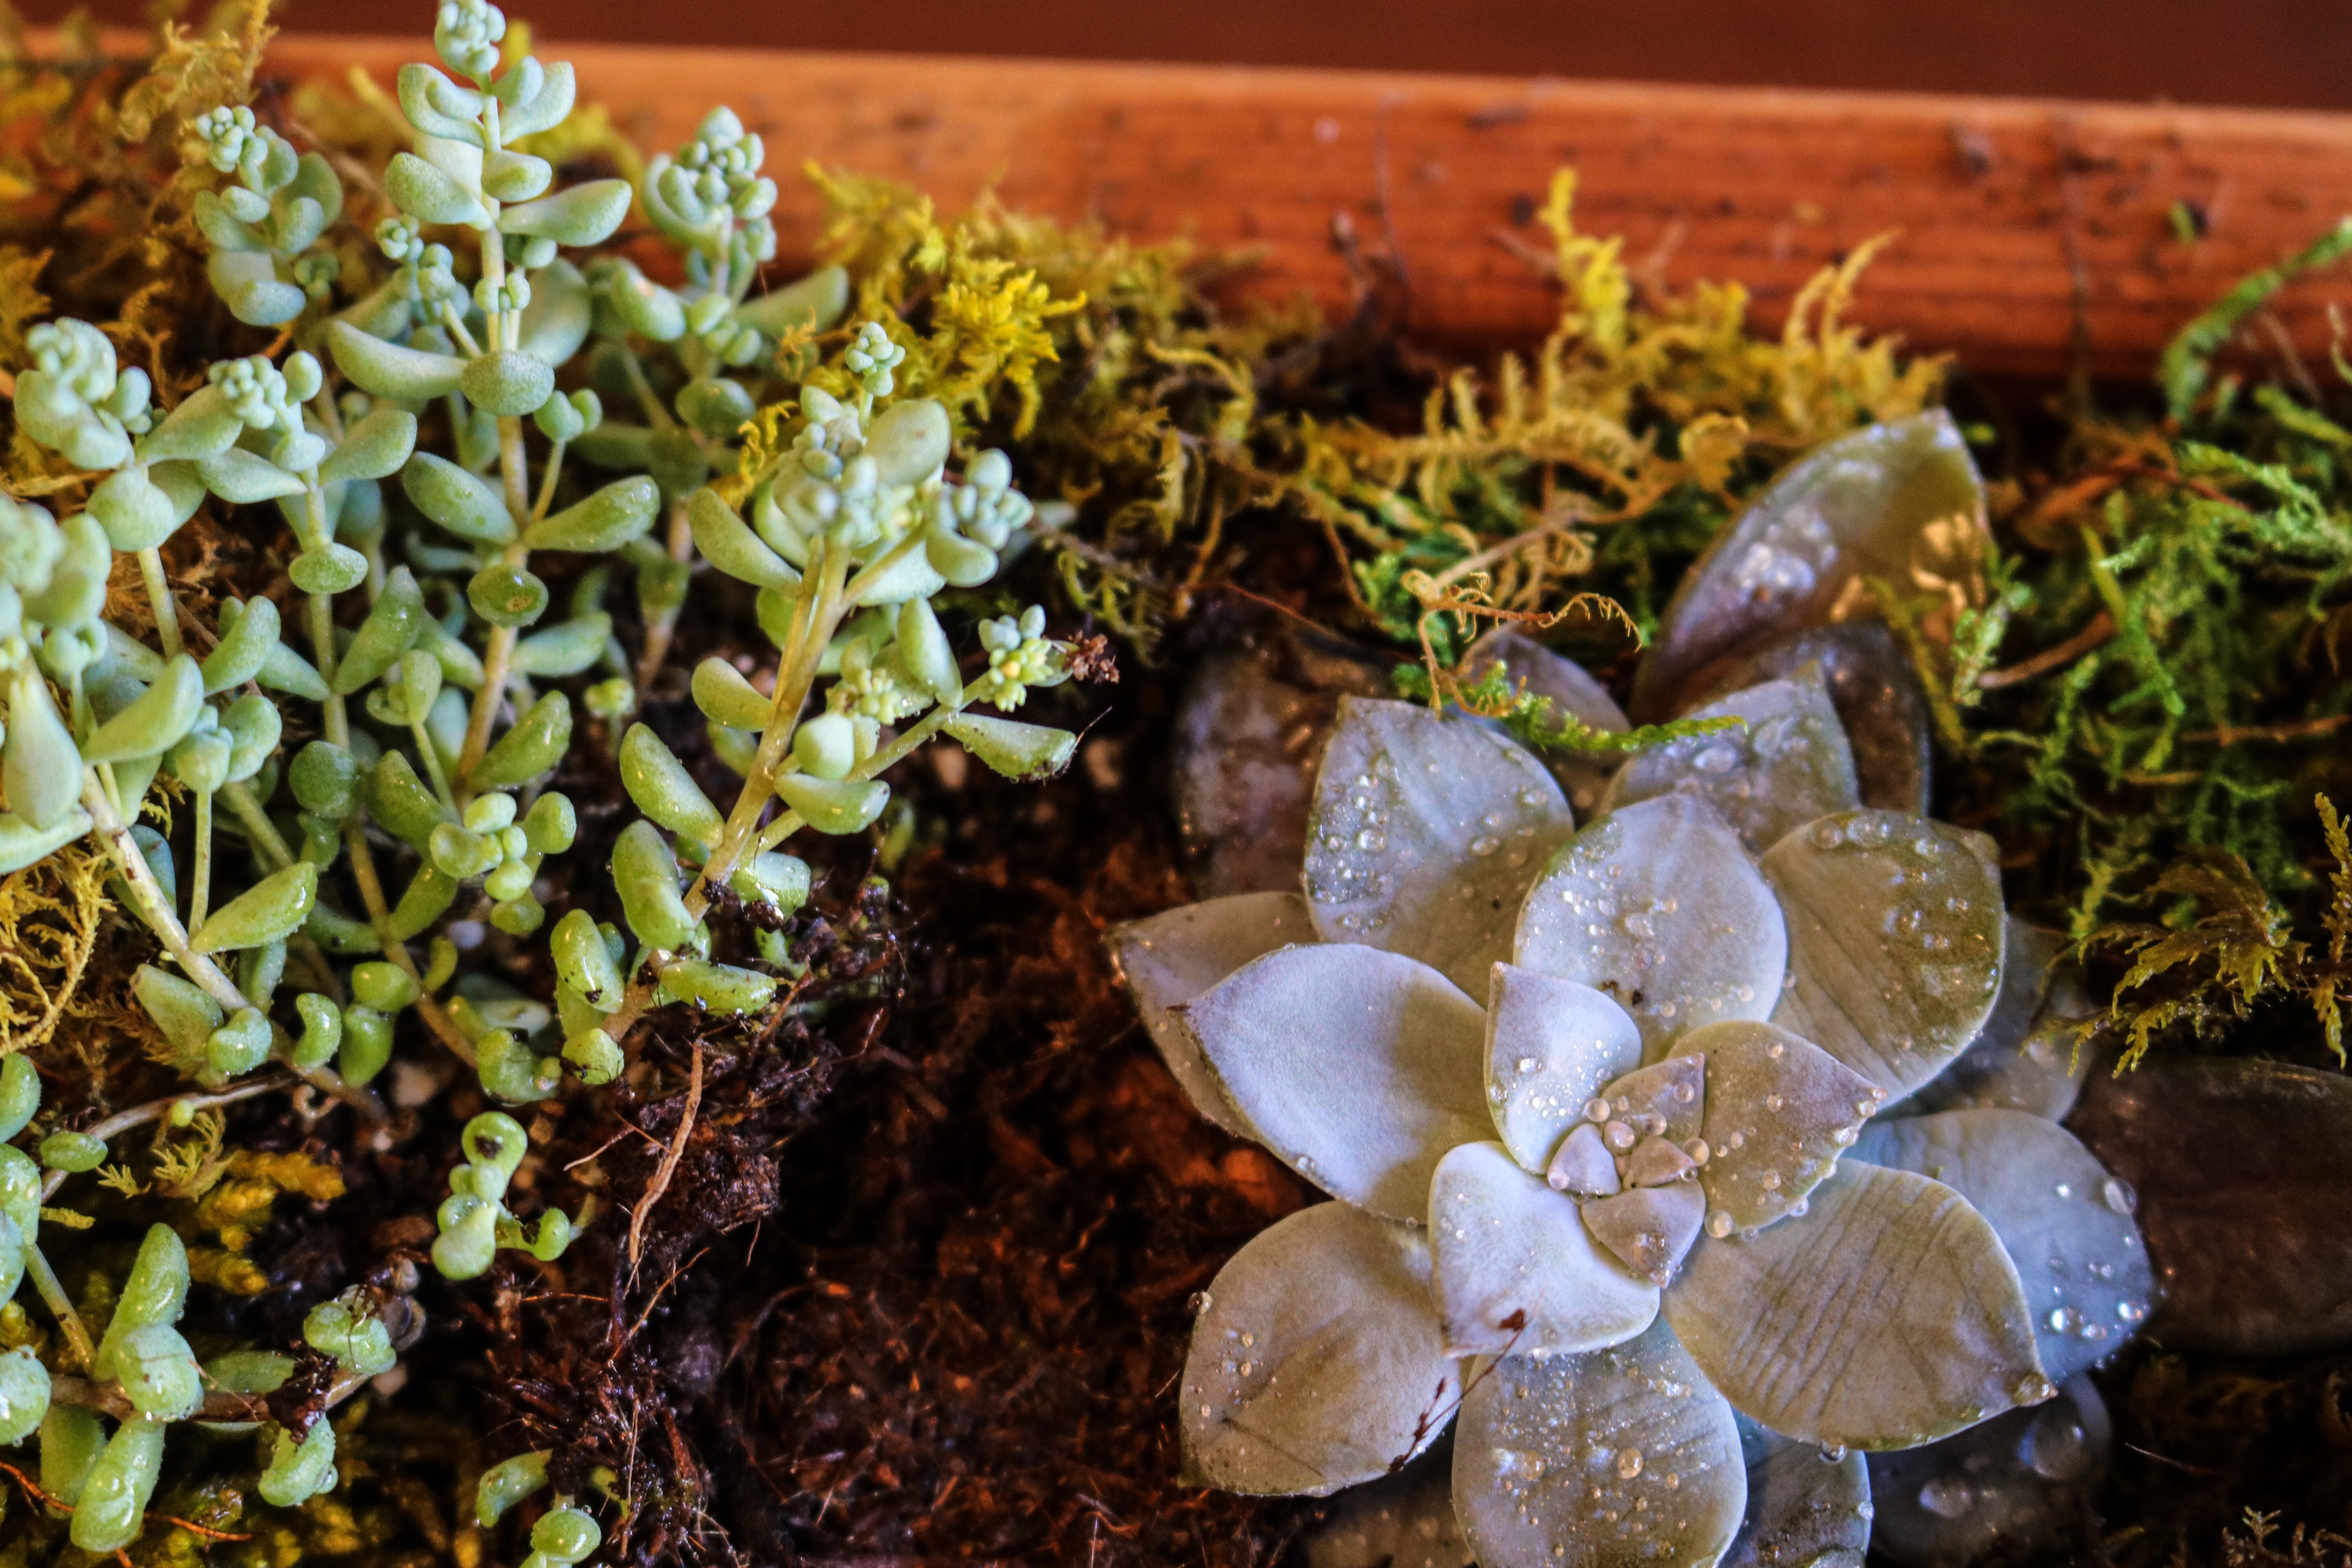
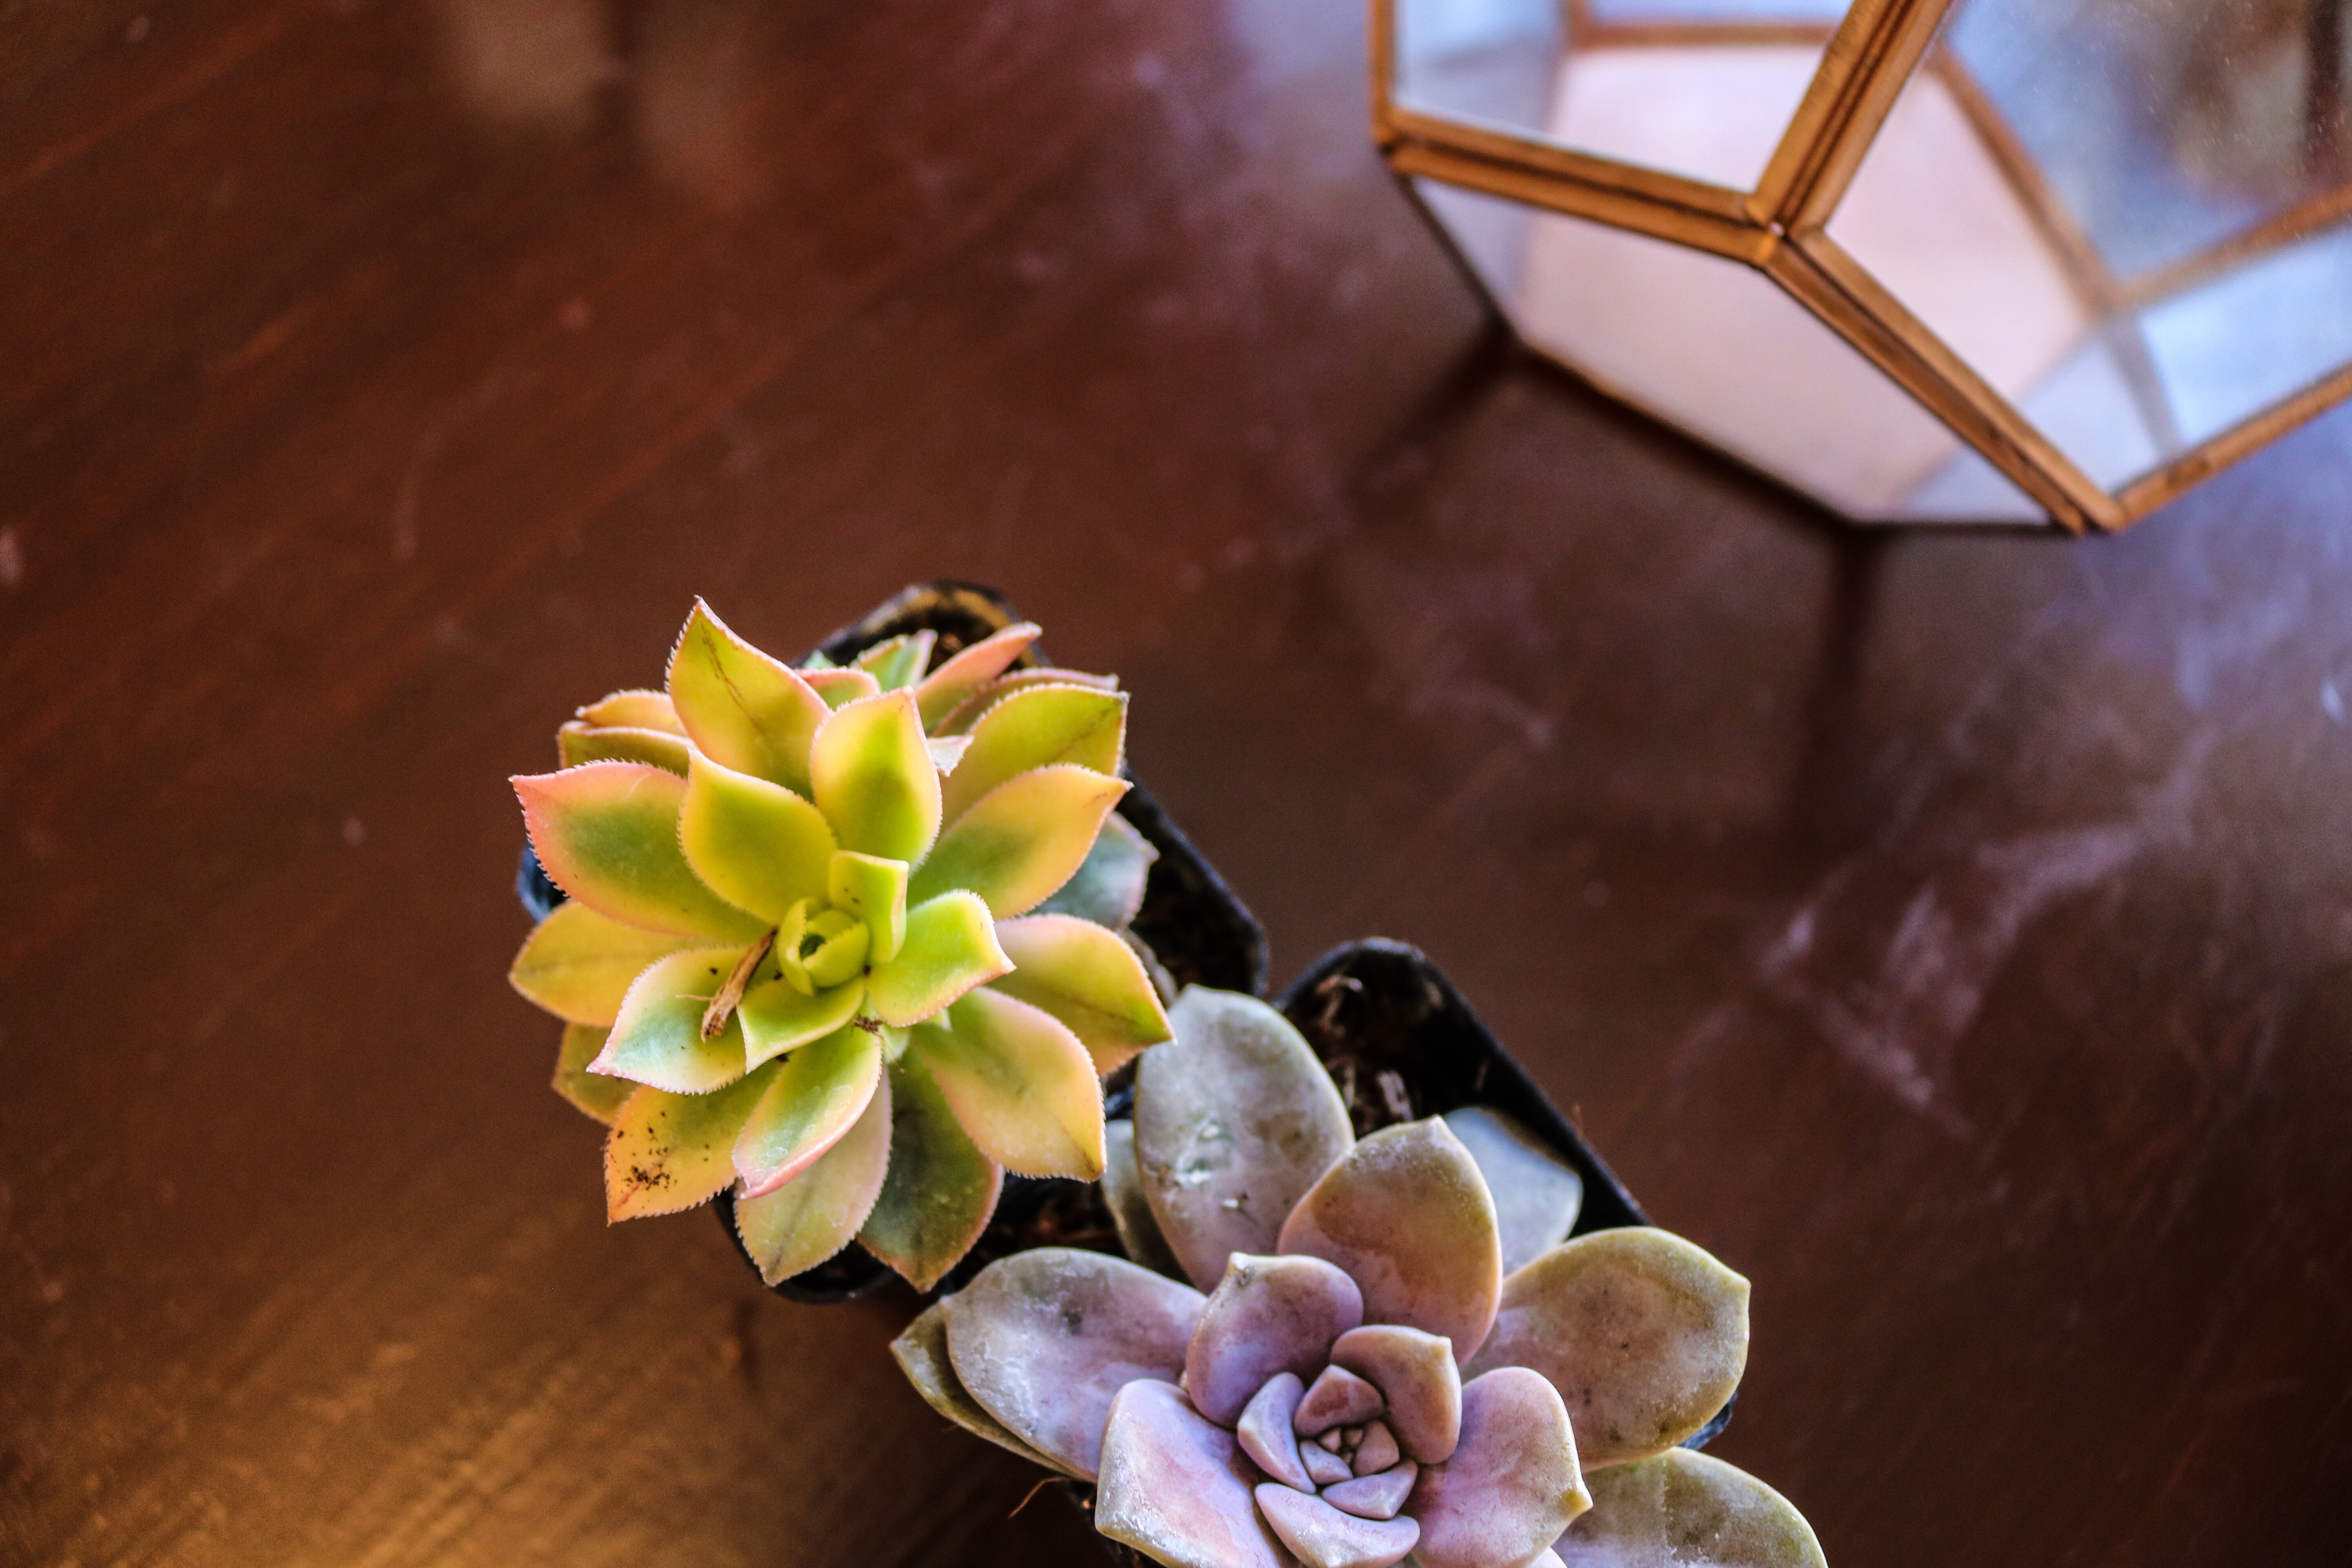
- Succulent(s)
- Air Plant
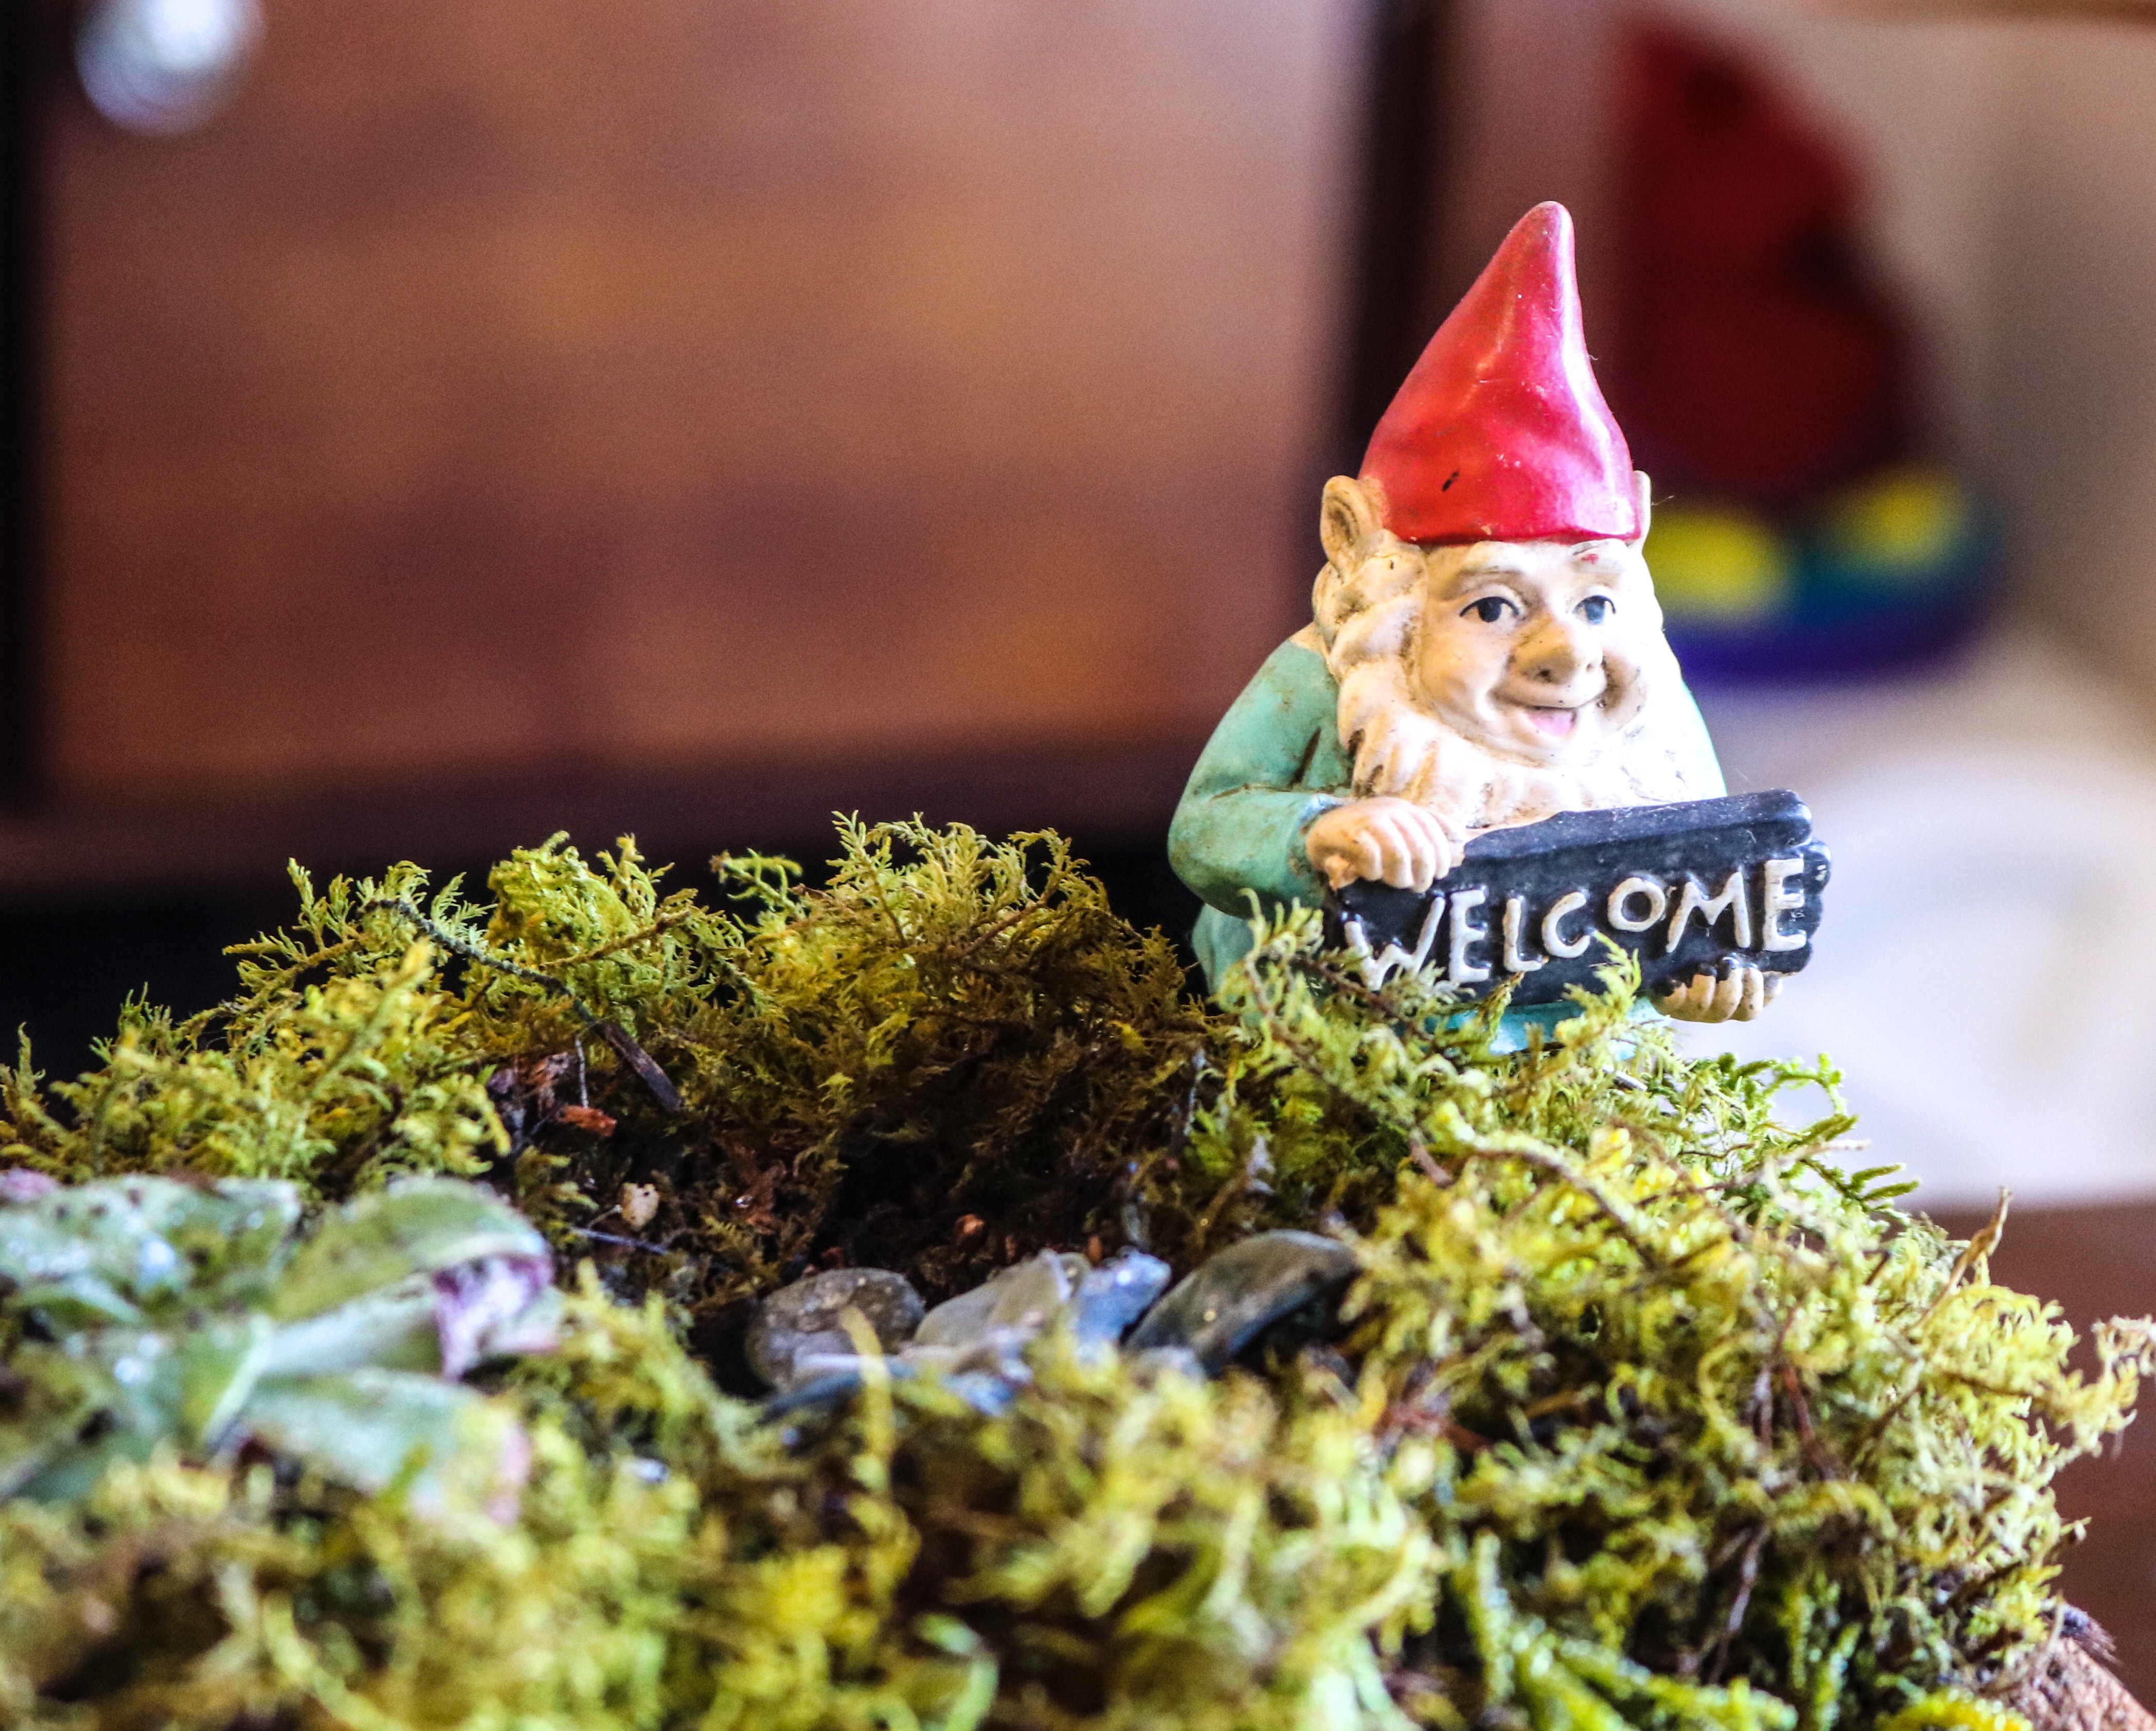
- Moss
Steps:
- Pour approx 1/2 – 1″ of sand in bottom of container.
- Layer large rocks on top of sand.
- Next add thin layer of activated charcoal, this helps prevent unwanted smells while watering.
- Add approx 1-2″ of soil
- Add succulents & air plant(s)
- Finally add moss & decorative rocks.
Care: Keep terrarium in indirect sunlight & mist once to twice a week.
Comment below if you build your own!